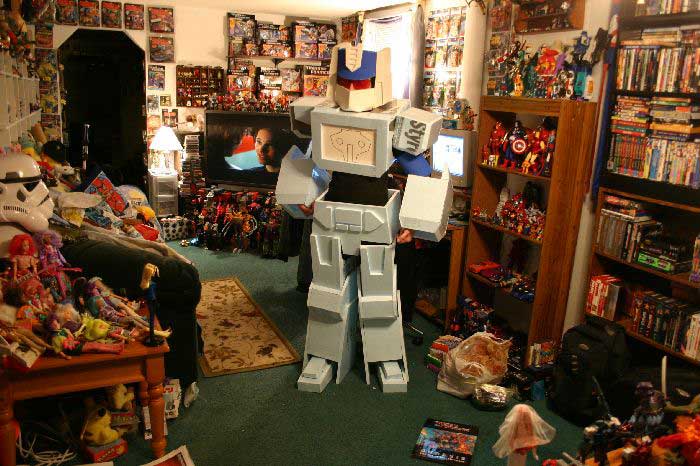
G1 Soundwave Costume Construction
In early 2006 I was at a friends house working on the Snowtrooper costume when a mutual friend came over and we got to talking about Transformers. A few weeks later I got an email from them saying they were interested in doing a Transformers costume and would I like to help. Since I'll probably never make one for myself (not that I wouldn't want too, just too busy) I agreed. So it came to pass that, on a Sunday in early February, I found myself heading over to my friends Rose and Tony's place to start work on a costume. Little did I know at the time how long it would take or how awesome it would turn out.
The first thing to do was to decide what costume to make. Rose narrowed it down to either Soundwave or Arcee, the pink female autobot from the (only) Transformers movie. After considering the design of each, we settled on Soundwave. Even though he'd be the harder of the 2 to do he's just so much cooler and more recognizable. With the character selected we gathered reference materials. The problem with doing a costume based on a cartoon character is that, while the overall look of a character stays the same, the animators are extremely inconsistent when it comes to details. If you look closely at this screen capture of Soundwave's head from the cartoon you can see that it would make M.C. Escher proud.
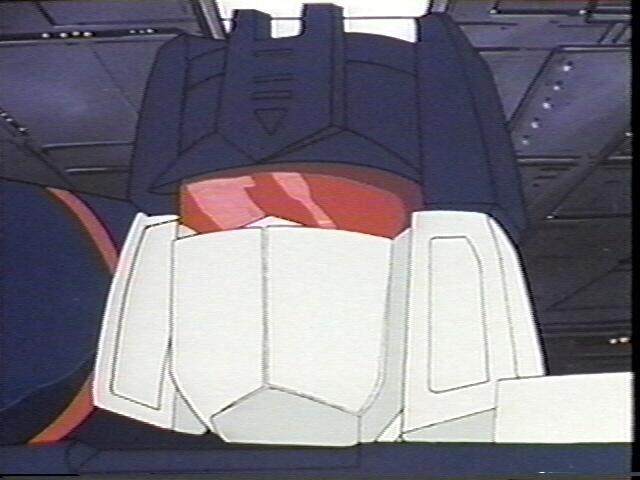
The parts overlap in physically impossible ways which is fine for 2 seconds of a kids cartoon but is of little help to a costumer for anything other than colorization. We took a combination of references from the original toy, the cartoon, the book "Genesis: The art of Transformers", various fan art, and the cold-cast porcelain bust and mixed and matched design styles until we found something we liked.
With a good idea of what we wanted, I started drawing designs and plans based on Rose's body measurements. These weren't all done at once. As I finished a section I would build it, try it out, modify it if necessary, then move on. With a project like this it's important to have accurate measurements for everything in order to keep the proportions right. It's much easer to change the numbers than to make new parts. Here are all the plans I wound up making for the costume:
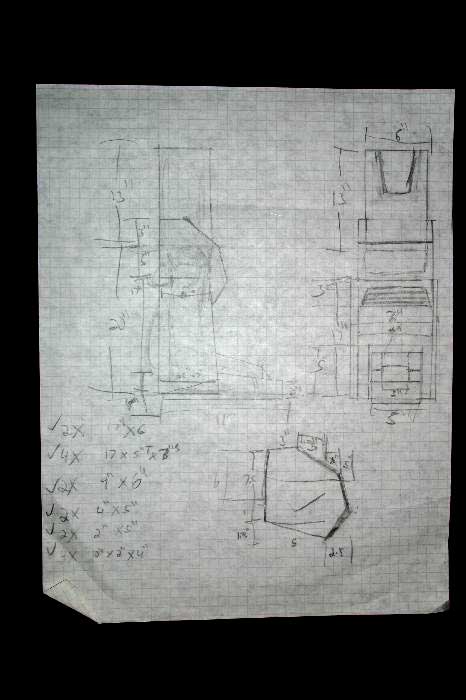
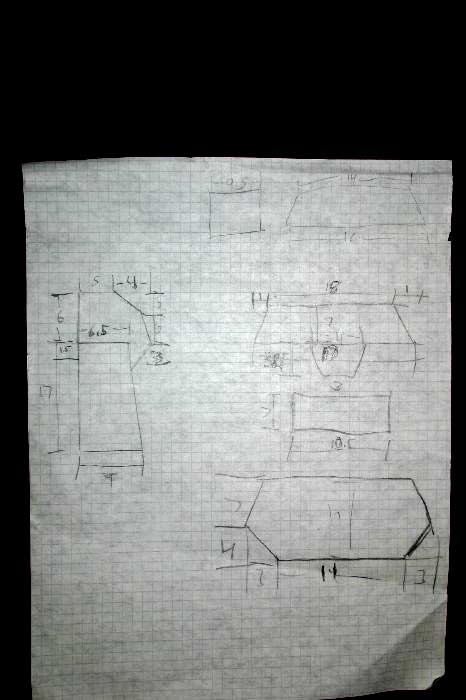
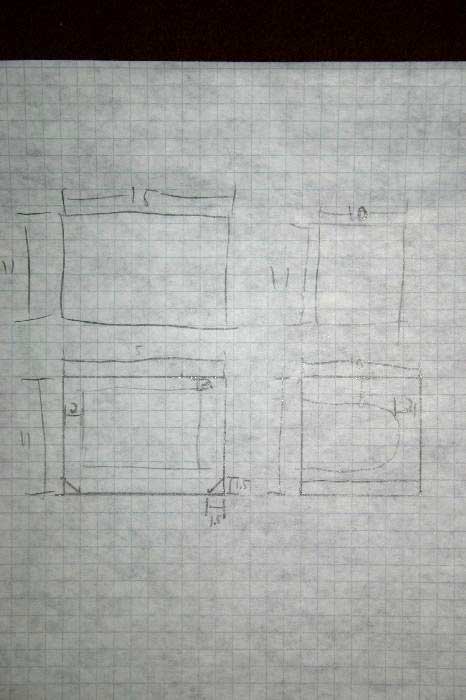
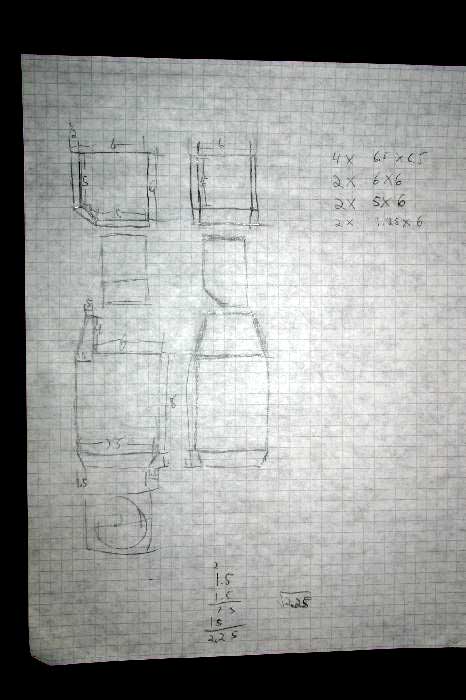

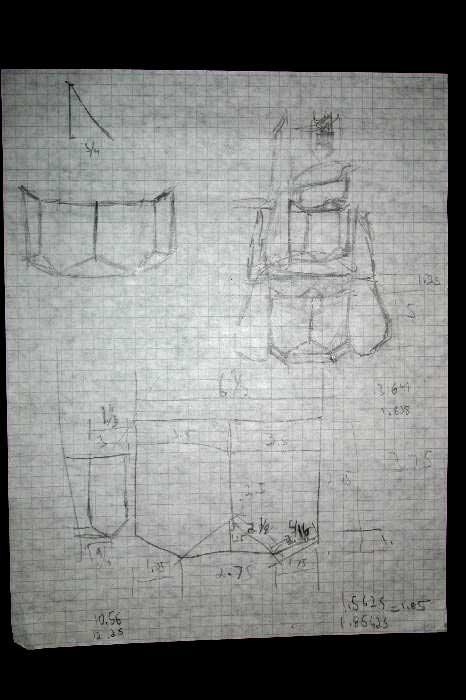
I'm mainly posting these to show how much planning went into the costume, you can't really use them to make your own. One: they're all based off of Rose's body measurements, unless you're the same size are her they won't work. Two: they're not scale drawings, just my representation of the part with computed numbers next to it. Three: the numbers probably lie as they were made on the fly by me, are probably all over the place and will make little sense. In many cases they're not event he right numbers as I would have to change something as I went and wouldn't bother changing the numbers on the plans.
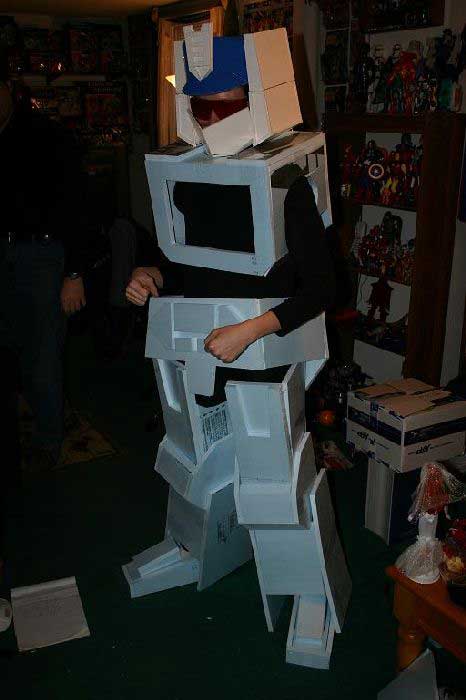
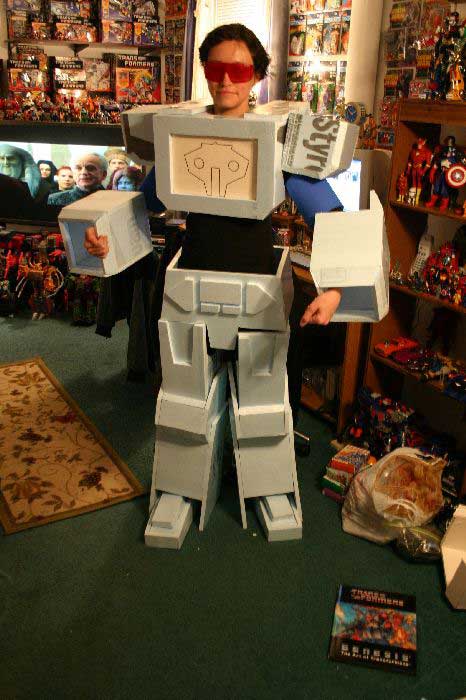
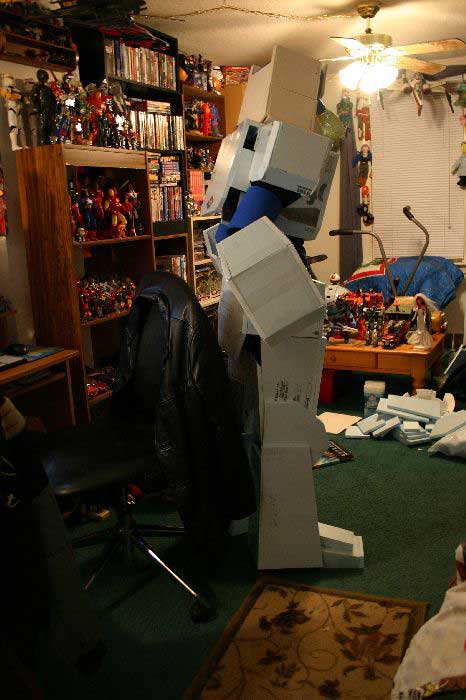
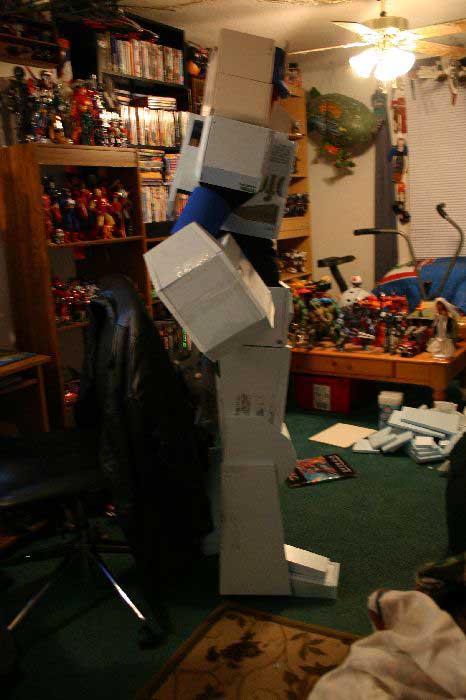
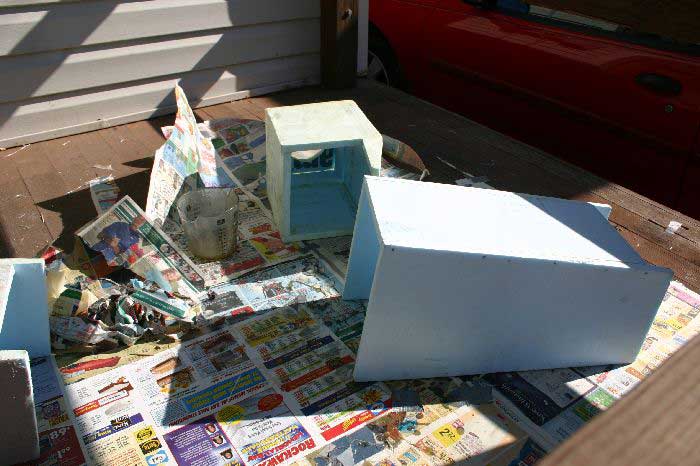
Our main ambition with this project was to not do just another cardboard transformers costume. There have been some very nice costumes made out of cardboard before but in the end they still end up looking like painted cardboard. To this end I decided to make the costume out of blue foam insulation like my J-Pak and apply fiberglass to make a hard shell. This would keep the costume light, resistant to damage and have a smooth surface.
I started with the legs since they would effect the sizing of most of the costume. The feet and thighs effected the necessary width of the calves and the groin which in turn effected the width of the torso and chest. The first set of legs wound up being too small which meant replacing the knees and parts of the lower leg so they would fit over the thigh.
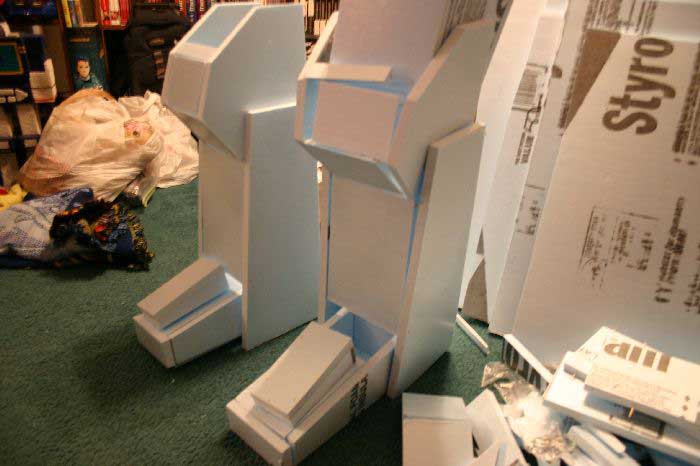
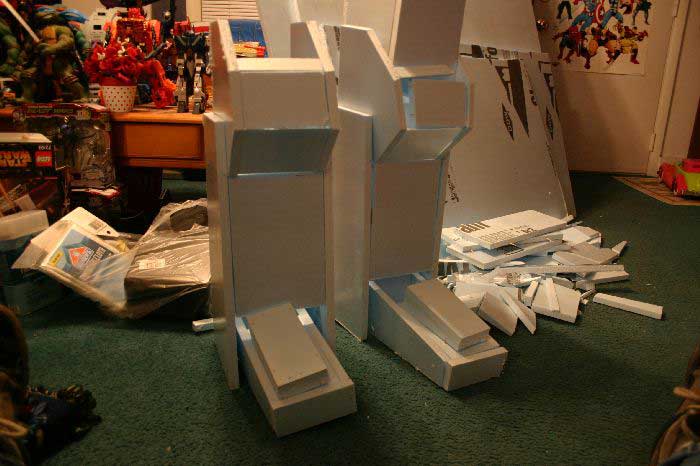
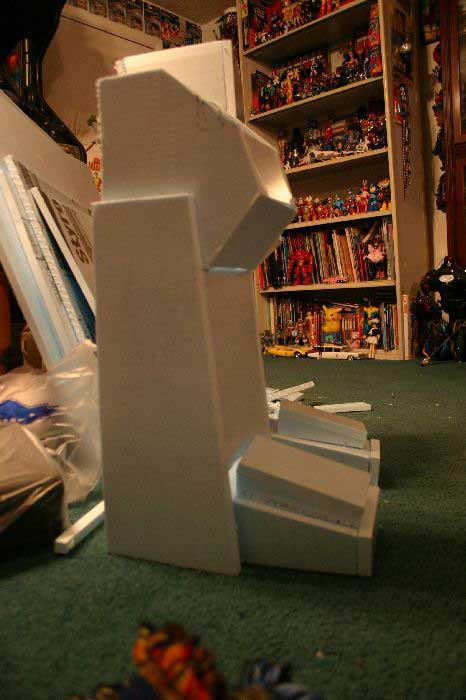
After measuring and drawing plans I cut the parts out of foam and stuck them together with toothpicks and packing tape so we could test run the design. The whole process was a lot of trial and error as far as fitting went as it's really not easy to make a technological creation like a Transformer fit over a human body. Things like joints are a real pain when you can't take artistic license and just have the parts twist or shrink if you want them to move or fit a certain way.
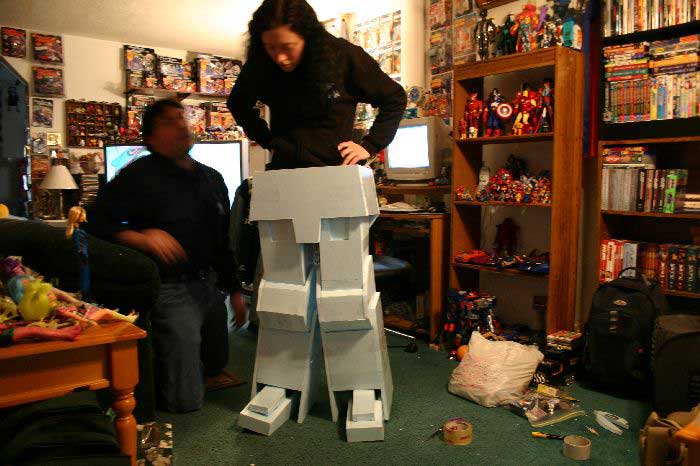
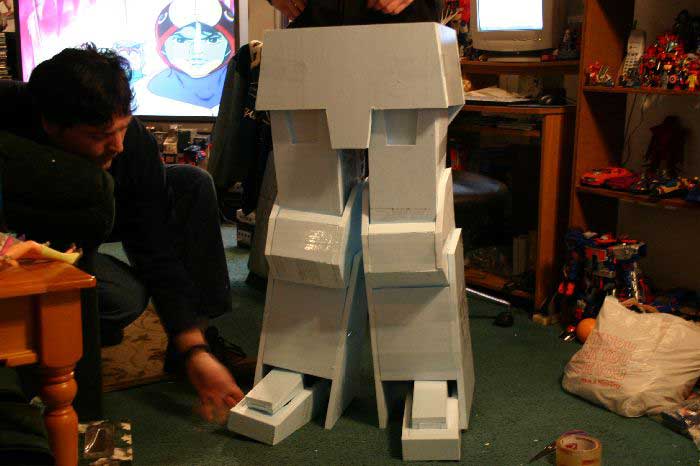
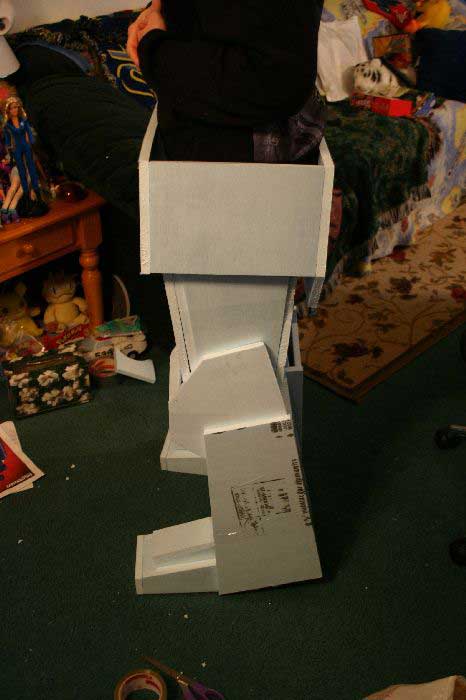
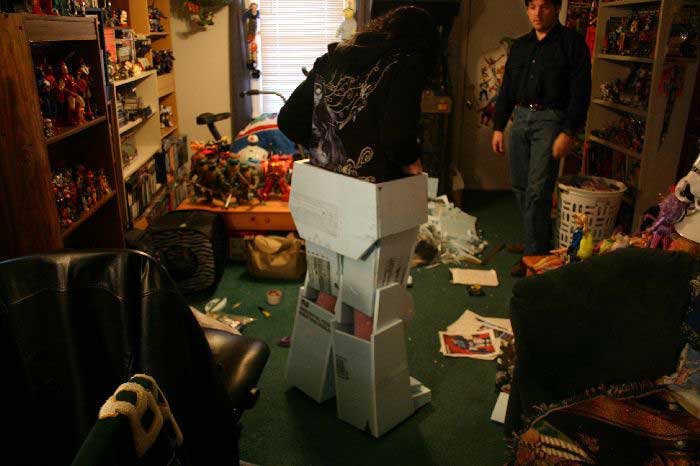

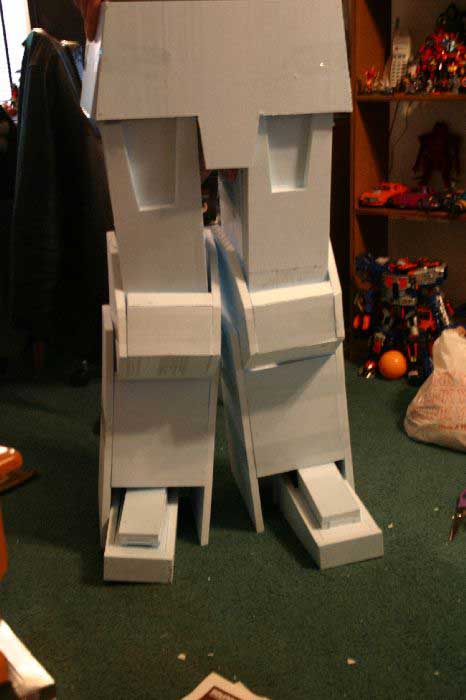
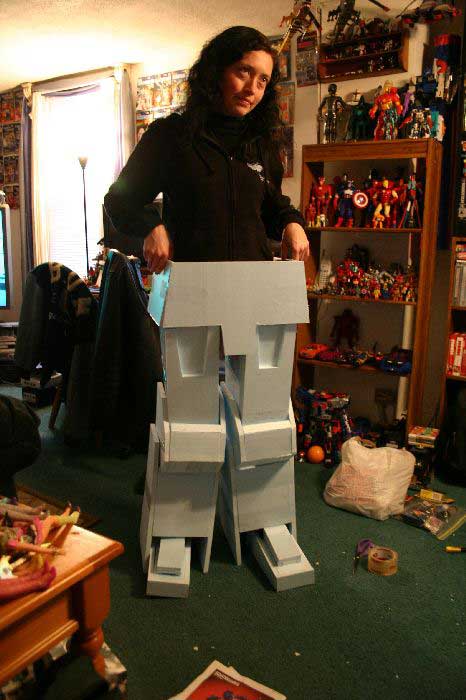
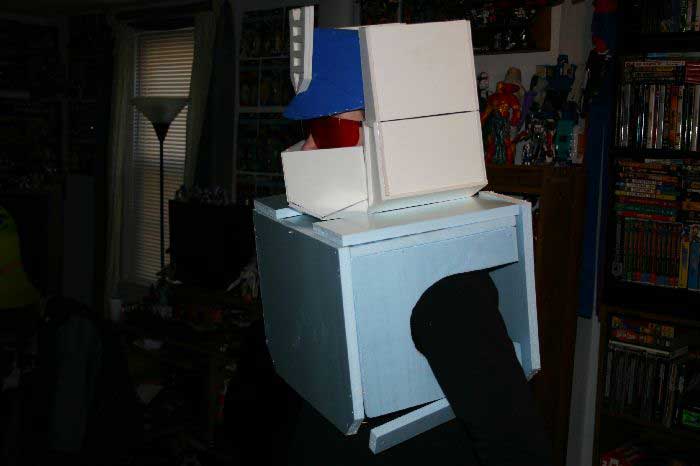
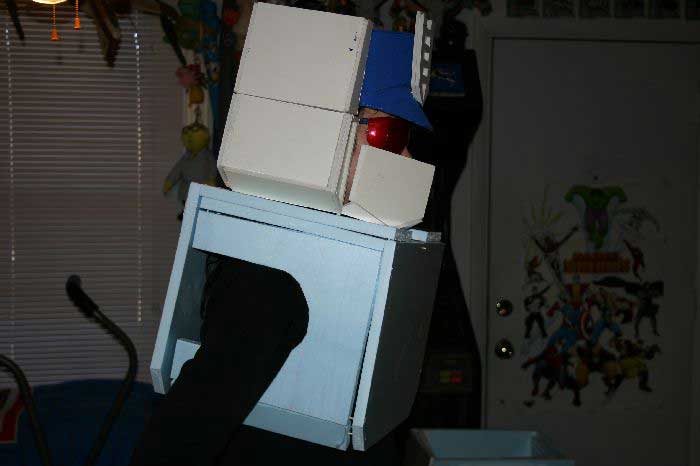
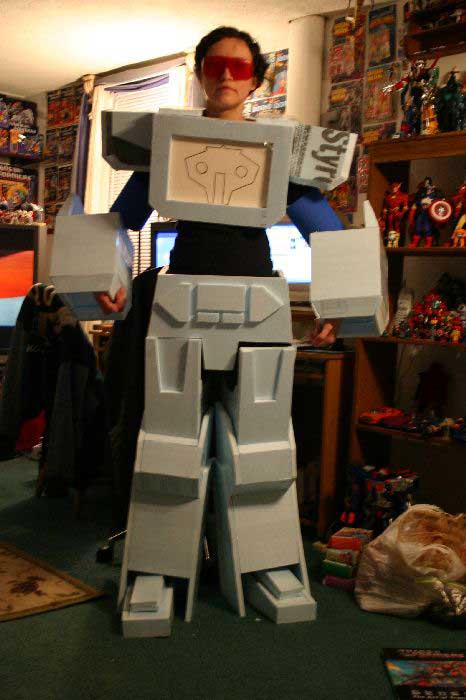
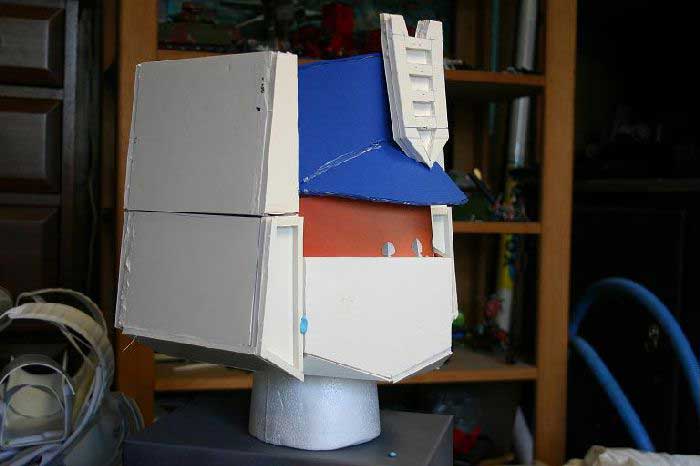
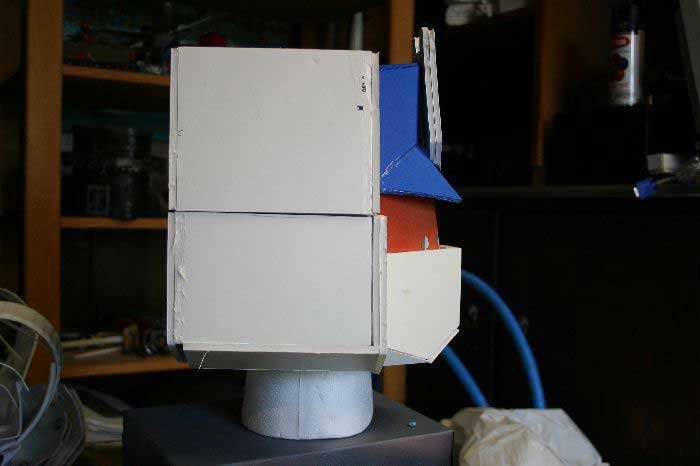
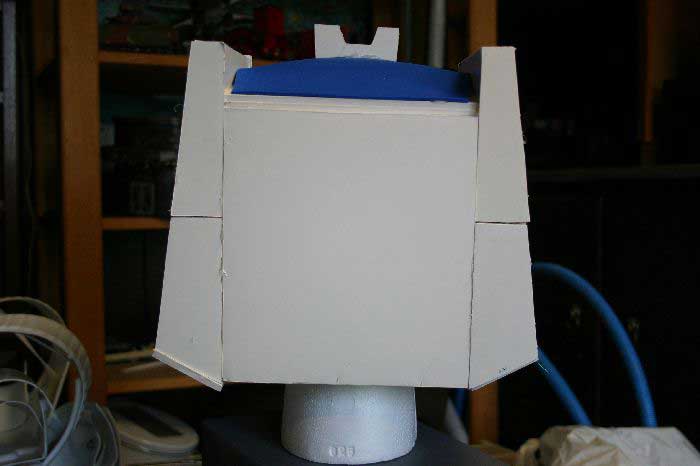
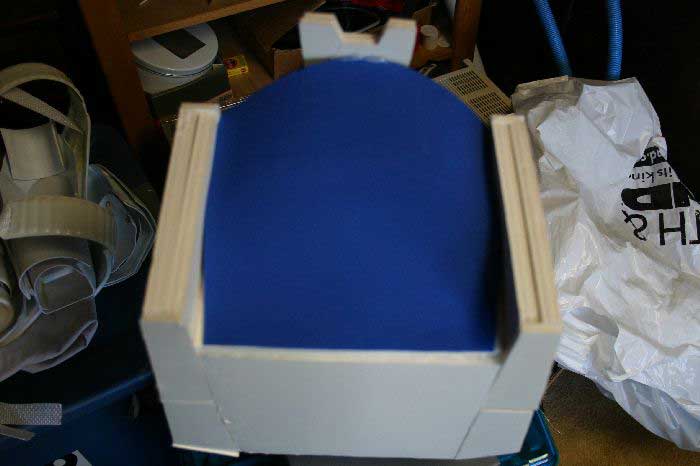
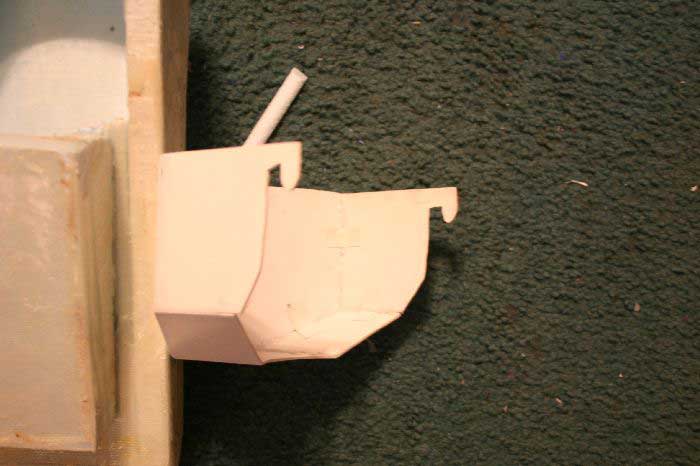
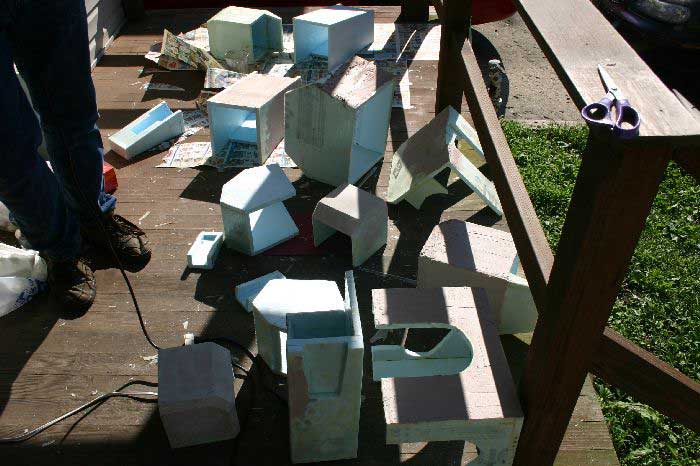
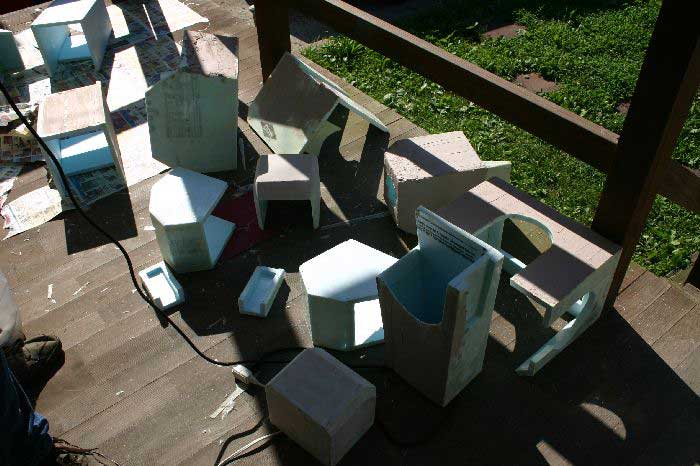
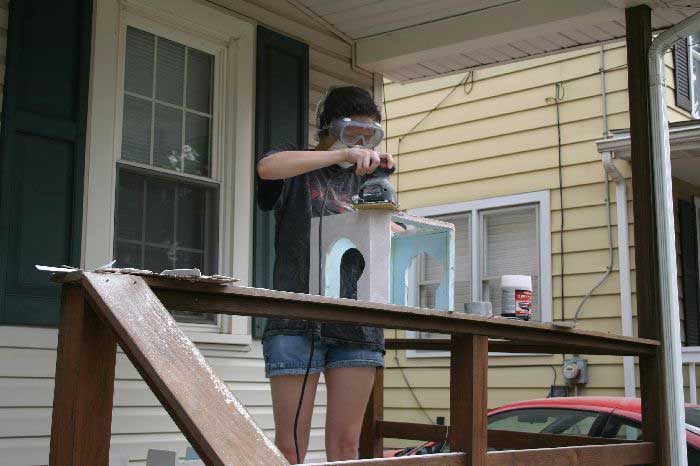
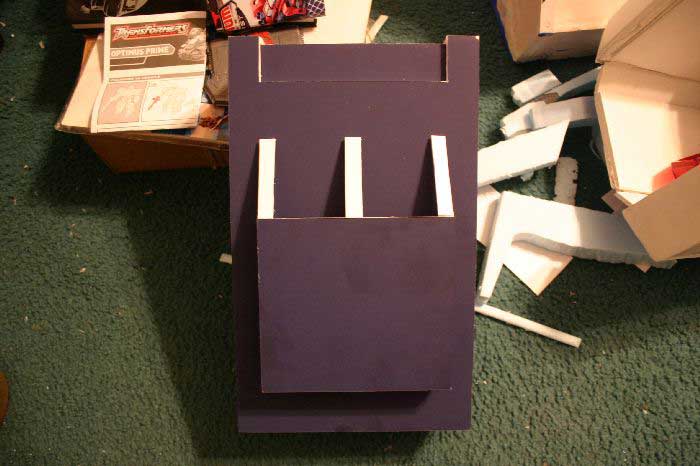
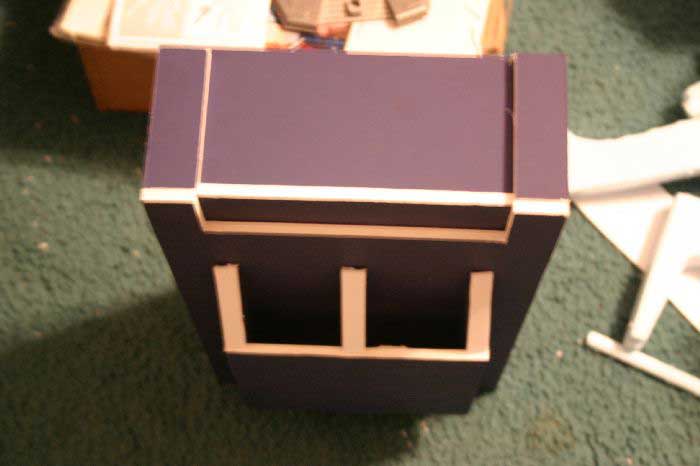
It only took about 3 construction days to get the entire lower body designed and built. Foam is really convenient for costuming, being easy to cut and shape. With the lower body done, the chest could be built. Our main limiting factor was the width of Rose's shoulders. I designed it so most of her actual shoulder would be inside the chest to keep it wide while a set of "false" shoulders would keep the costume in proportion.
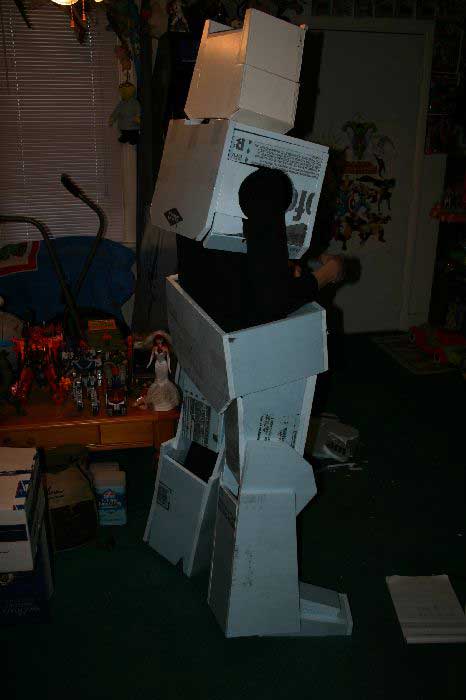
The shoulders and forearms are full of complex angles that were a real pain to cut out. I think I gave up trying to calculate the measurements and just winged-it. Without precision tools, exact measurements aren't really useful. For the upper arms we went with strips of flexible craft foam instead of the insulation in order to keep mobility in the arms and not cause headaches with square edges catching on the shoulders.
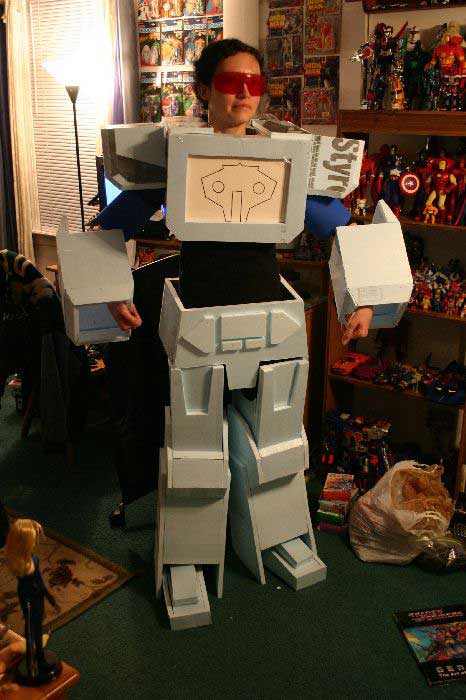
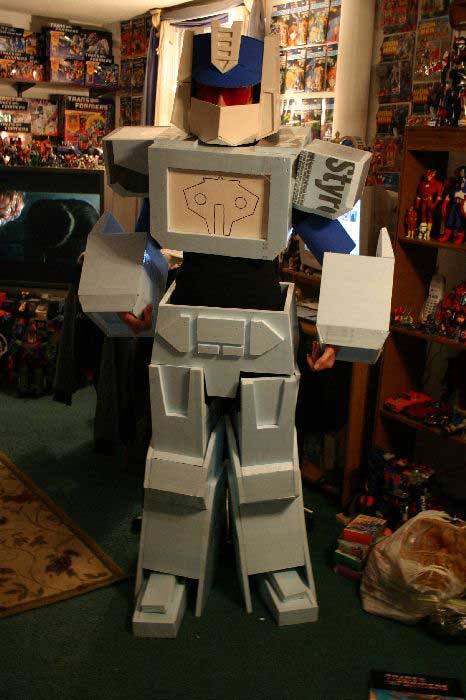
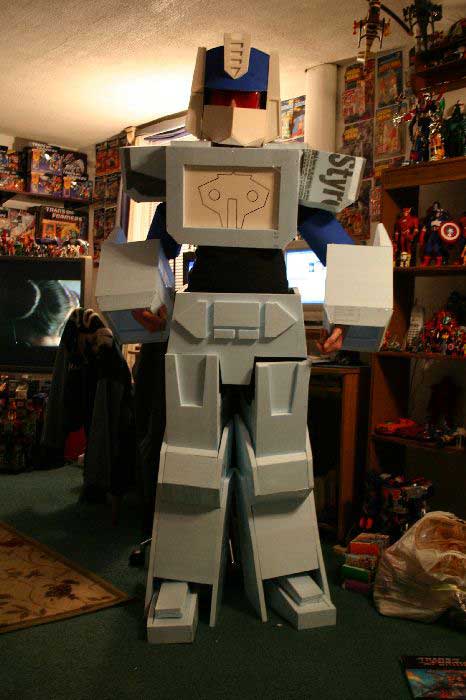

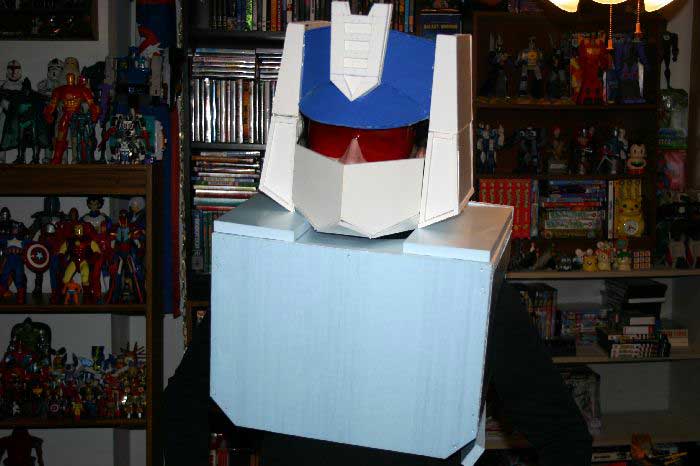
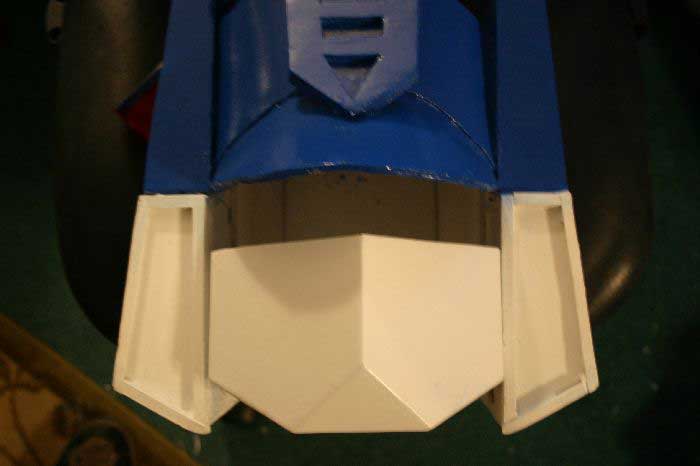
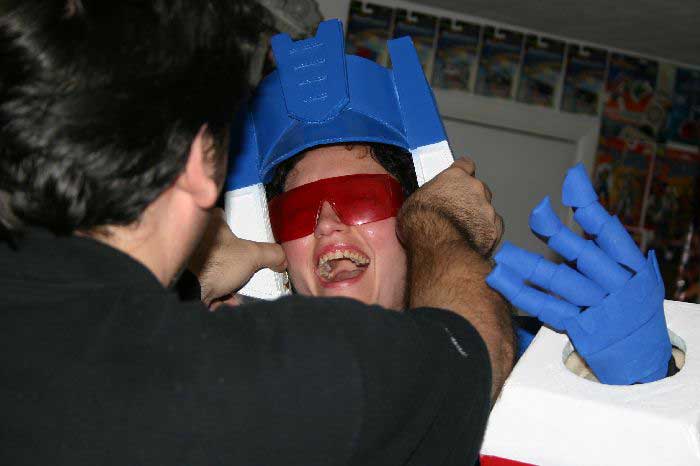
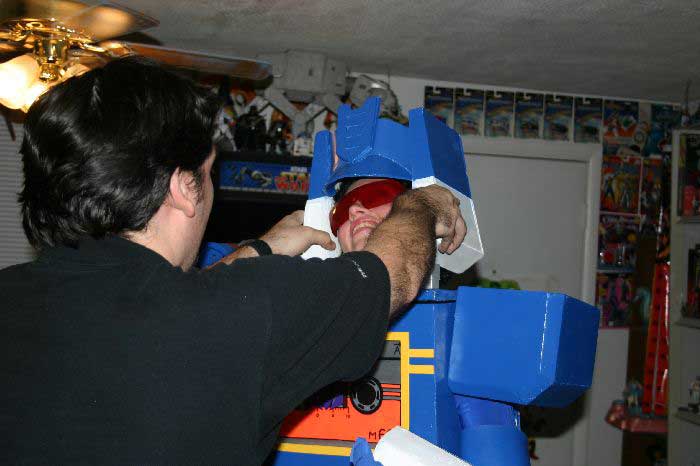
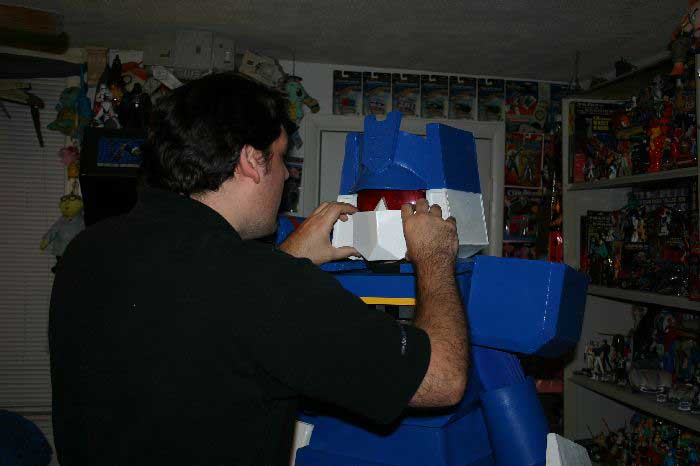
The head turned out to be easier than I had expected. Initially I made a mock up out of foamcore and craft foam. Rose wound up liking it so much that we decided to use it, though it was a little too big. Eventually I think I re-built the whole thing except for the foam brow and forehead piece. The eyes are just safety glasses that were hit with a few light coats of Testors transparent red spraypaint.
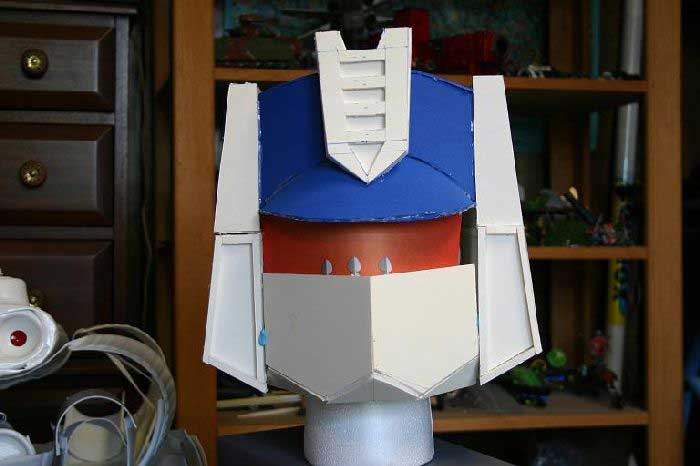
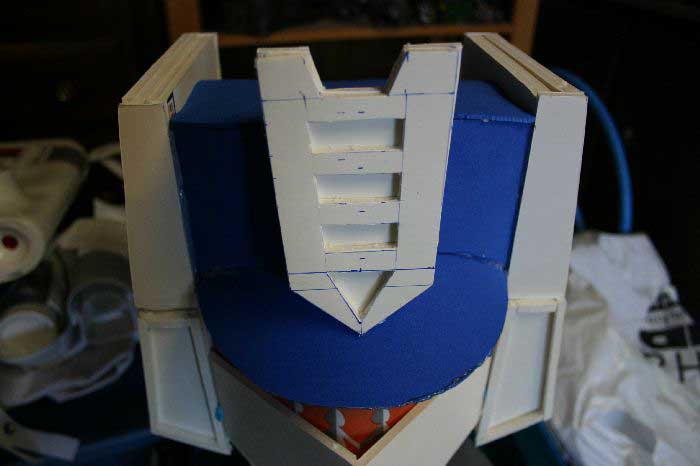
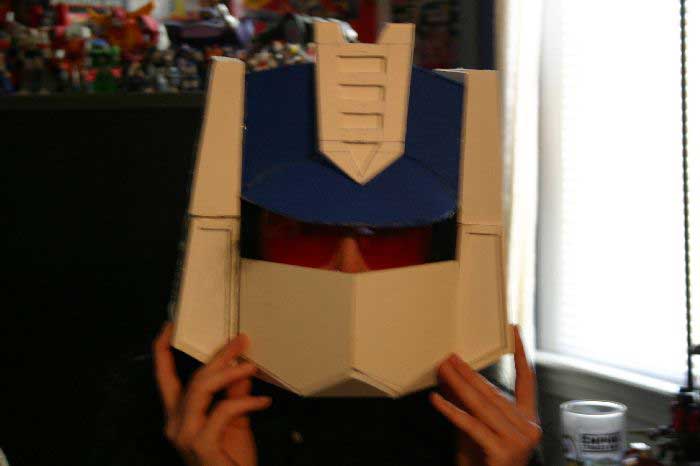
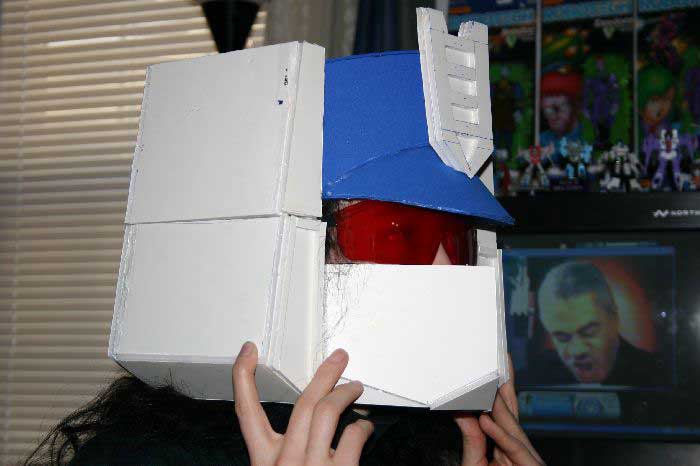
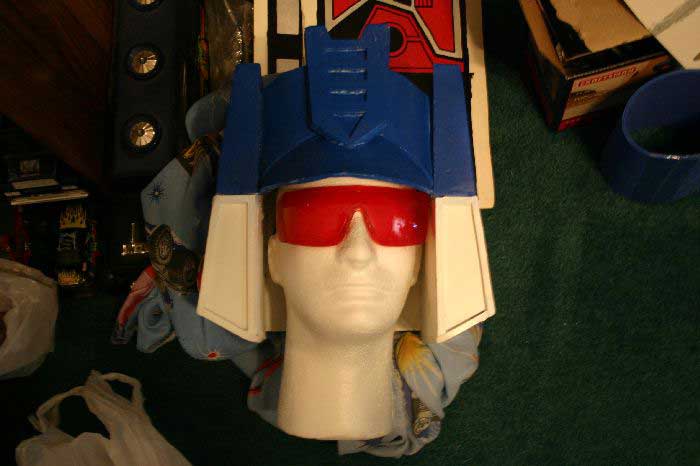
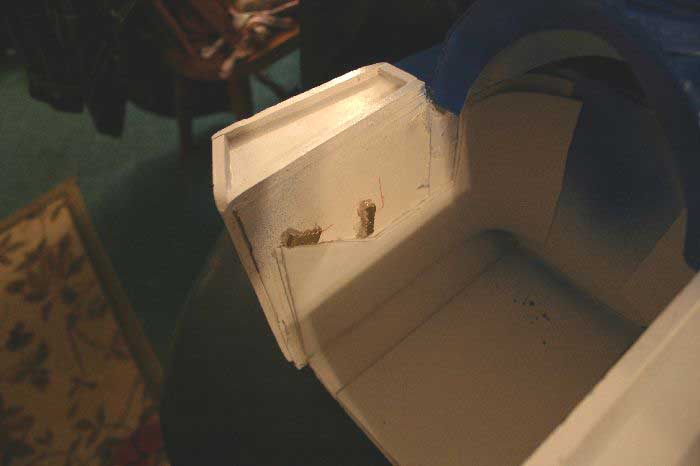
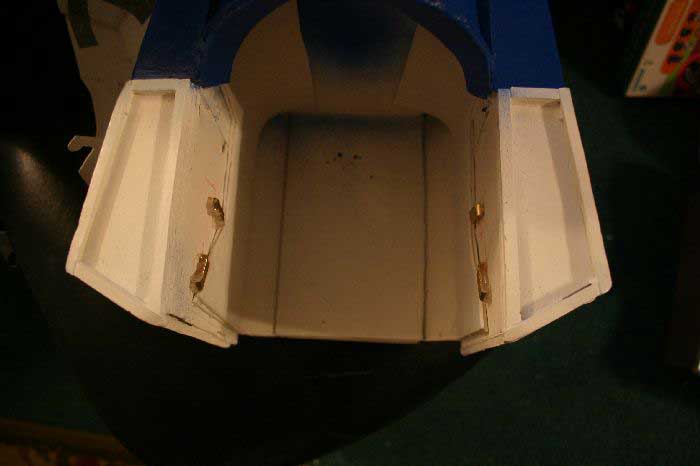
The mouth plate was made out of sheet styrene and was a royal pain in the ass to figure out. I relied heavily on the cold-cast bust for the design. The mouth attaches by hooking onto picture hangers that were pushed into the foamcore. The inside of the helmet was lined with spare craft foam to make it more comfortable.
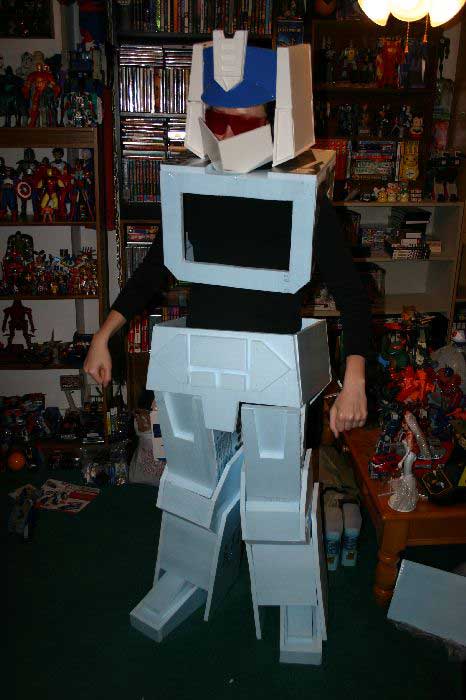
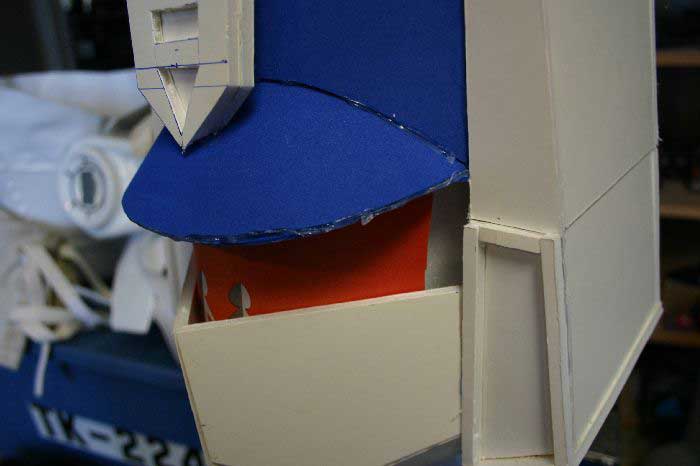
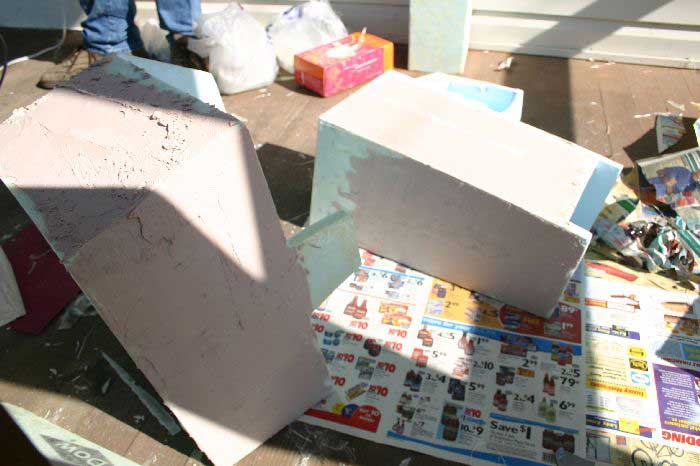
Once I had a good number of the parts finalized (and the weather warmed up) we started fiberglassing them. Unfortunately, standard polyester resin will eat through styrofoam so we had to get epoxy resin which for some reason is harder to find in quantity. An advantage of epoxy over polyester is that epoxy doesn't stink to high-heaven. We found a good 20 minute 2-part resin with a 2-1 mix ratio at a specialty construction store. The fiberglass mat we just bought at Walmart. When mixed right the resin would dry in a couple hours, unfortunately there's a bit of a learning curve in working with fiberglass so some of the initial parts took longer than others. By the time we were done though, Rose and Tony had done most of the fiberglass work. Once most of the pieces were coated in fiberglass I showed them how to put a skim coat of Bondo on to get a smooth finish. Towards the end we got a little lax with sanding as it can get pretty tedious so the parts didn't wind up completely smooth but we found that having some divots here and there made the final piece look better, giving it a worn look. Sanding the parts was tricky, sand too much and the fiberglass would get too thin, sand in one spot too long and heat from the friction would start to melt the foam underneath the fiberglass and weaken the piece. Ideally we probably should have had two coats of fiberglass on everything but since this costume isn't intended to be a family heirloom it's not that important.

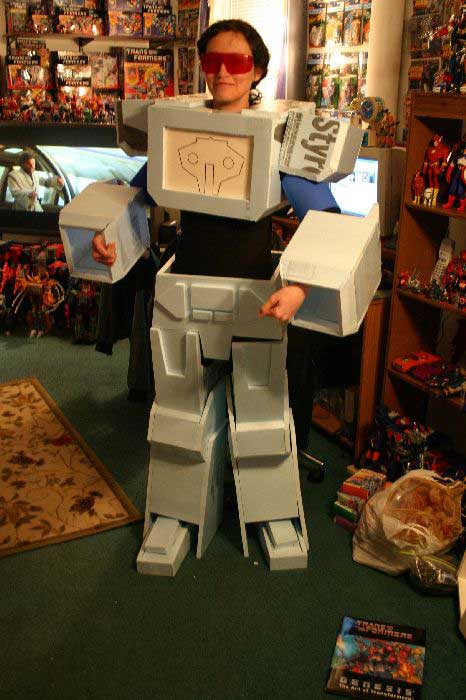
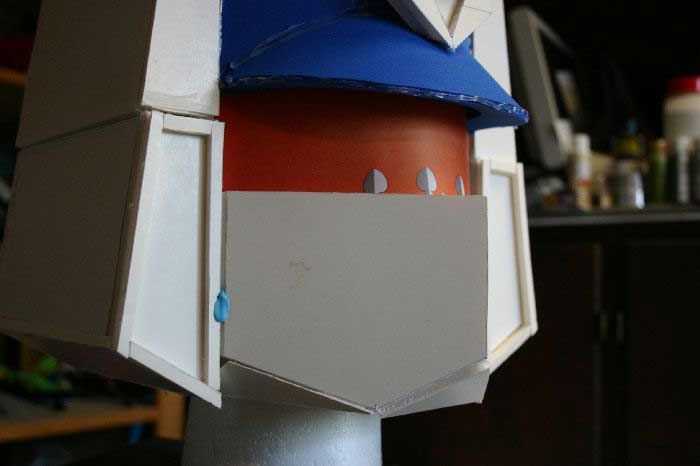
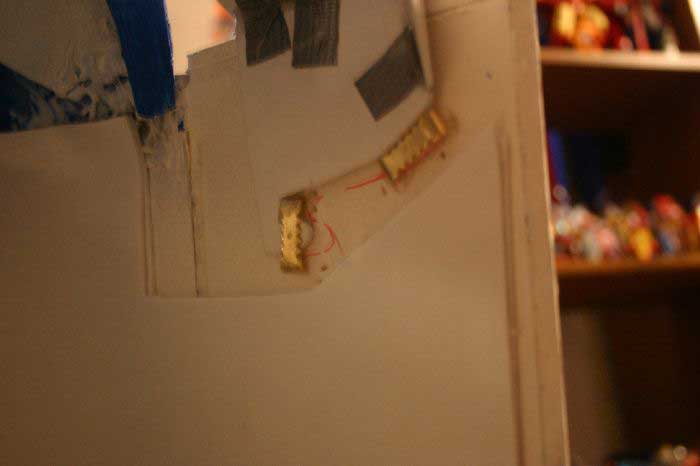
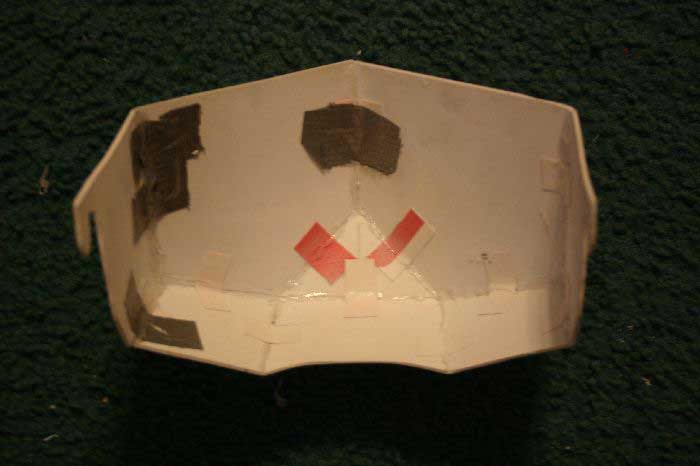
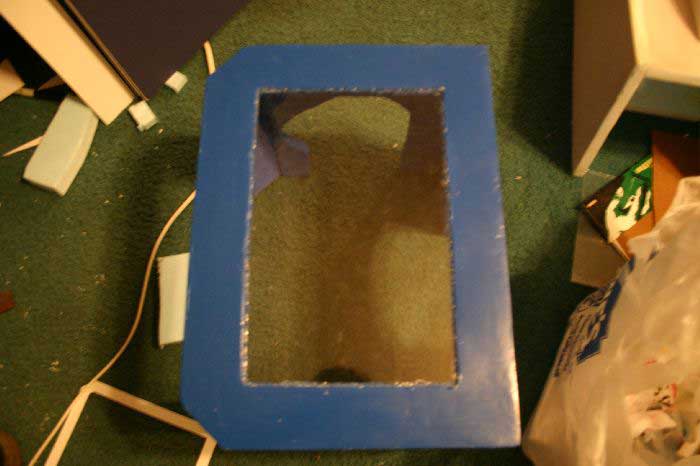
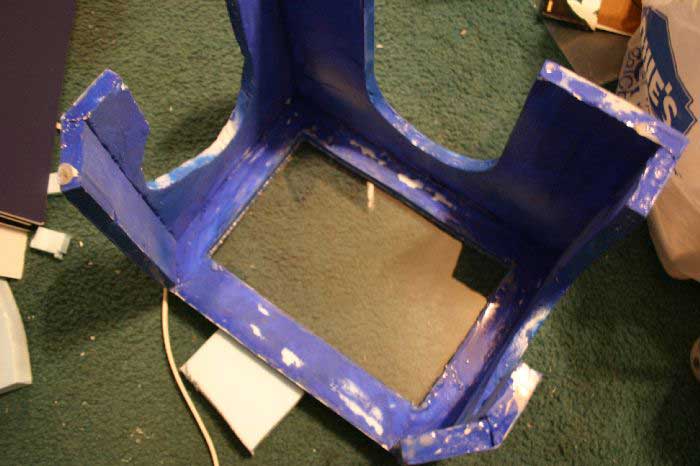
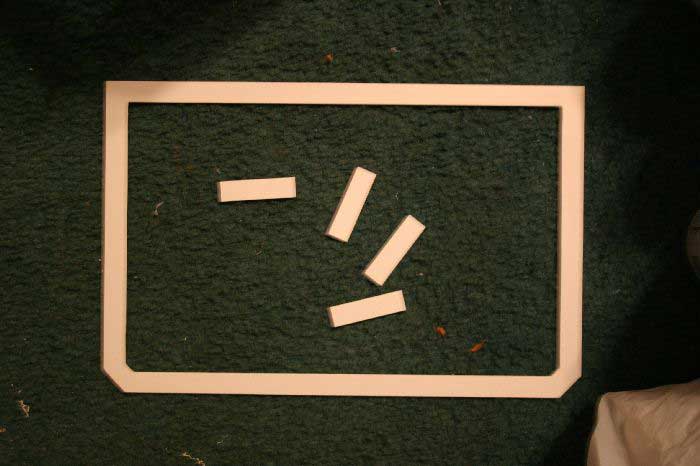
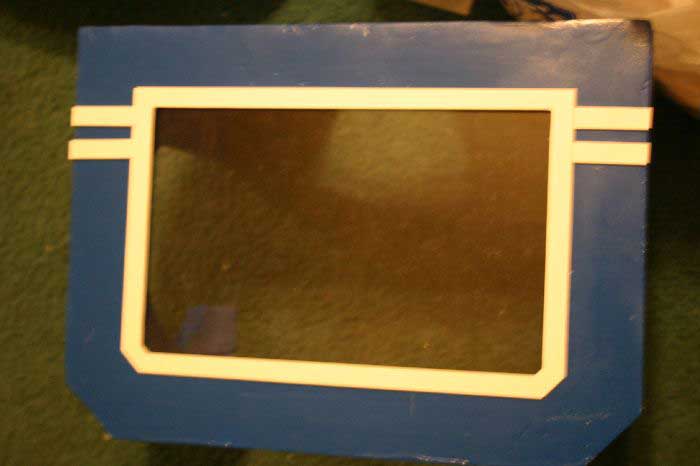
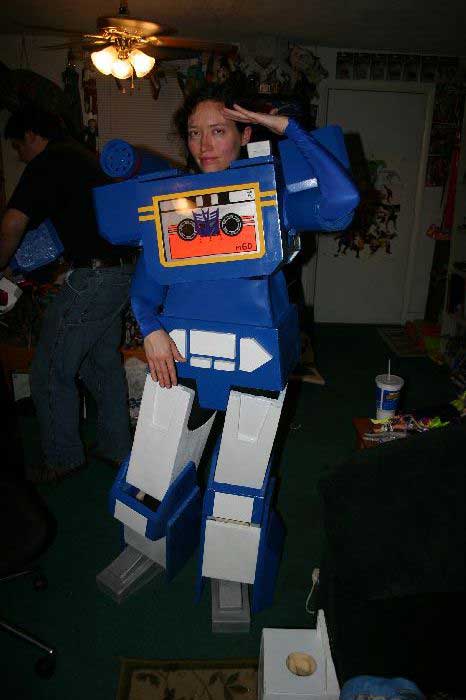
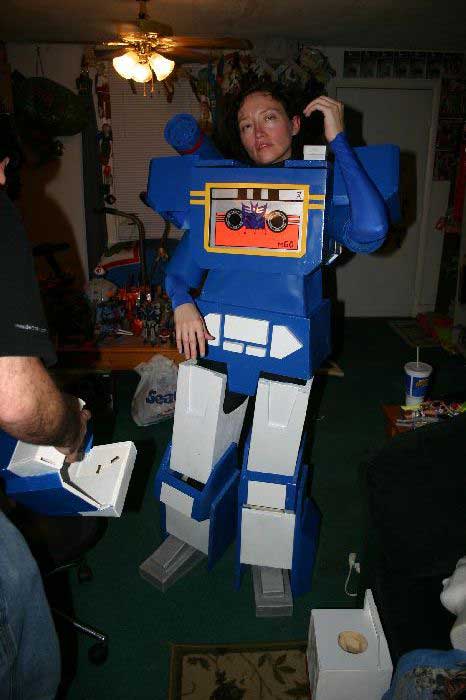
with the parts sanded and wiped off, the insides were painted with acrylic craft paint. This would keep the foam from melting when the parts were spray painted. Standard Krylon gloss blue and gloss white were used with some gloss yellow for detail pieces. The chest window is a piece of plexiglas we had cut at the hardware store and hot glued in. The border around the window was made from a single piece of sheet styrene plastic. Various details were added using mostly foamcore or styrene. The knee details are pieces of styrene painted and hot glued on. The eject button was made from spare junk, the play/stop/FF/RWD buttons were more foam coated in resin. The power switch and volume knob on the back of the legs were made from foam coated in styrene. The hands were made out of craft foam using patterns I found online here. The back detail is mostly foamcore and is velcroed to the back.


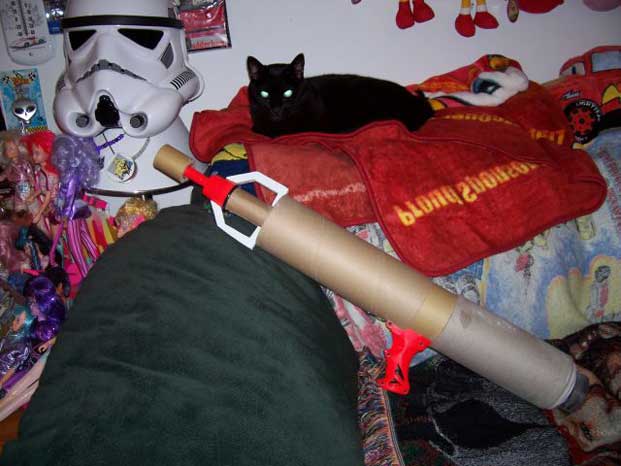
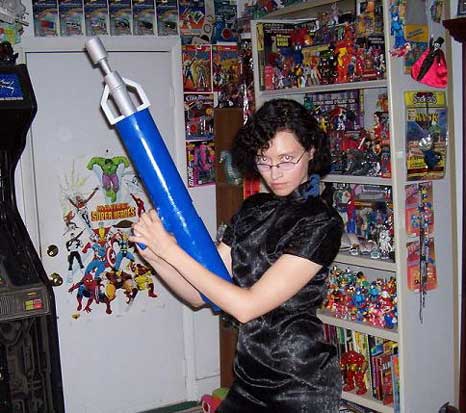
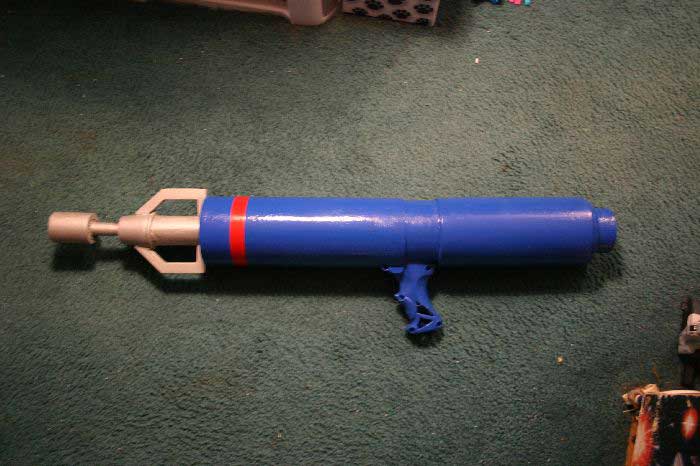
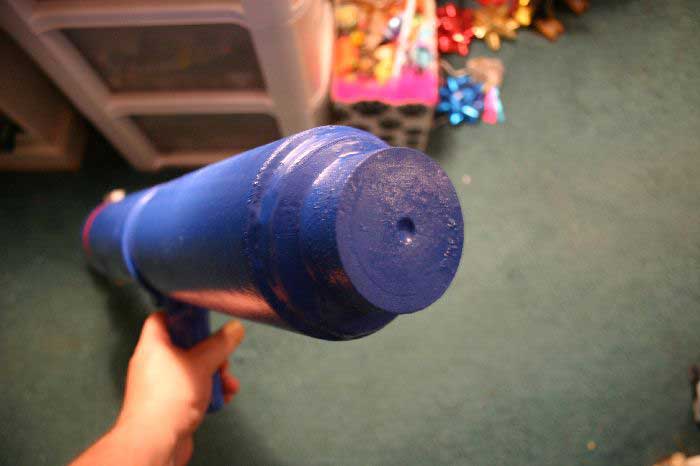
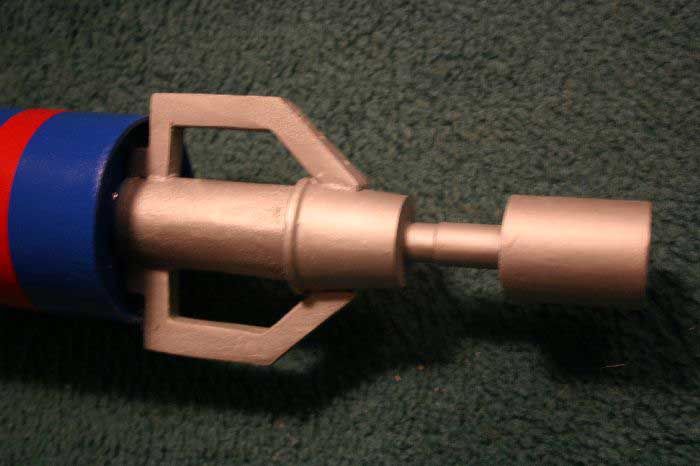
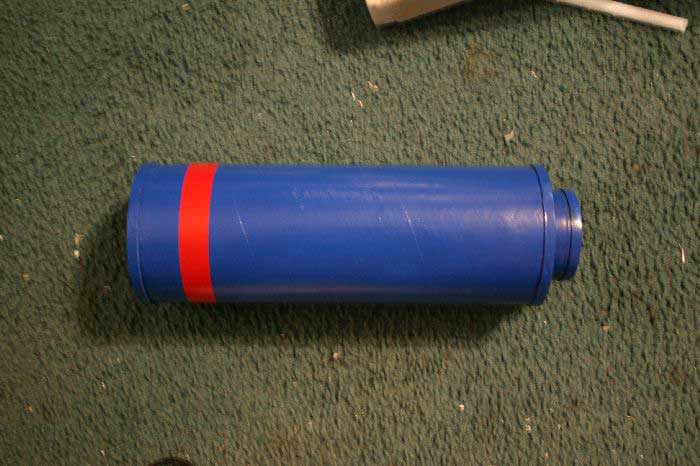
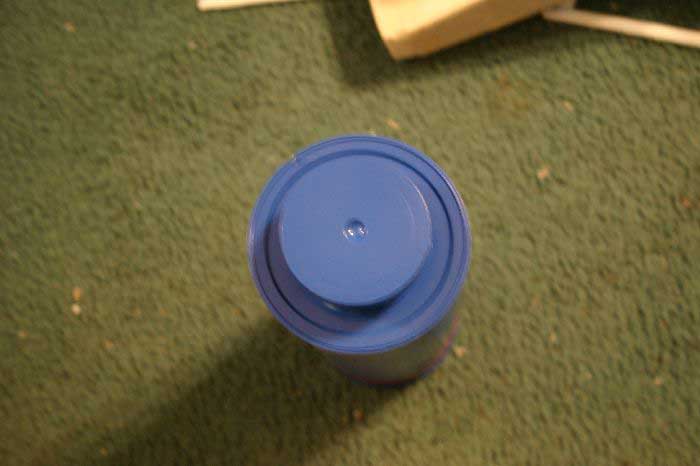
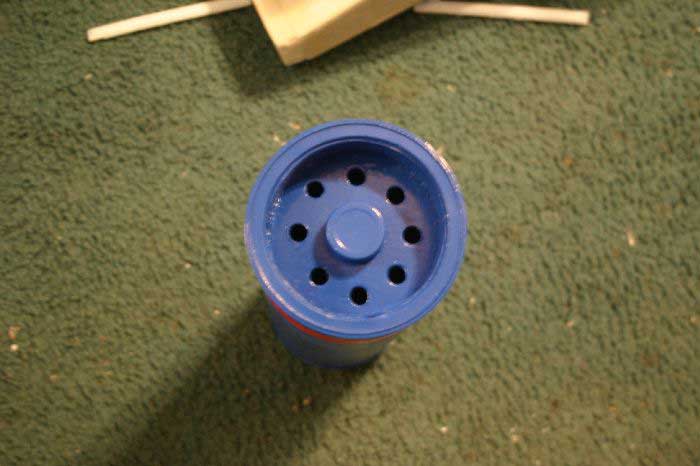
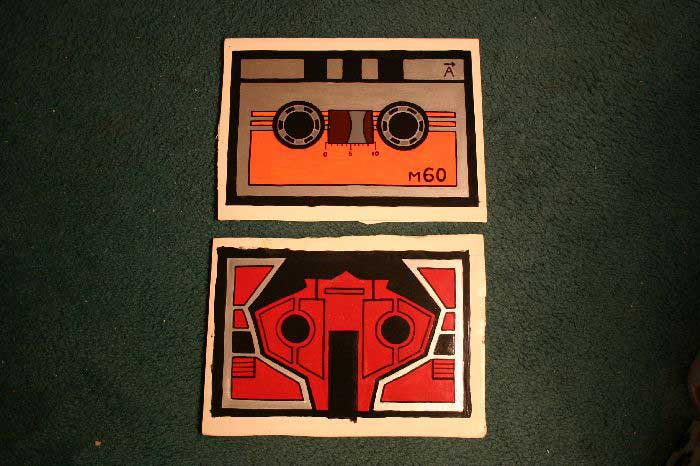
I had little to do with the gun and shoulder cannon other than recommending cannibalizing a Nerf gun for parts. Tony did a great job scavenging parts and putting them together. The main bodies are thick cardboard tubes with Kool-aid lids, bottle caps, Skoal containers and foam cups added for detail. The shoulder cannon wound up getting screwed to the shoulder bell since putting it on the chest box would keep Rose from turning her head. The cassettes are just pieces of foamcore painted up and attached to the inside of the chest plate with velcro so they're interchangeable. So far they have Buzzsaw and Laserbeak though they plan on doing others eventually.


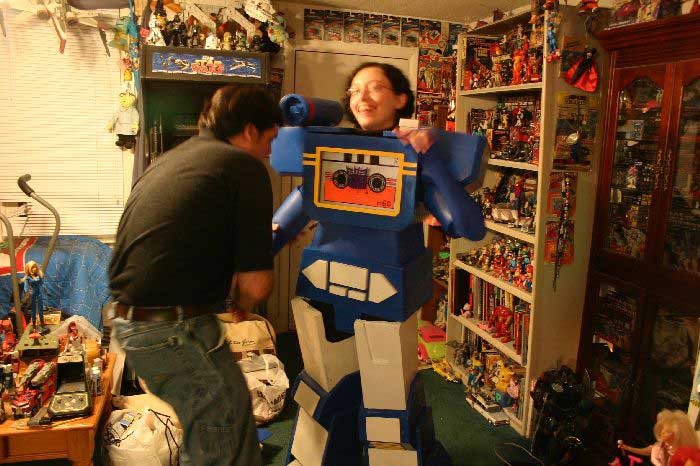
Once all the parts were complete we had to figure out how Rose would actually wear them. I hooked up a system similar to my stormtrooper setup. The knees were glued to the lower legs and thick upholstery foam was put in the shins to hold them up. The thighs had nylon webbing glued to he outside edges that attached to a belt around Rose's waste in a garter setup. The groin plate is held up by a set of suspenders that connect to attachment points I made out of scrap plastic and glued in. The midriff is made out of craft foam that is hotglued to the groin plate. The chest box comes apart front-to-back and is held together with velcro. The shoulders are held on with velcro strips that are permanently glued to the chest box. The forearms have more upholstery foam in them to keep them from sliding down the wrist.


That's pretty much it. In all it took over 7 months, though only about 21 days worth of work (less if you don't count goofing off), and somewhere around $300. We didn't really keep track of the cost of things. The epoxy was probably the most expensive part with the 2 sheets of foam, 5 or 6 sheets of foamcore, paint and sundries taking up the rest. If you have questions about anything feel free to email me: jackdoud.at.hotmail.
Tweet
