Airship Parade Float
My biggest project of 2003. This thing brought me some of the biggest ups and downs ever on a project. First off, some background.
Every year at homecoming, my college holds a parade. All student clubs and organizations are "encouraged" to participate. Basically if you don't, you're revoked your rights as a club. Anyway, as a member of the Gamer's Guild I again became a party to the construction of that year's float. Despite our best efforts, for the last 3 years we had been unable gain first place in the judging. Confident in our ability to construct a winning design, we started planning 2 months early; a big change from our usual starting time of the week before. Being that my college is an aeronautical university in Daytona Beach, and that this year marked the centennial of the Wright brother's first flight, this years homecoming theme was "Wings and Waves".
Determined to get first prize we pick what we thought to be an obvious design. We had to build an airship. It not only adhered to the theme, it also coincided with our groups love of fantasy and the school's aeronautical bias. After a week went by and everyone's heads cleared of all their lofty ideas and designs, people realized that it was going to be actual work and drifted off to do other stuff. It was down to myself and the guild faculty advisor to actually design and build the thing. Our first question was twofold: how big did we want it and how big could we make it. Since this had to be maneuvered along a parade route containing numerous trees and a low bridge we new we couldn't go too large. We wanted it to be impressive though so it couldn't be too small. After researching lift values for helium volume on the internet, we discovered that helium won't lift much. A 4 foot diameter balloon will only lift one pound. Our initial design called for a cloth envelope filled with balloons to lift a boat weighing no more than 3 pounds. There was a lot of annoying math and weight/size dependencies discussions but eventually we decided on a balloon with 8 pounds of lift. That would give us enough lift to hold up a decent sized ship as well as the cloth envelope.
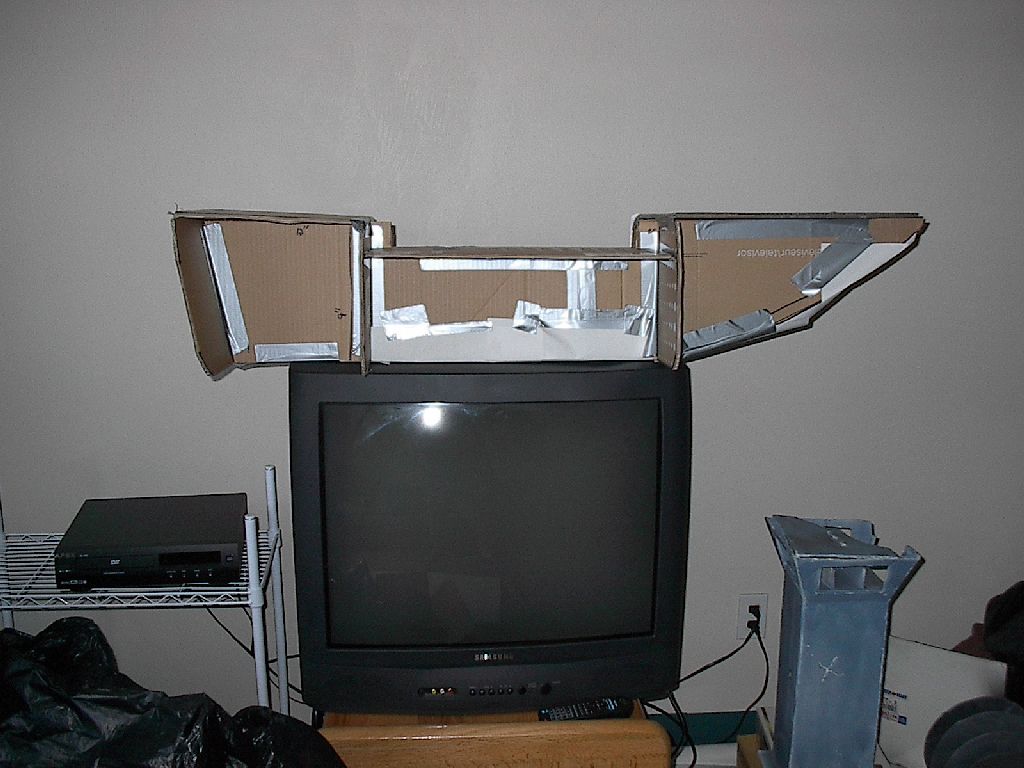
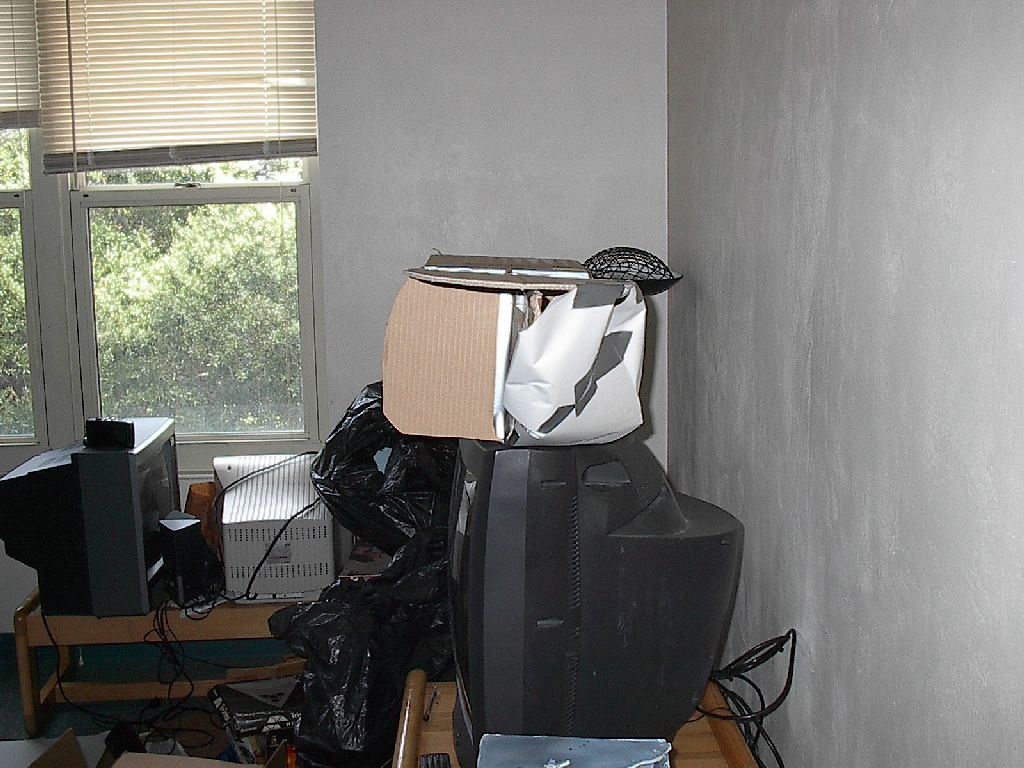
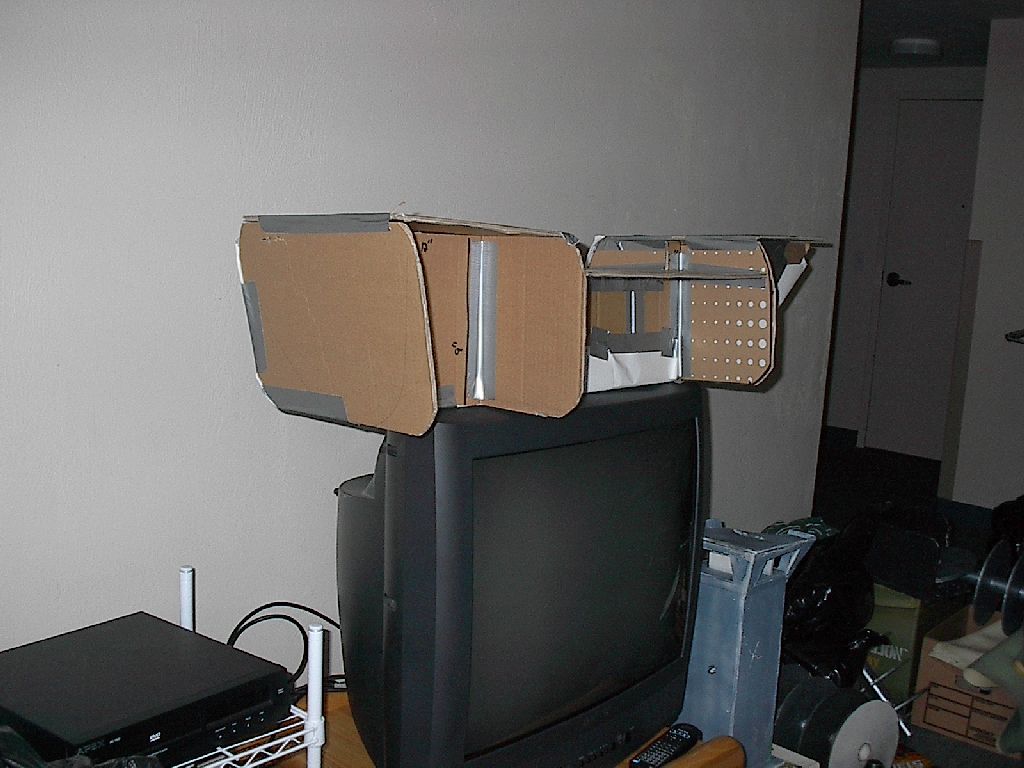
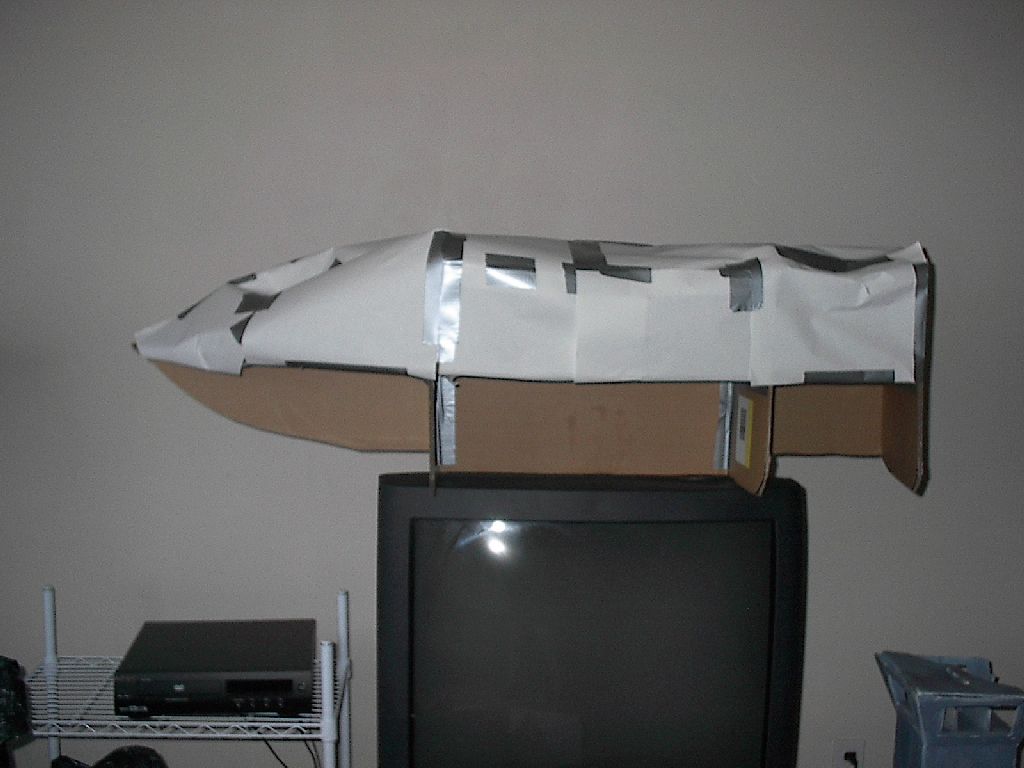
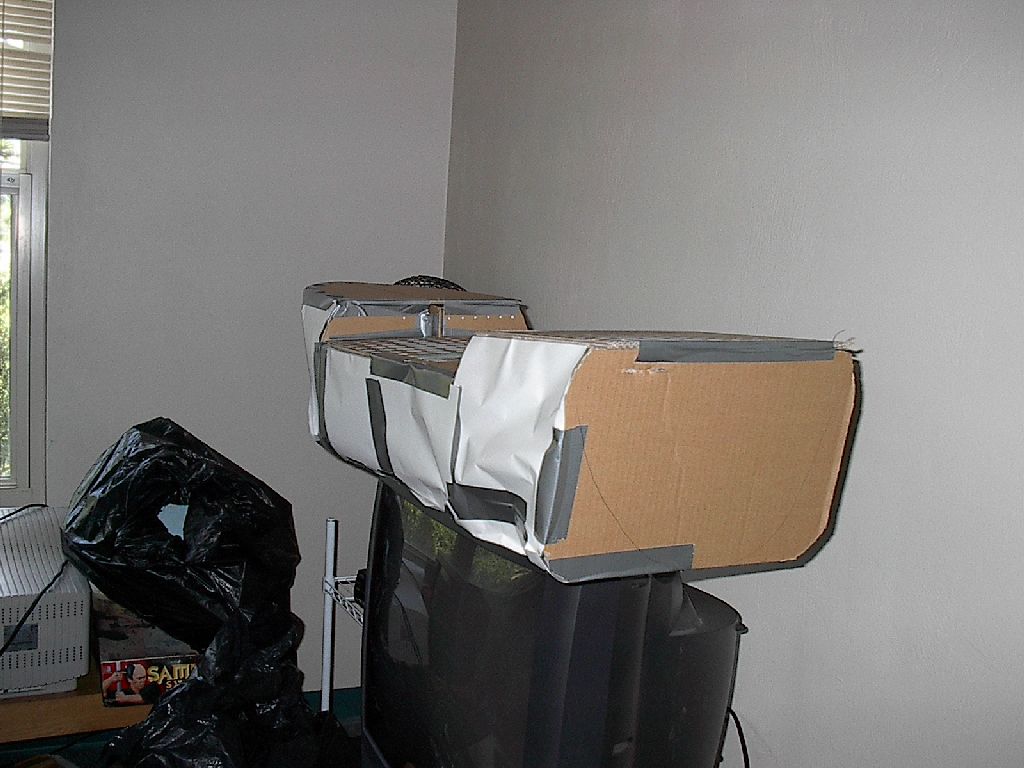
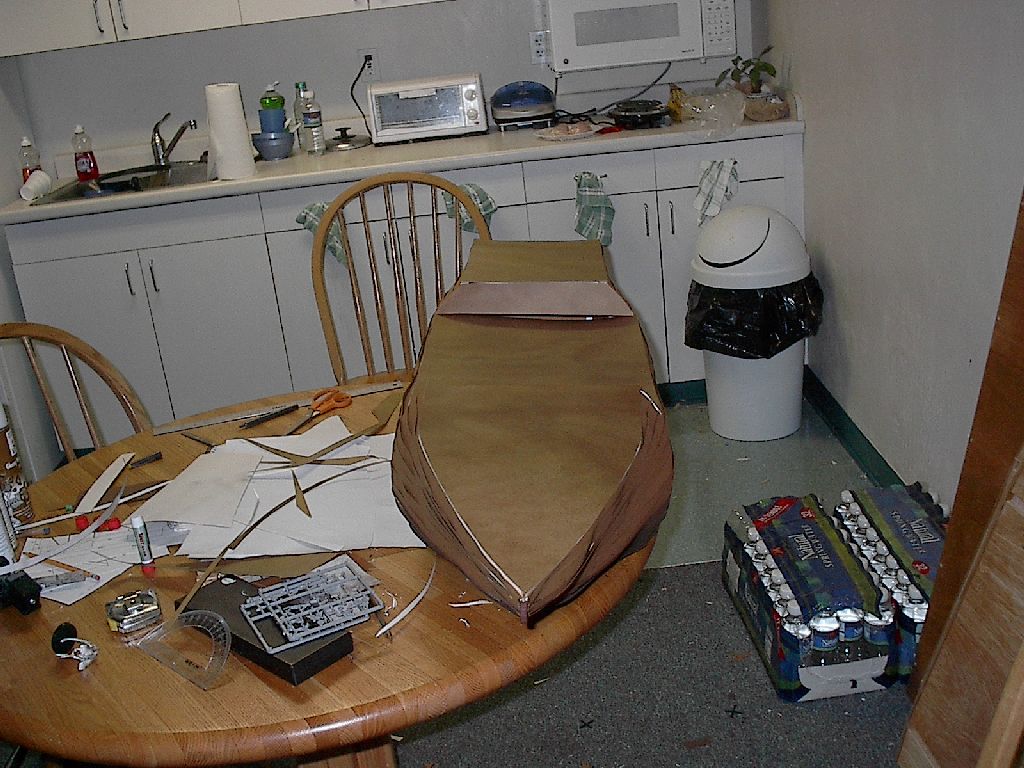
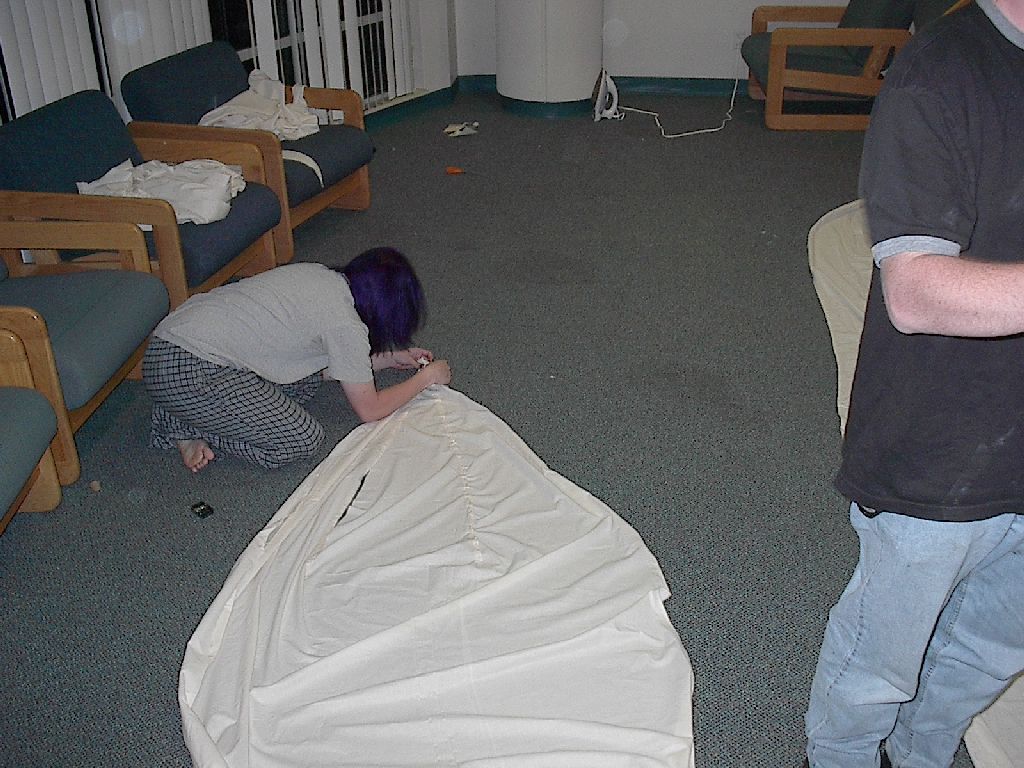
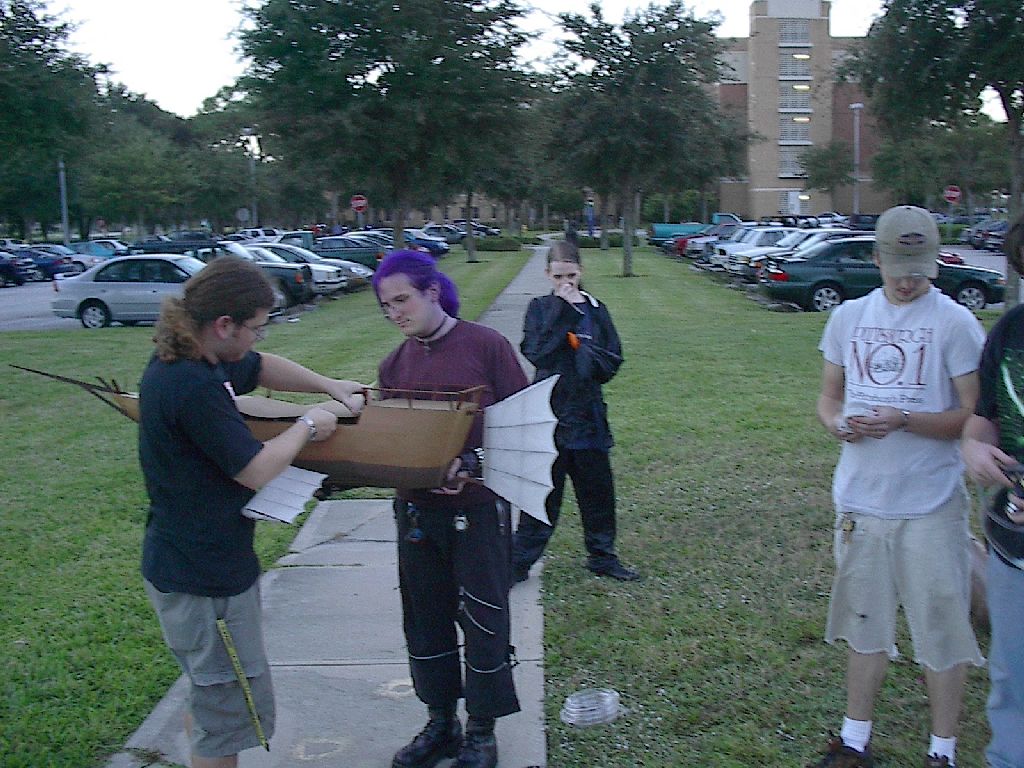
We designed our balloon envelope to be a cylinder with a hemisphere on one end and a cone on the other. The cloth we decided on worked out to add about two pounds of weight which would be subtracted from our balloon lift. We now needed a ship which weighed less than 5 pounds. Since we wanted our boat to be positively bouyant we needed to give ourselves some breathing room on the weight so we set the ship weight goal to 3 pounds. After doing some design sketches, I built a mock-up out of cardboard and duct tape to get the feel of what we in for.

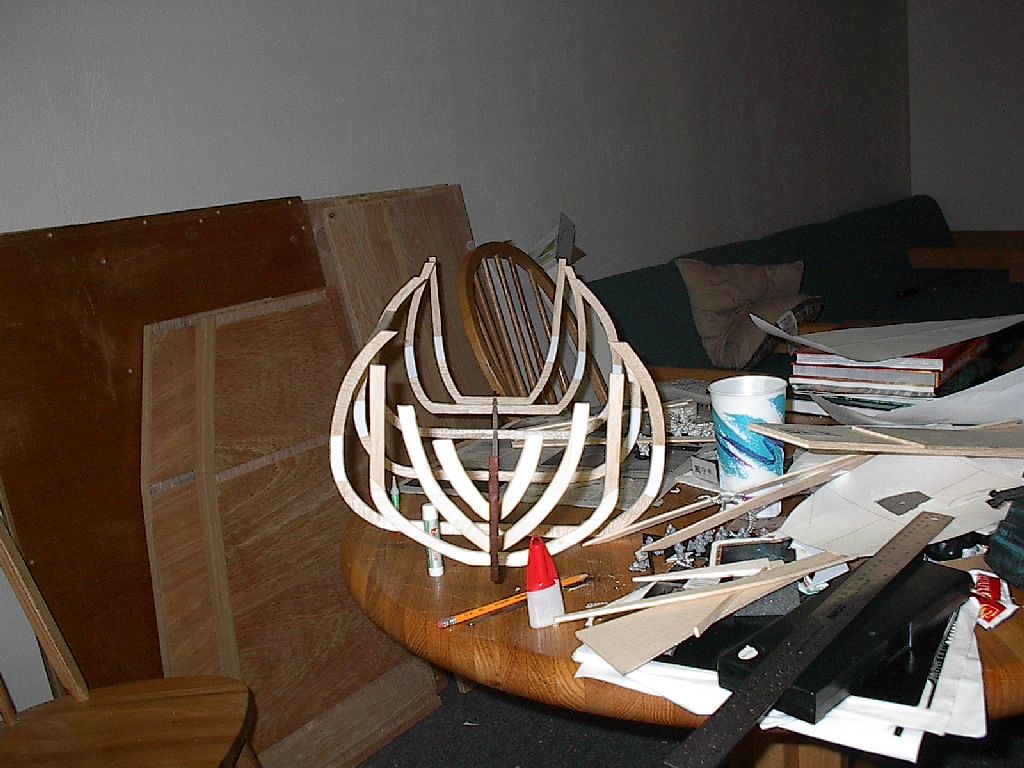
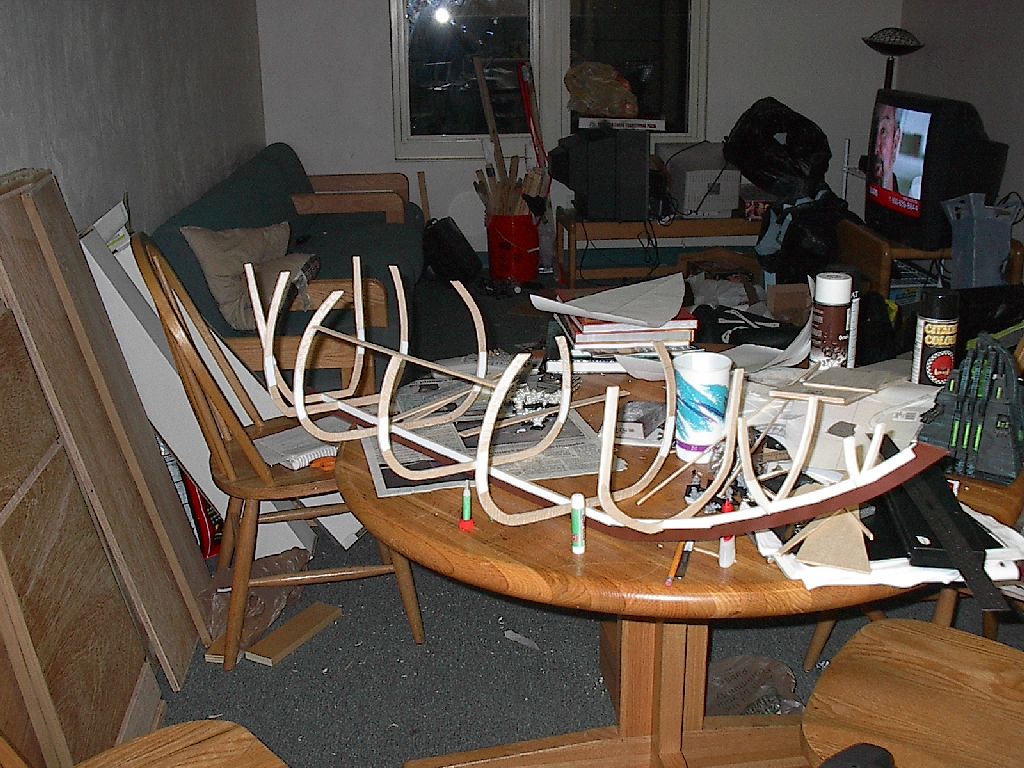
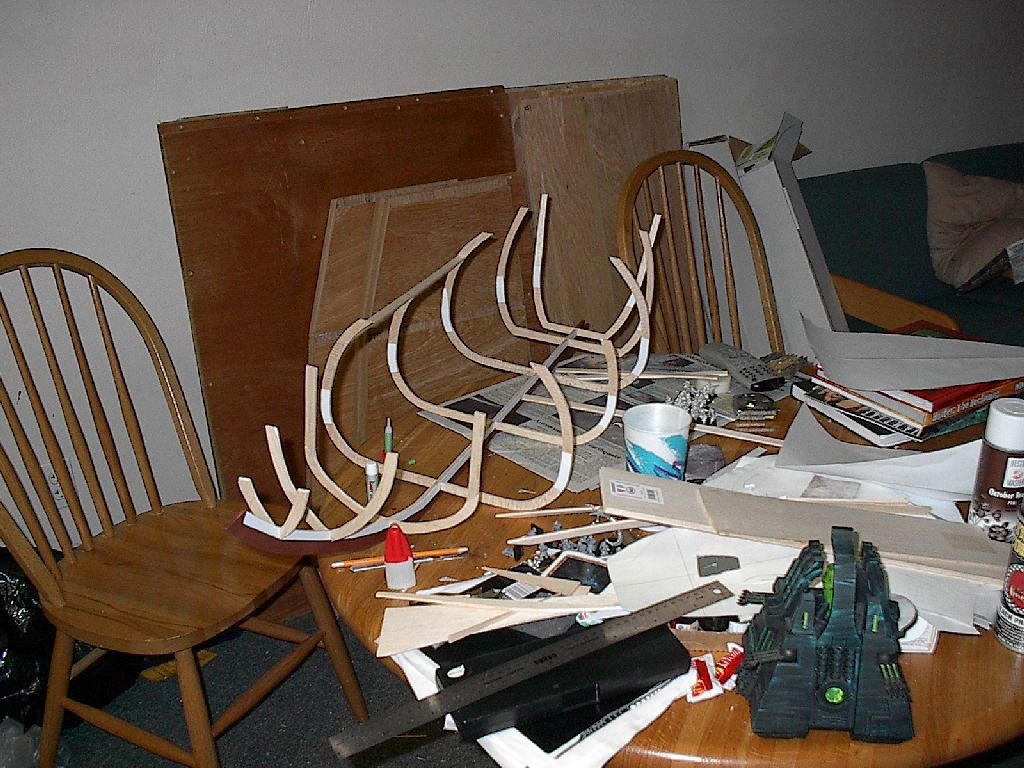
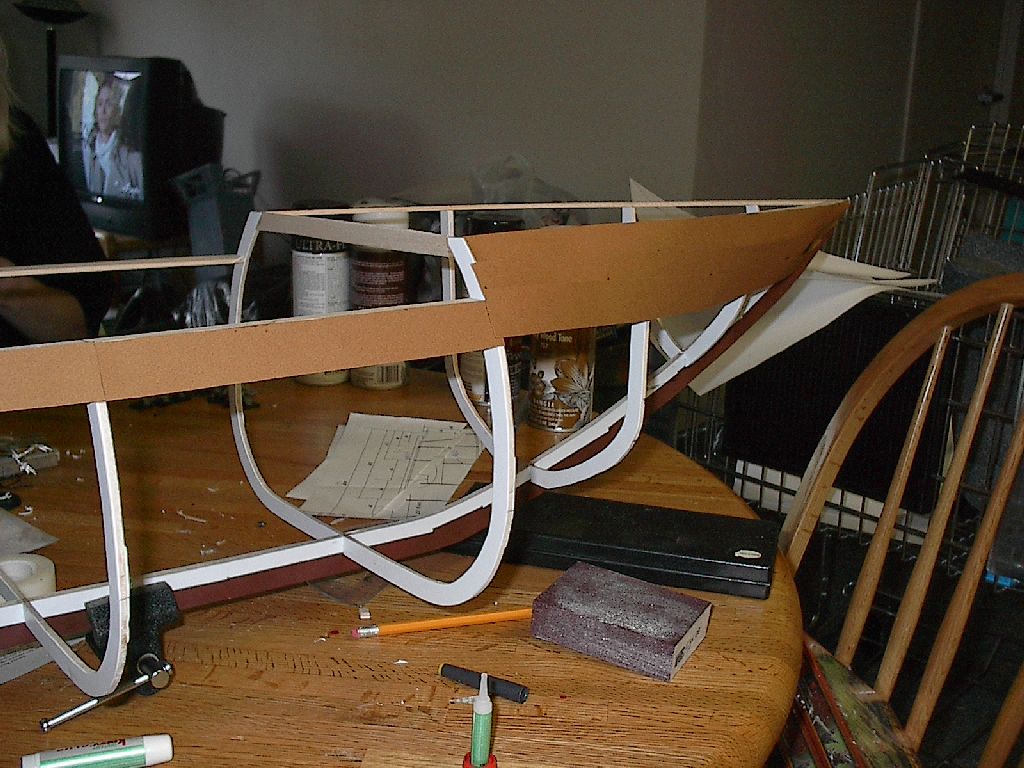
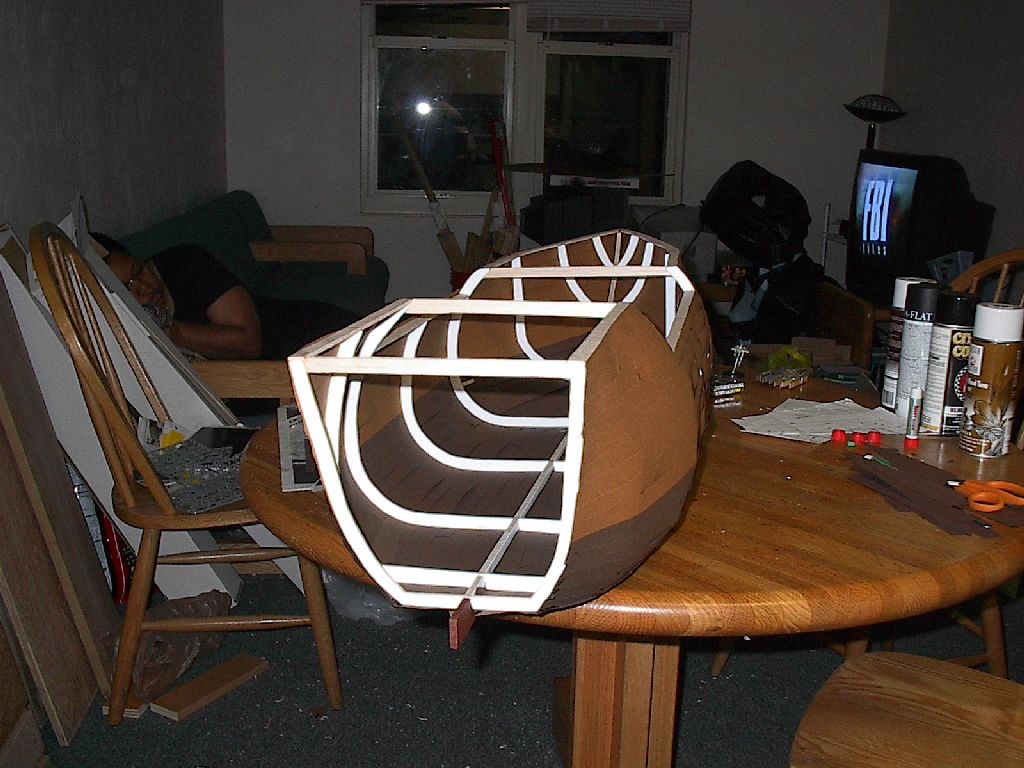
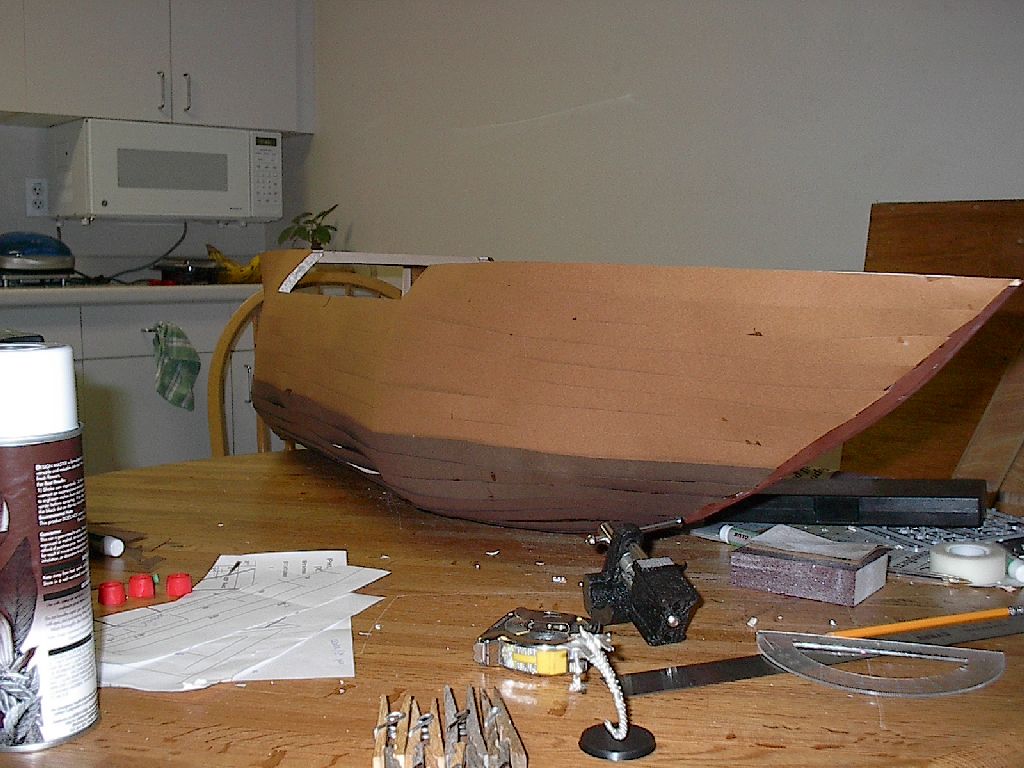
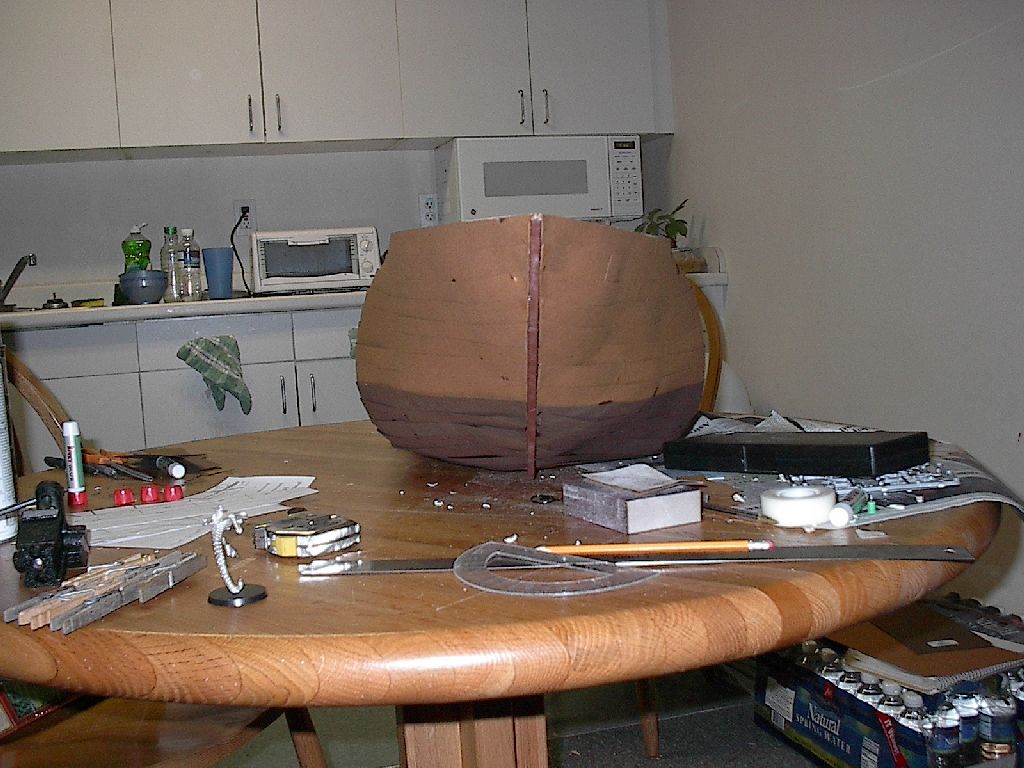
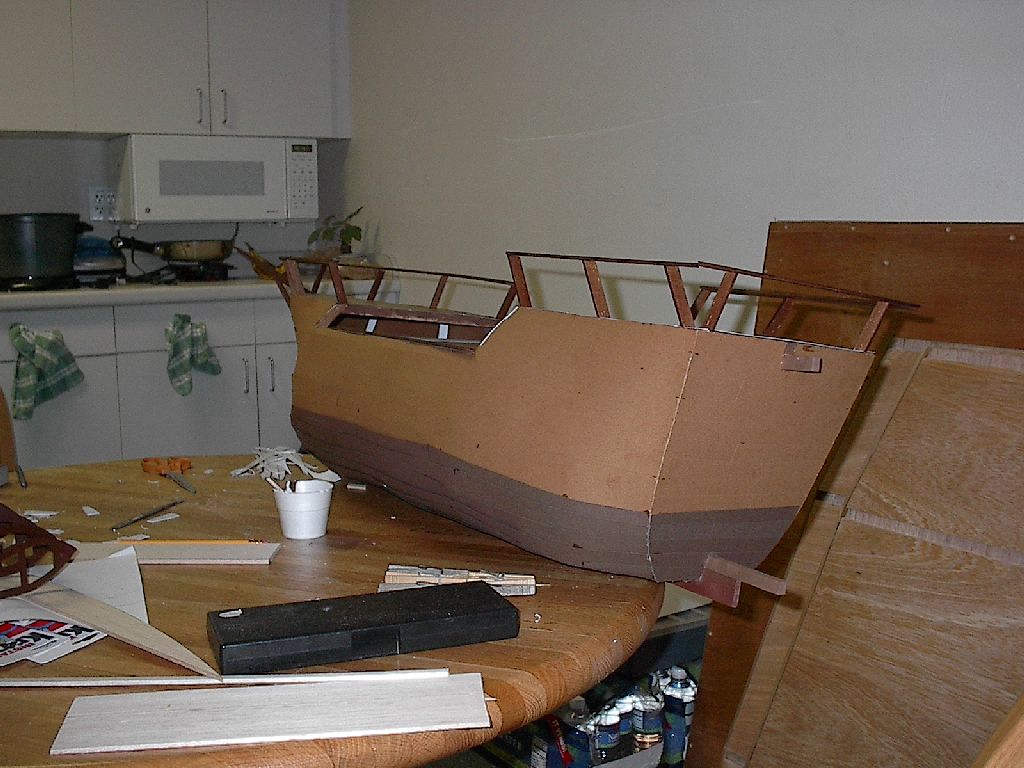
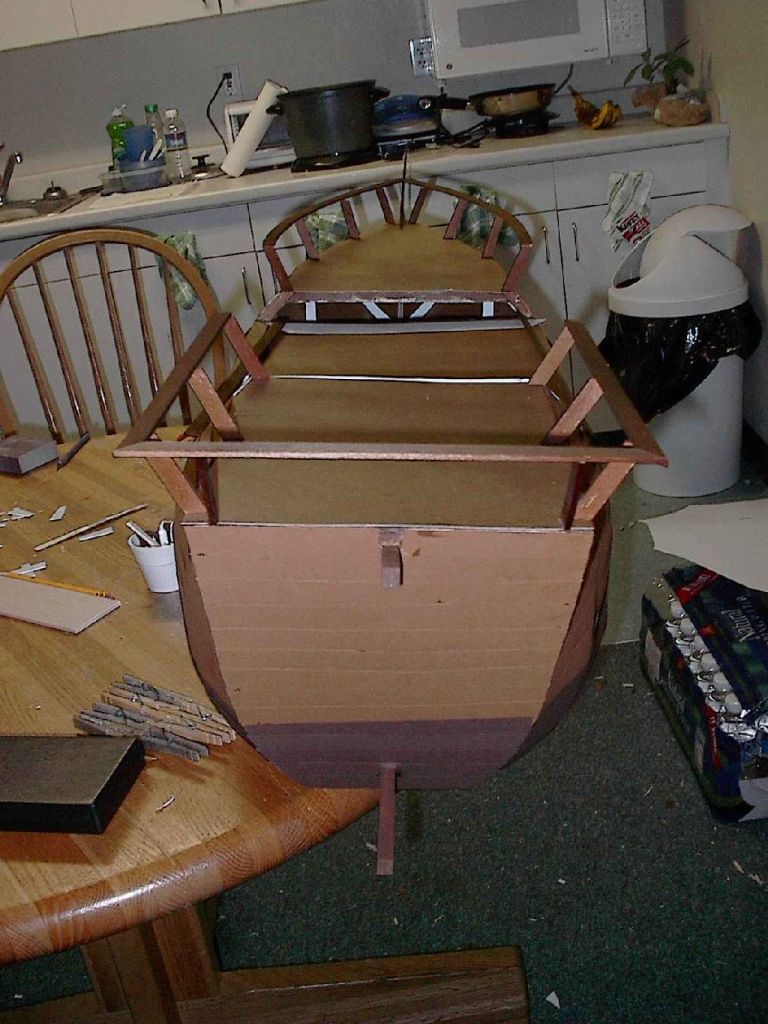
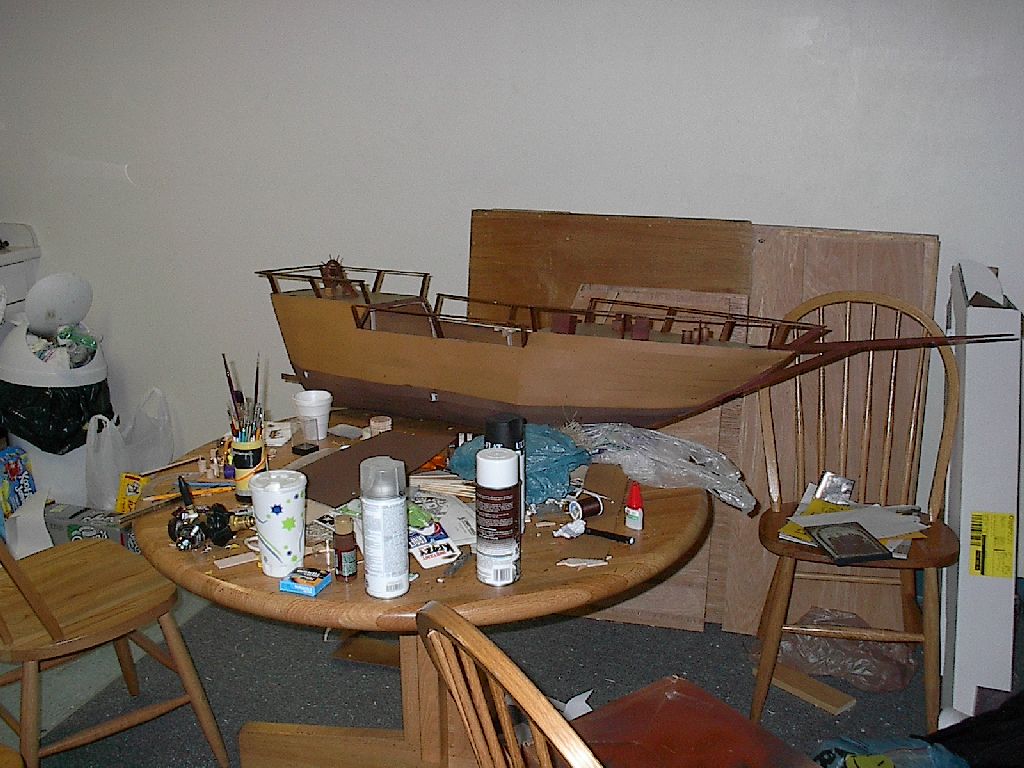
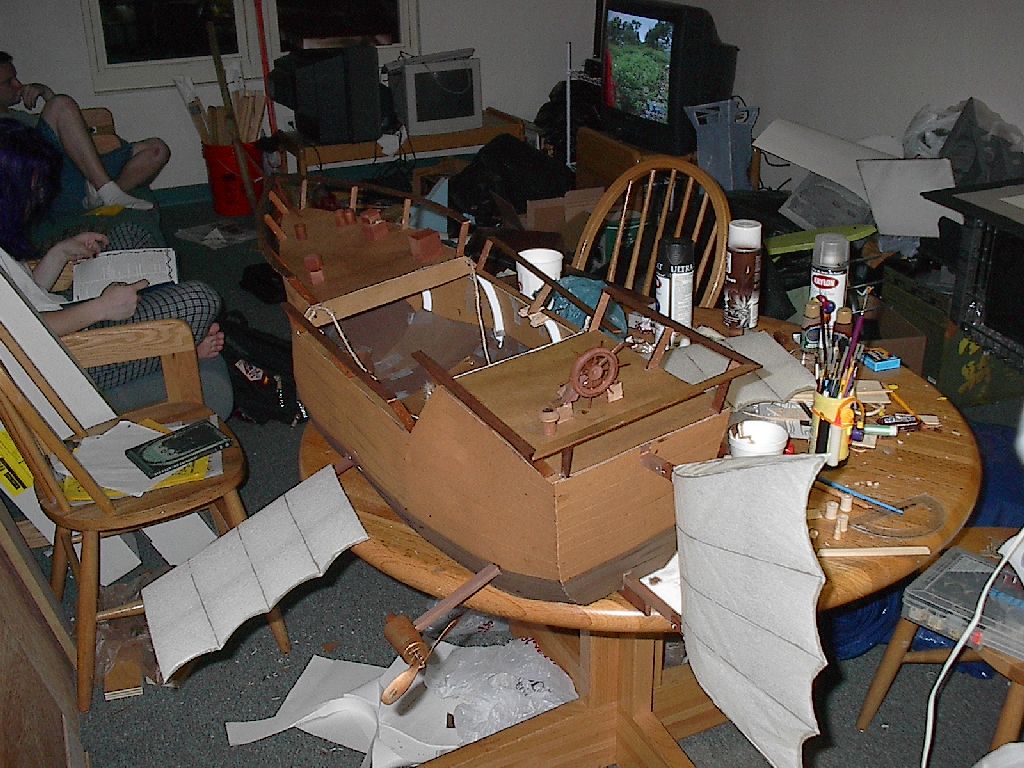
Our design called for a ship 4 feet long, 9 inches high, and 14 inches wide. After discussing a number of materials, we decided on using balsa wood, sheet styrene, and paper for the hull. The design was finalized and scale drawings were made up. A total of 8 ribs made up of 1/8th inch balsa wood were laminated on one side with .03 sheet styrene. A keel of 3/8th inch balsa was laminated on both sides with .03 styrene.
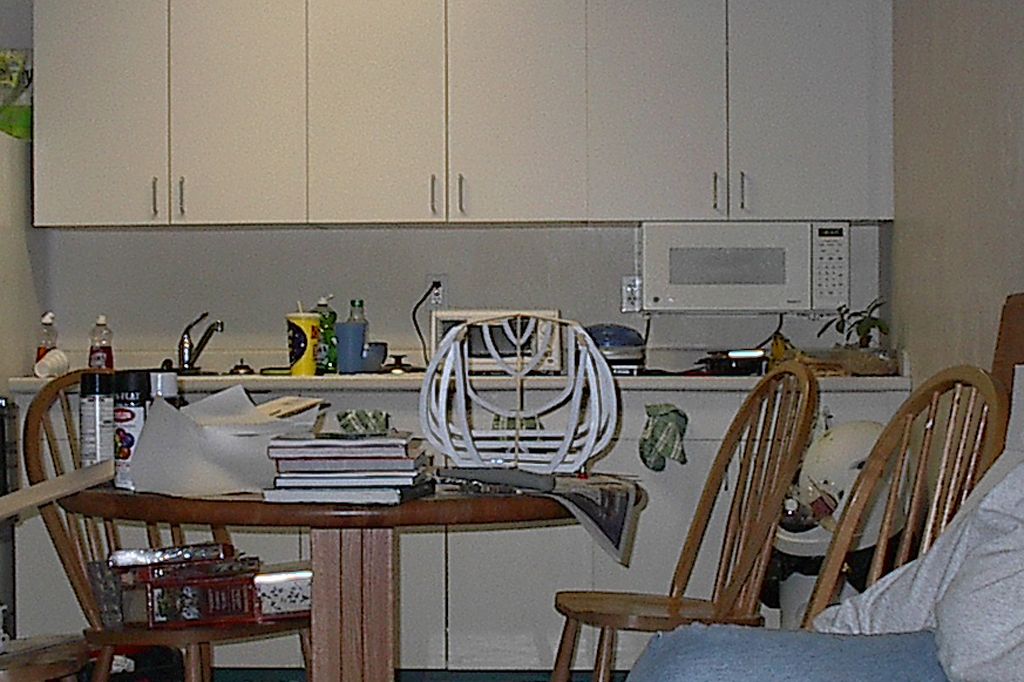
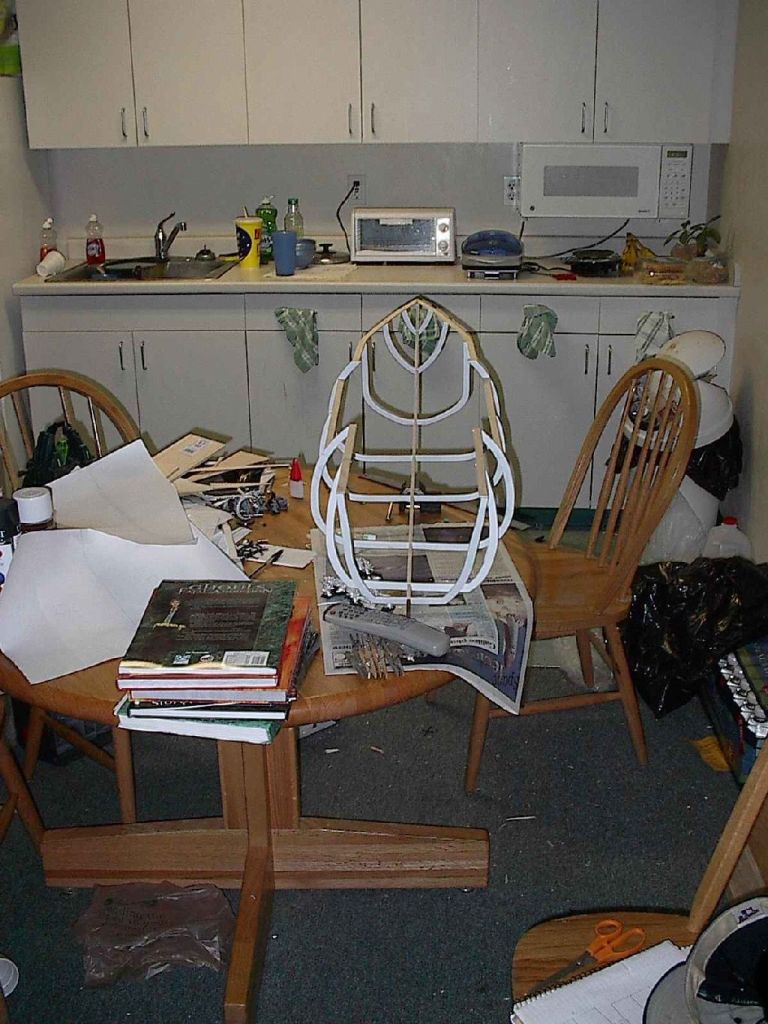
Once dry, the bottom half of the keel was painted brown. The keel and ribs were then notched and glued together. Additional balsa strips were used to connect the top of the ribs and create a deck support. Posterboard was spray-painted with a wood tone paint and cut for decking.
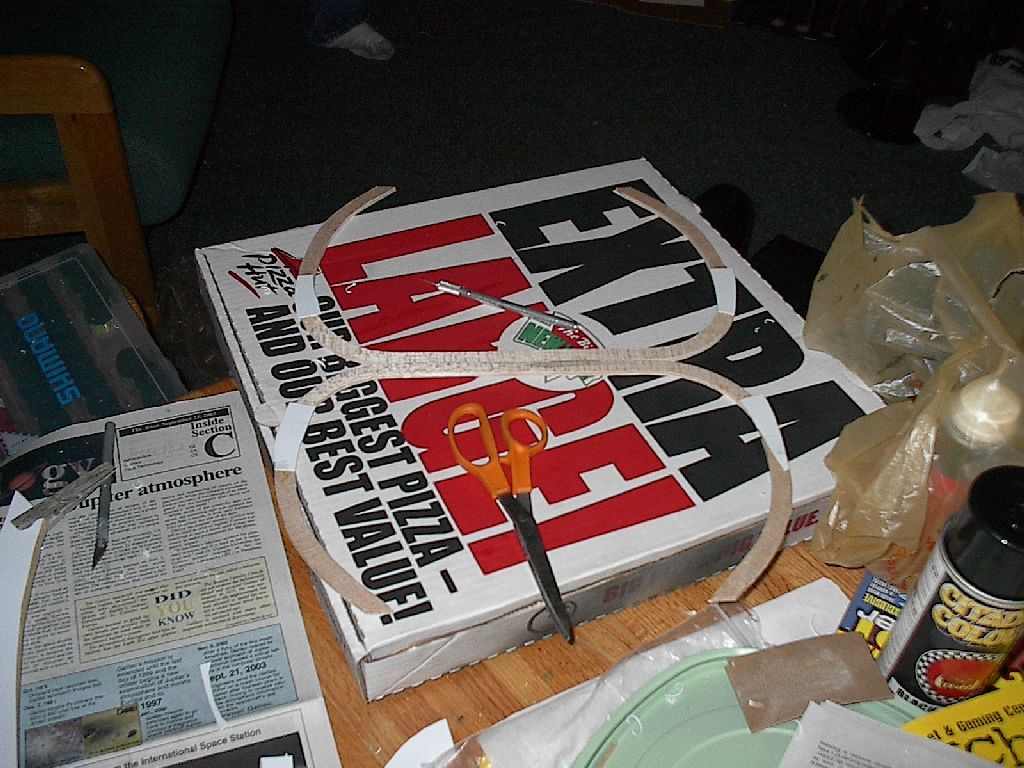
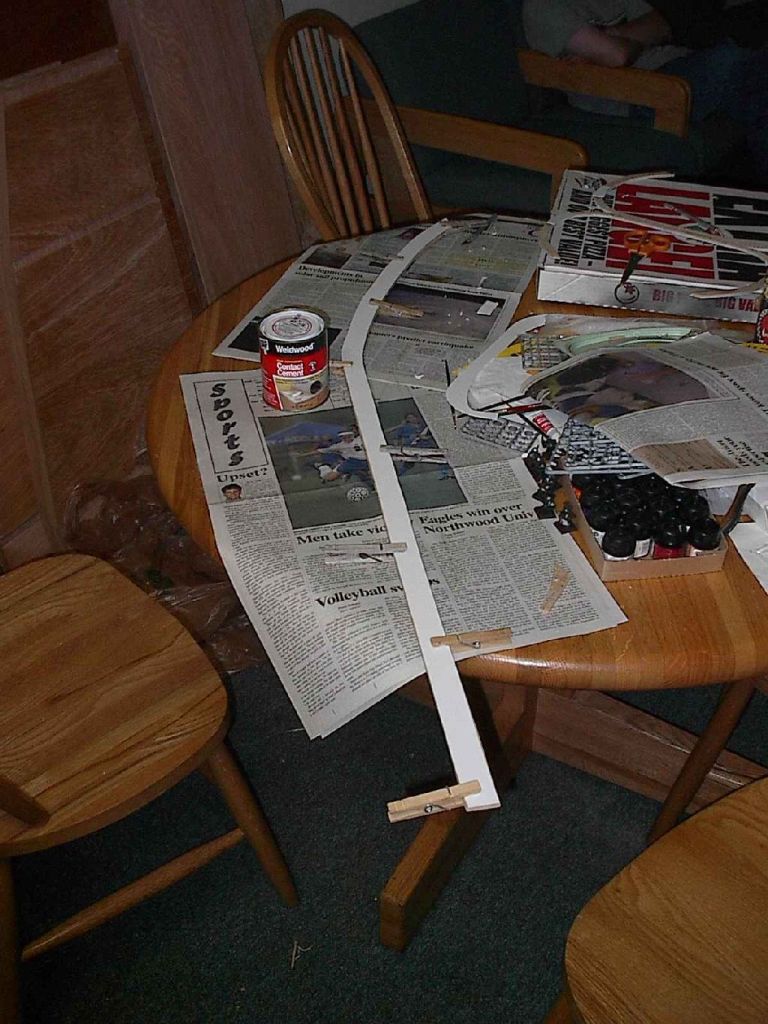
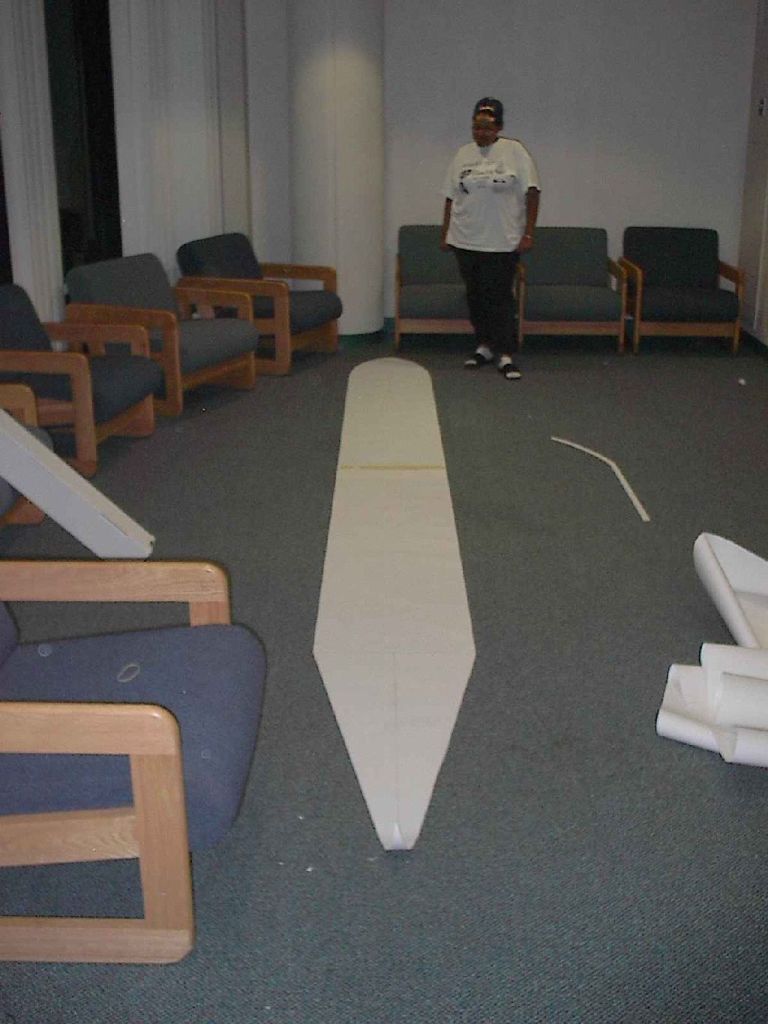
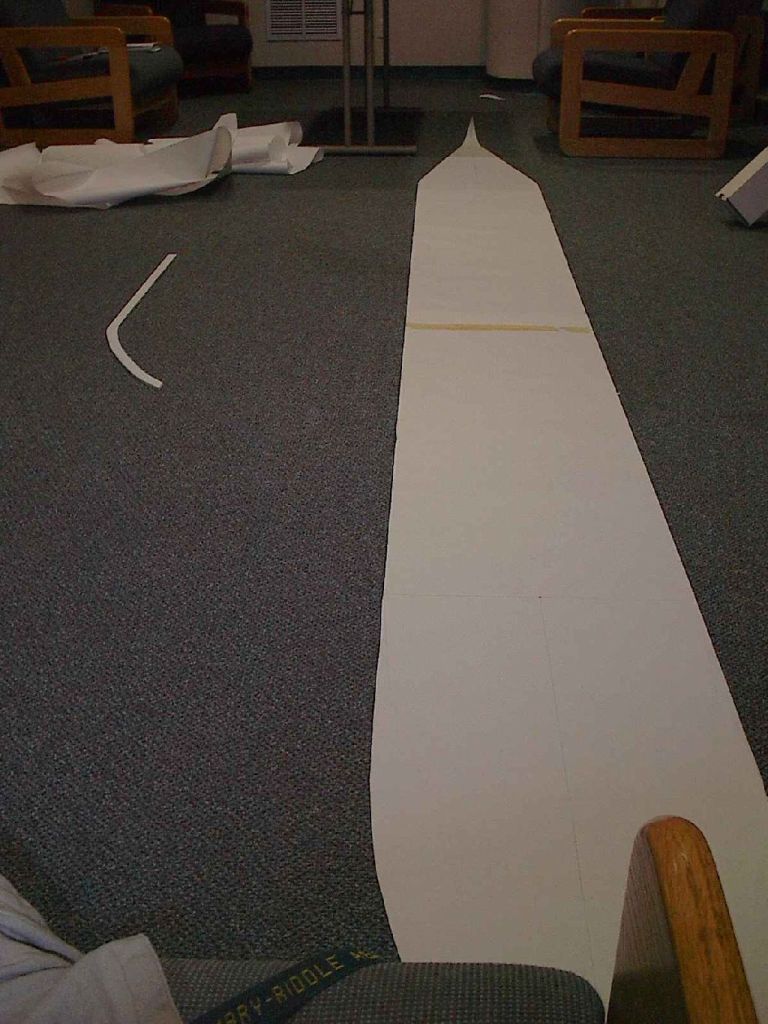
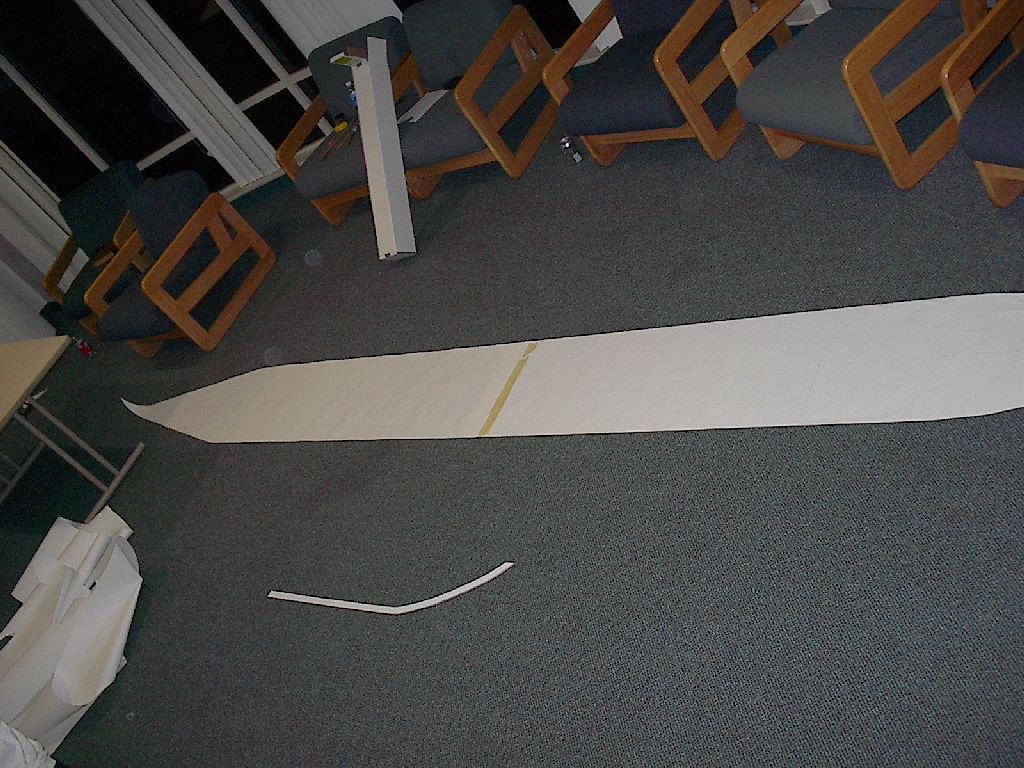
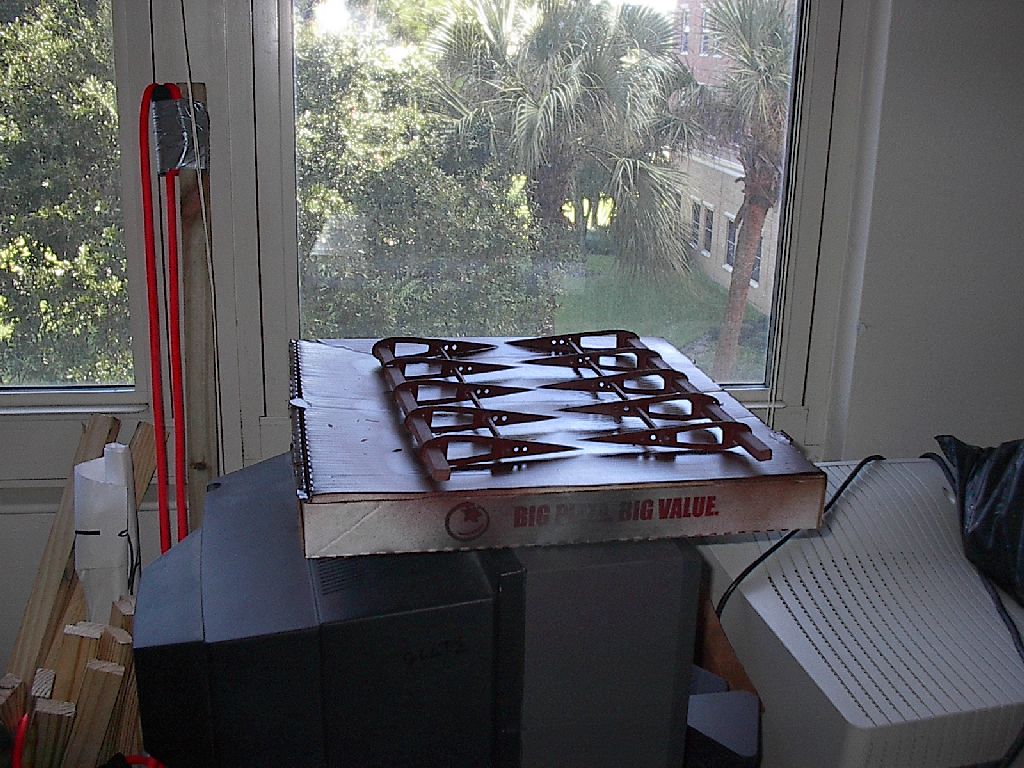
About this time, other people in the guild began to notice that this project might actually work and started helping out. I managed to pawn off the actual designing of the envelope and center of gravity calculations to other people. Also, it was around this time that the club advisor said he was going to pay to have a custom balloon made for the float. All he needed was a full size pattern section to give the balloon makers. An evening was spent trying to remember high school geometry and figure out how to get a 3 dimensional sphere to lay in a 2 dimensional plane. We didn't get it quite right but in the end it didn't really matter. Here are some pictures of our final pattern for the balloon. Notice the keel of the boat in the pictures. The paper is actually 1/8th of the total balloon.
With the balloon due in a week and our first test flight in two, I had to get cracking on the ship. An entire weekend was spent on papering the hull. One inch strips of brown art paper were cut and overlapped by 1/4 inch to simulate planking. I went through eight tubes of super glue buy the time I was done.
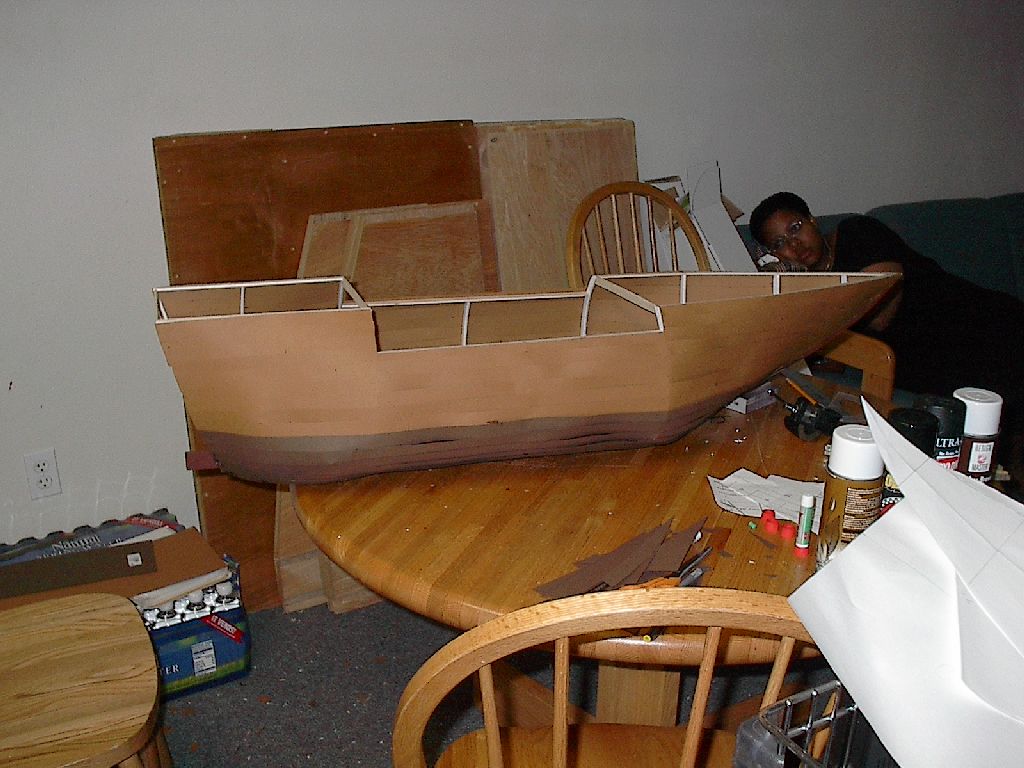

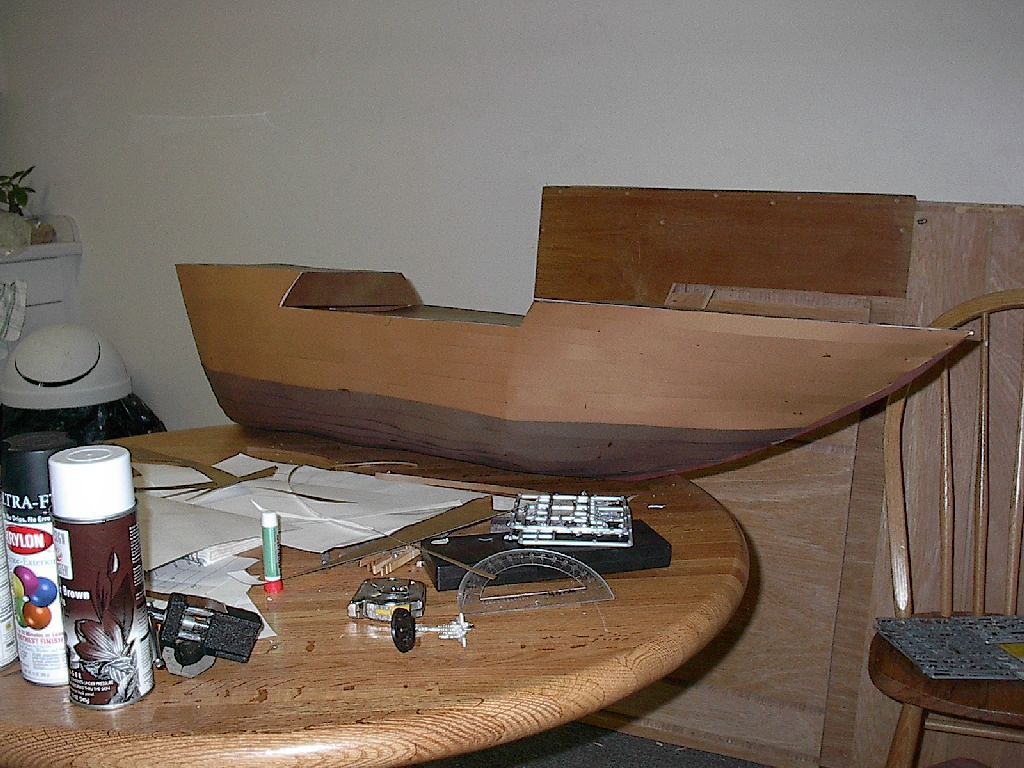
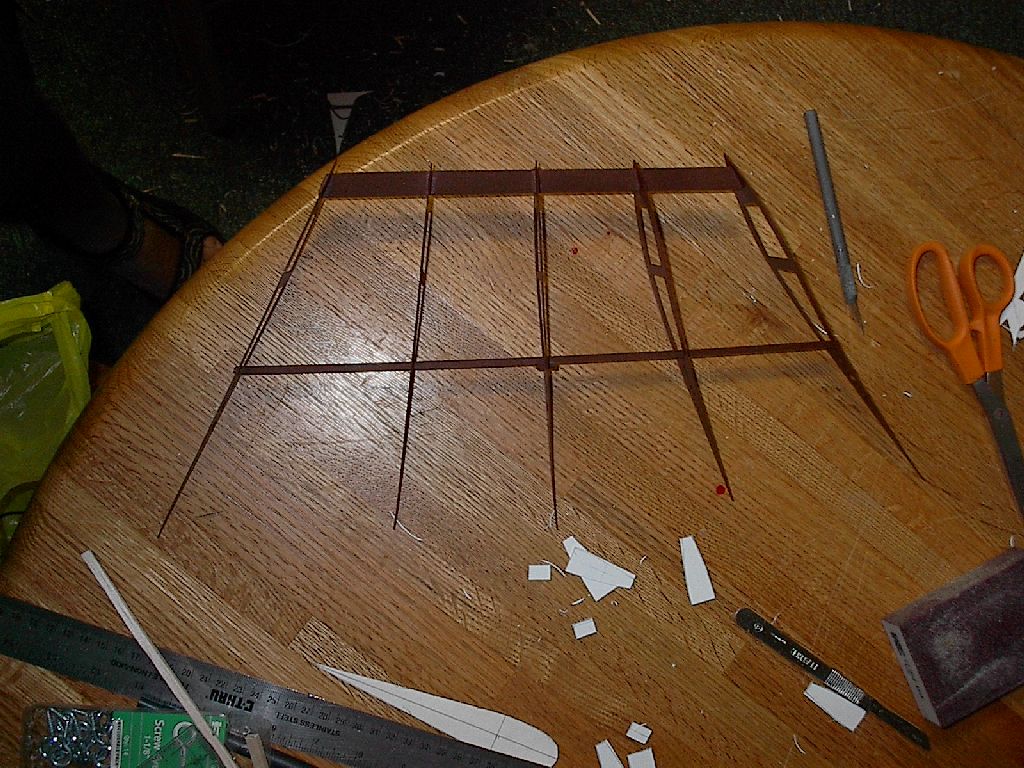
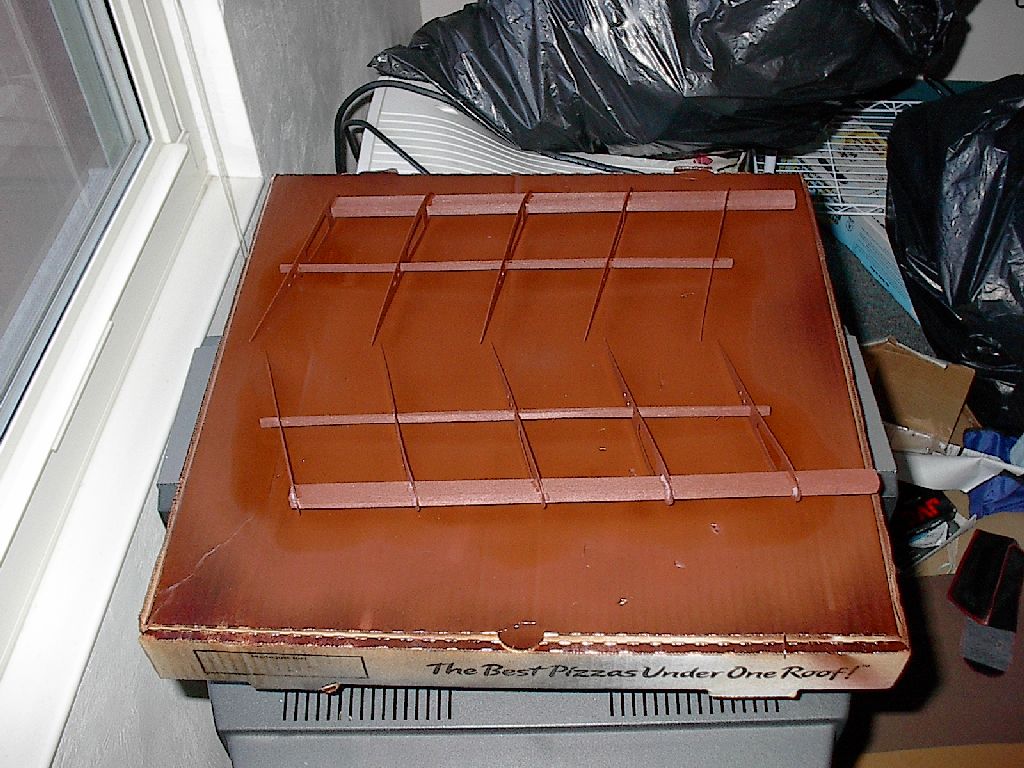
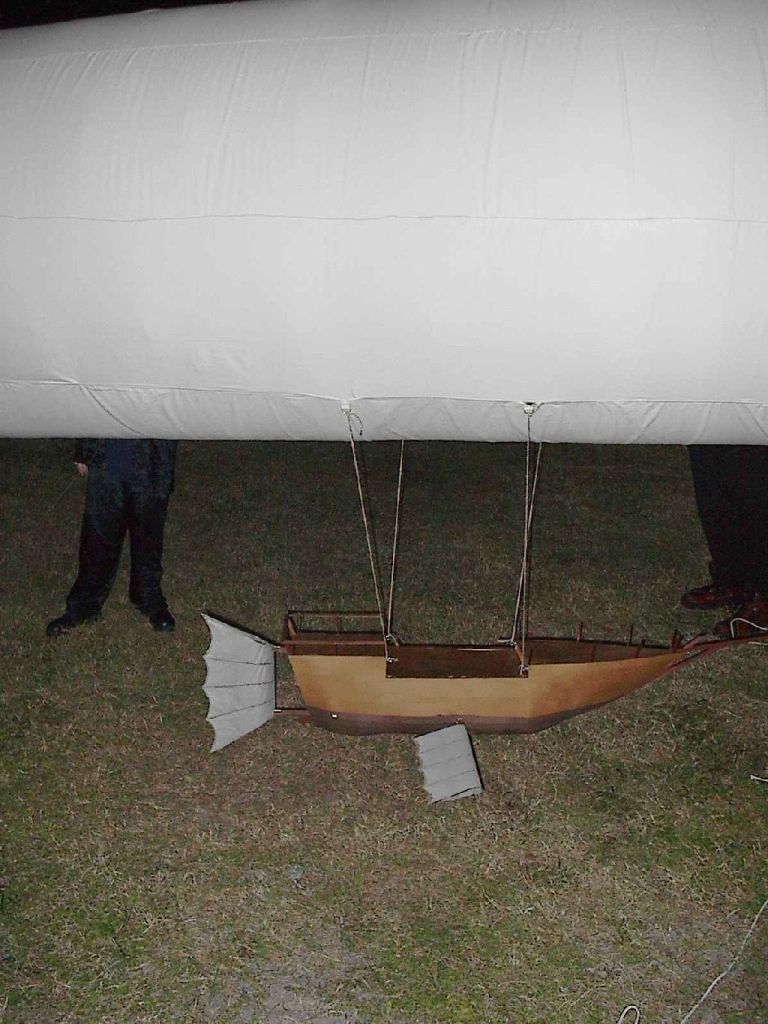
Next up was making the banisters, forward spar, and attachment points for the tail. For these, balsa wood was spraypainted with more wood tone paint.
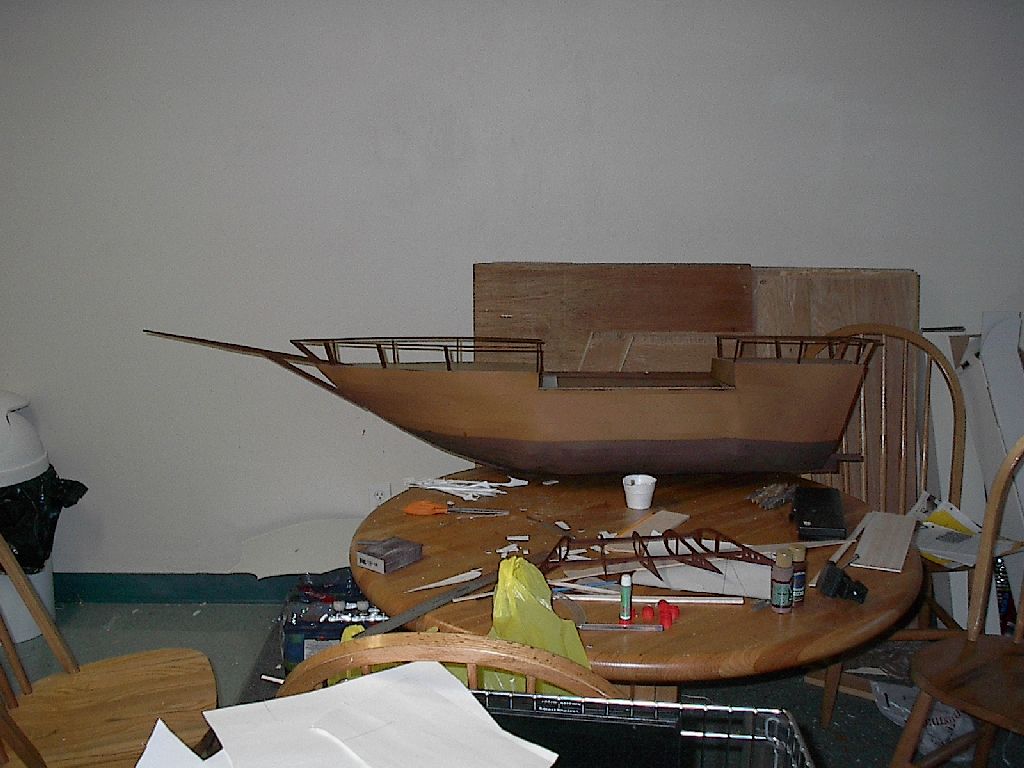

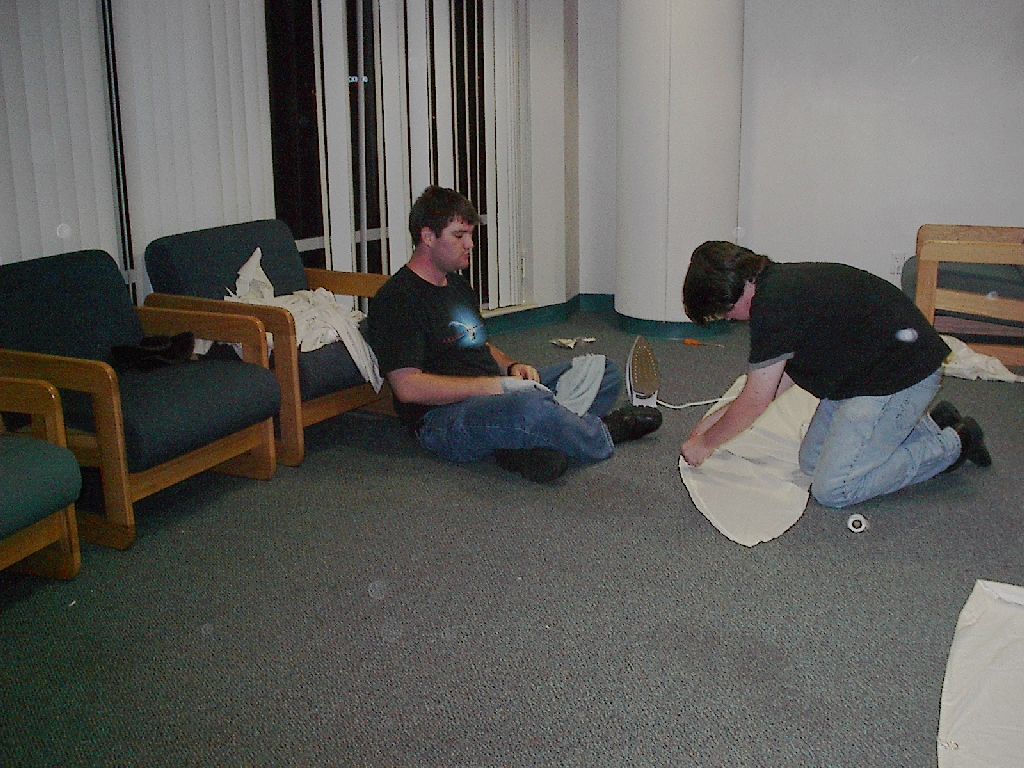
The wings and tail were made from balsa wood and sheet styrene. These were later coated with tissue paper.
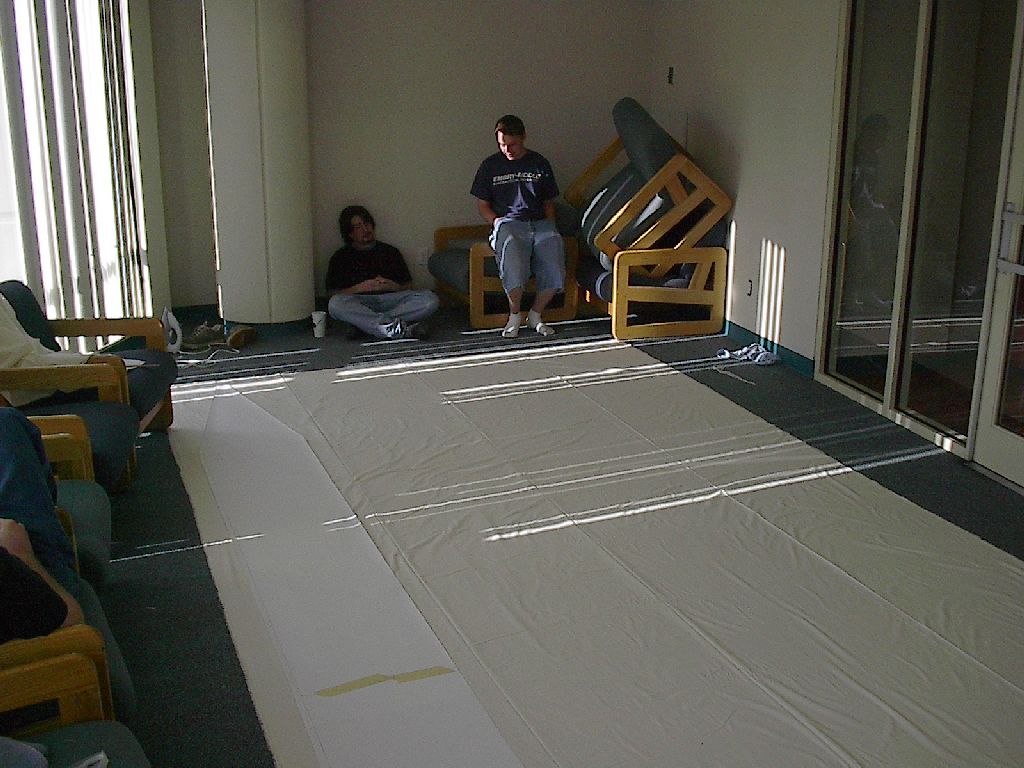
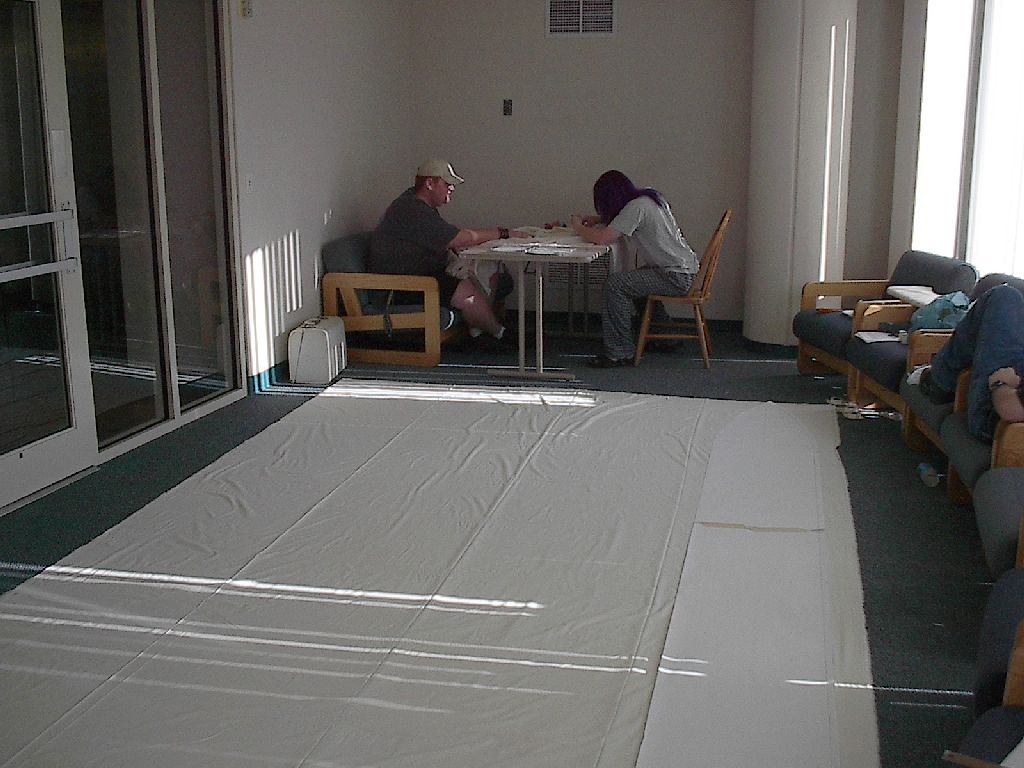
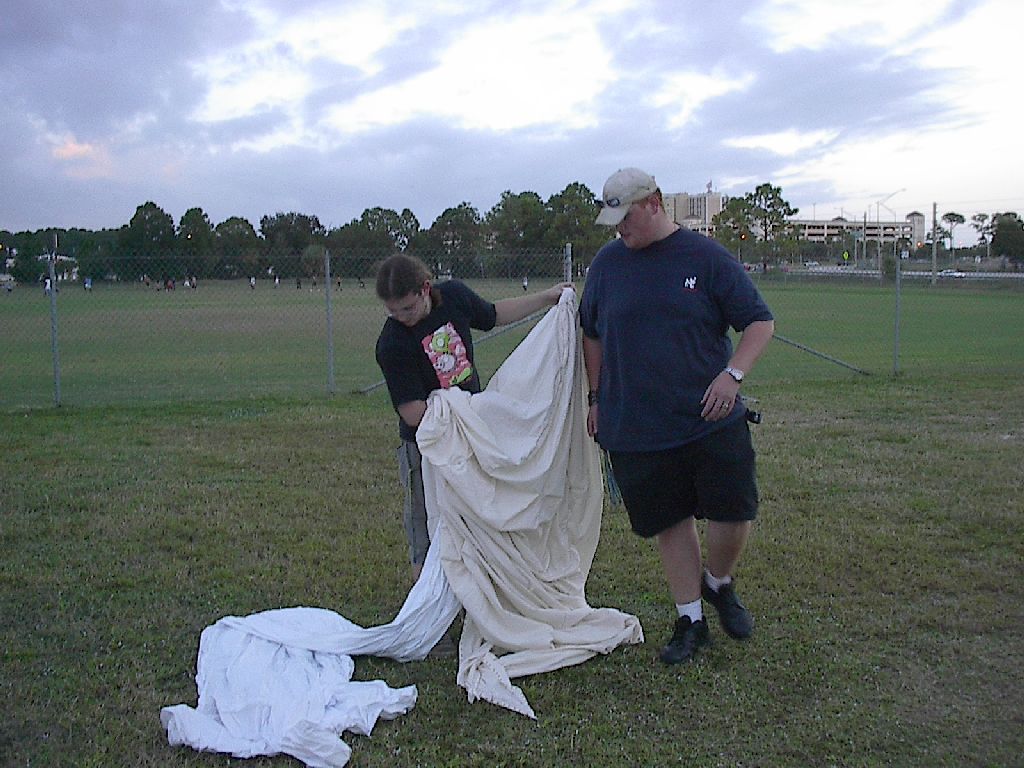
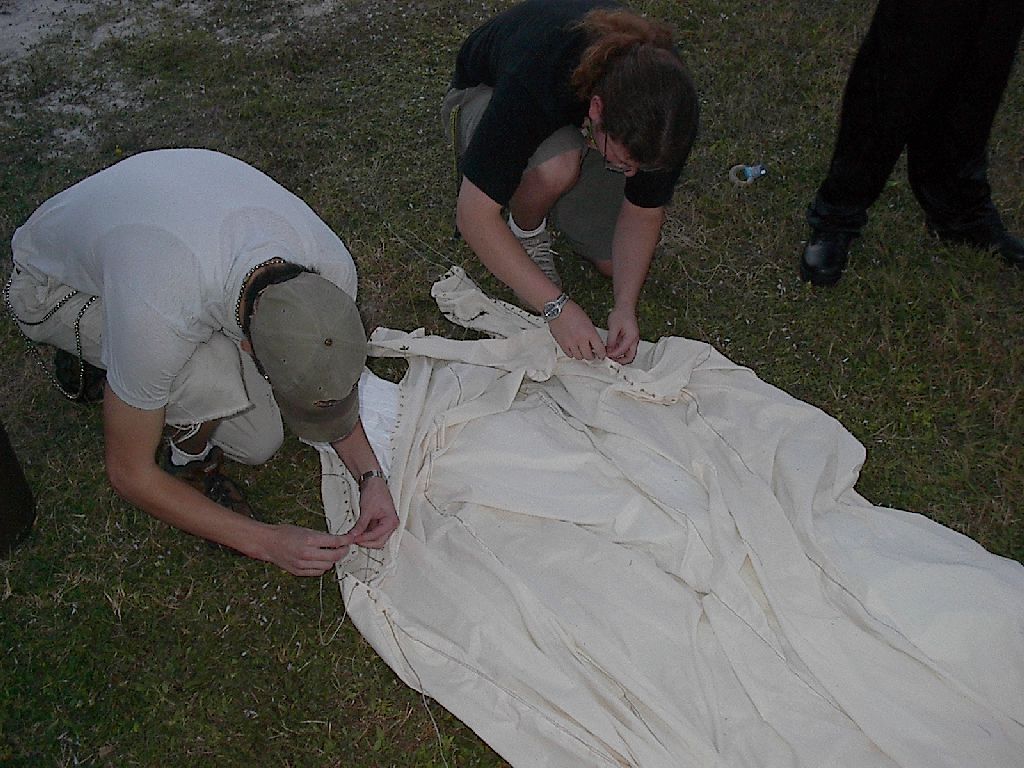
A week later our custom urethane balloon was ready. Taking measurements off of it, another full size 1/8th paper template was created. We made our envelope out of 3 pieces of unbleached muslin. Two 3/8ths pieces and one 1/4 piece were sewn together on a borrowed sewing machine from the 50's. The edges were first made with stitch witch to ensure a good seam. After attaching the dome end, fake seams were run down each 8th of the central cylinder. Three seams in the cone had brass grommets inserted every inch in order to allow access for insertion or removal of the balloon from the envelope.
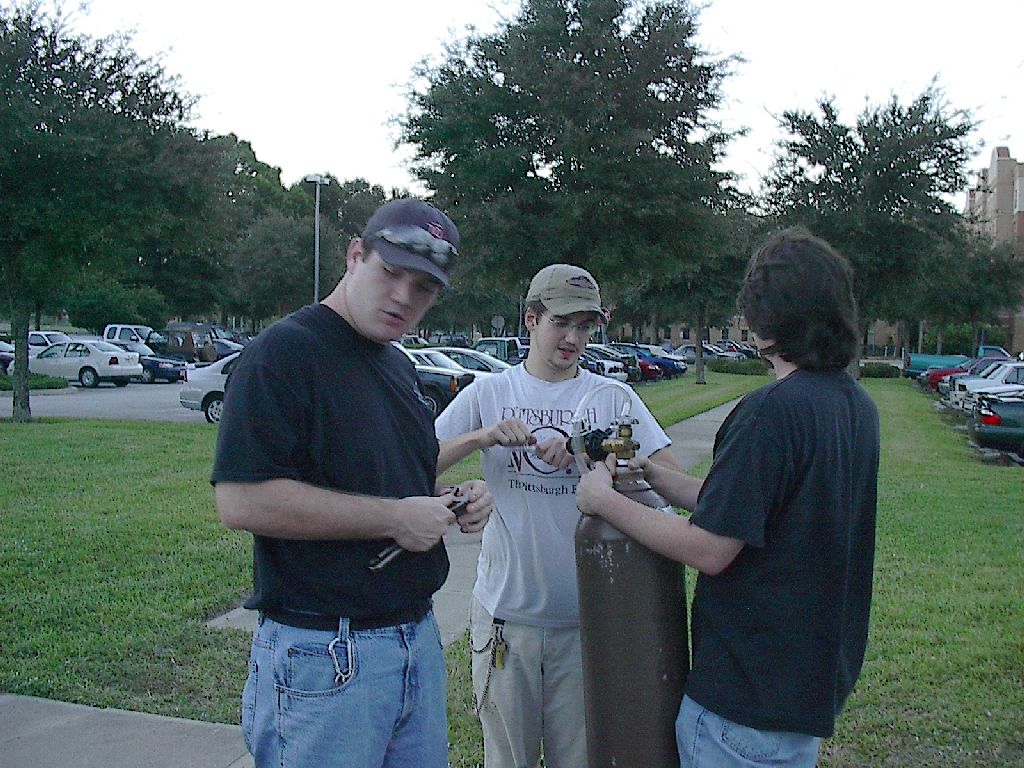
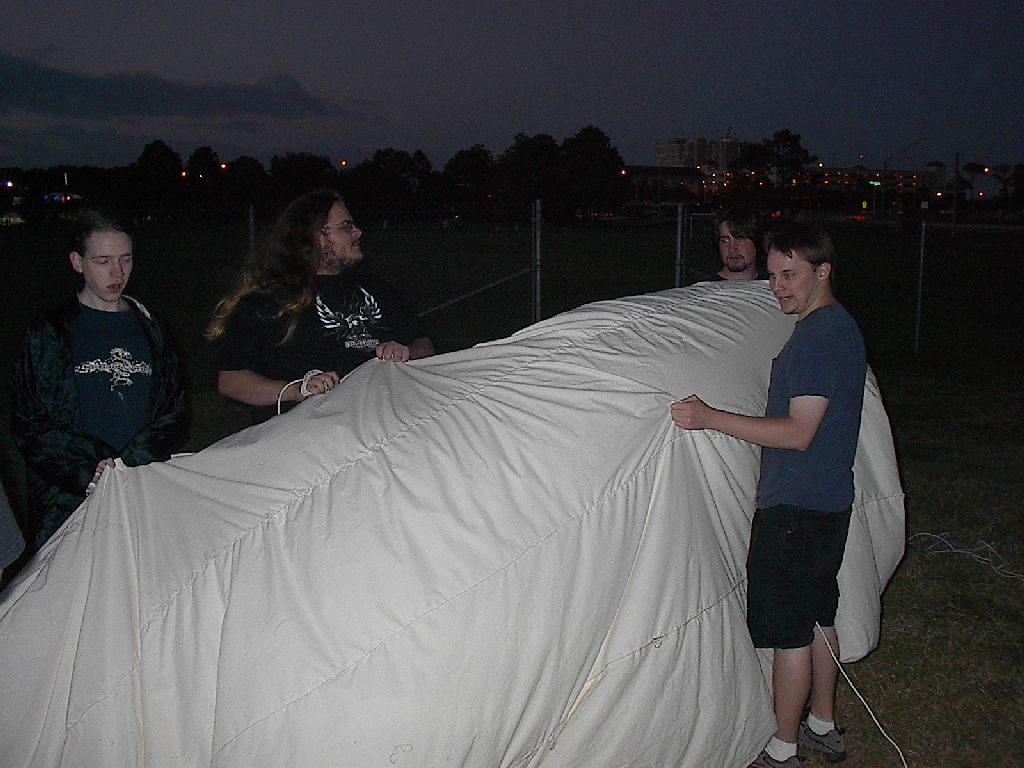
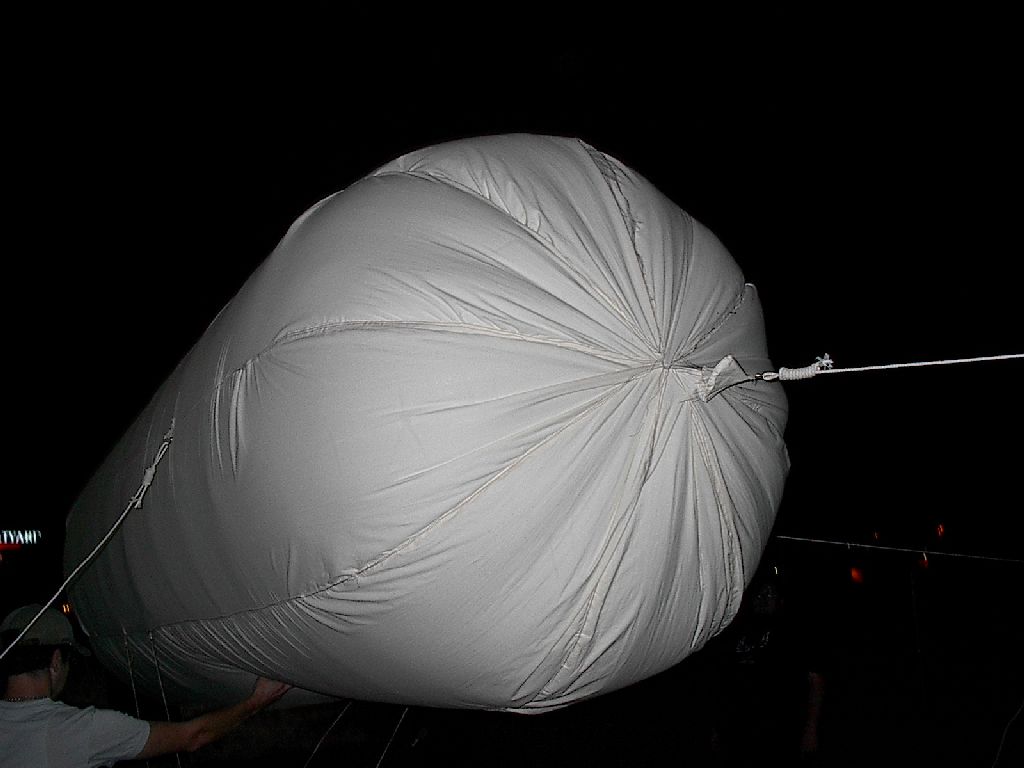
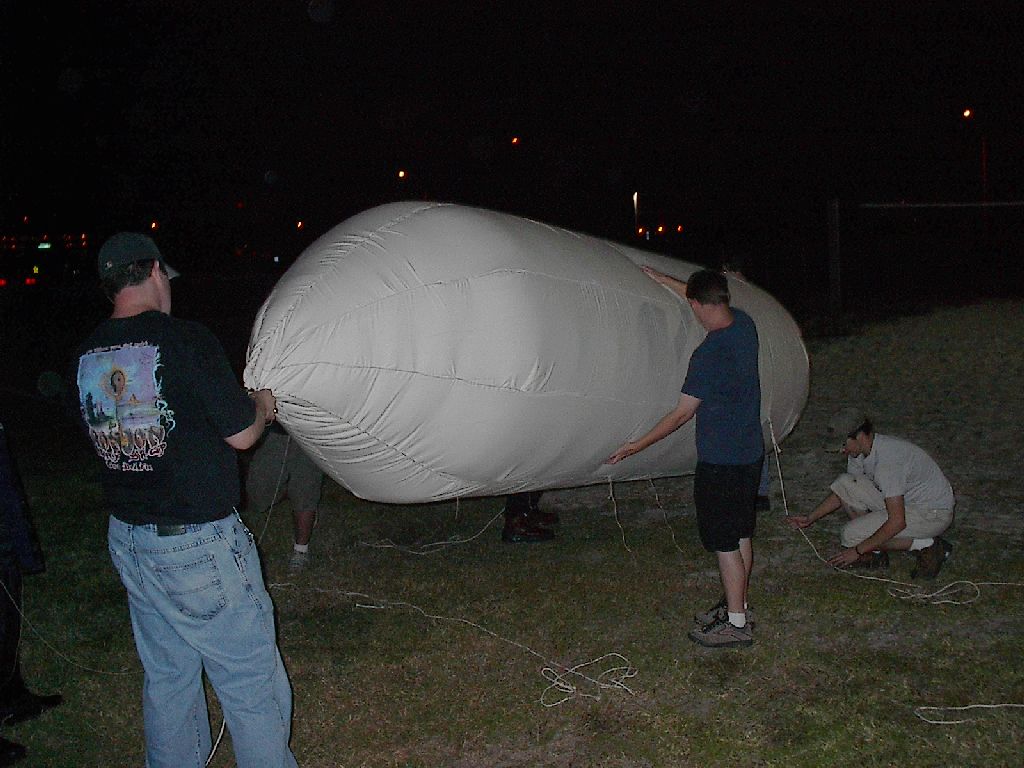
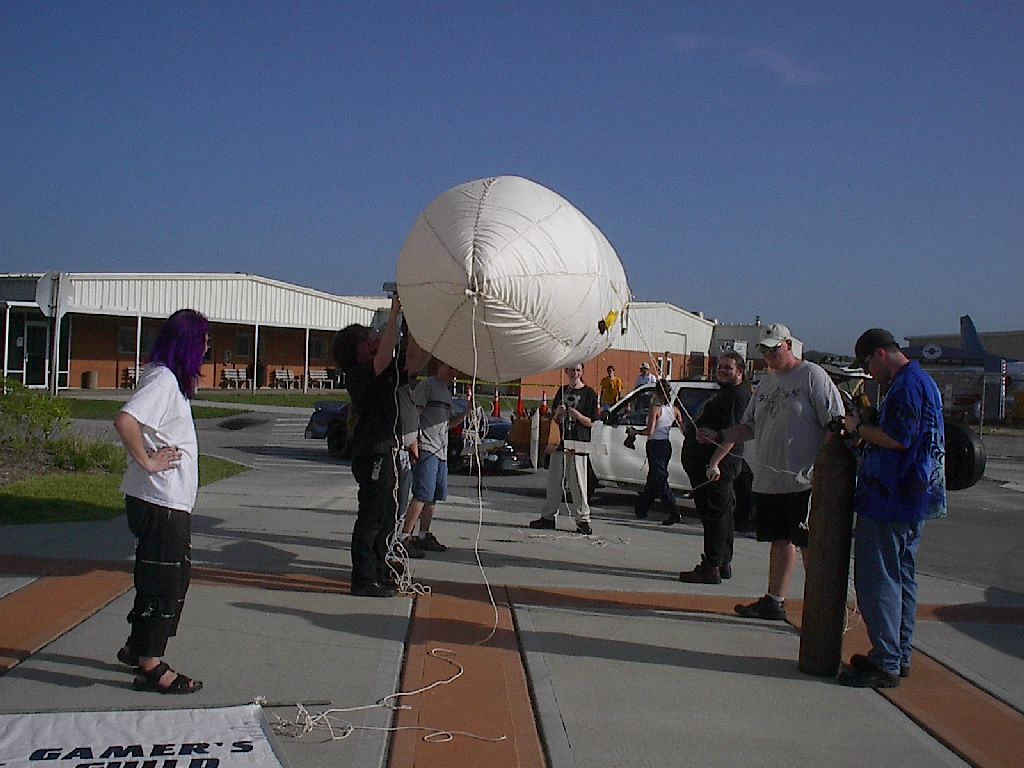
Brass D-rings were attached in numerous places, both to attach the ship to the envelope and the envelope to the ground. Once the envelope was complete it was time to run a test. We rented a tank of helium from a local gas supply store. Our balloon requires about 160 cubic feet of helium which means we needed a rather large tank. Fortunately the school had an account with the company and we managed to get a commercial size tank. We had to work fast since the sun was going down and there were rather high winds that day.

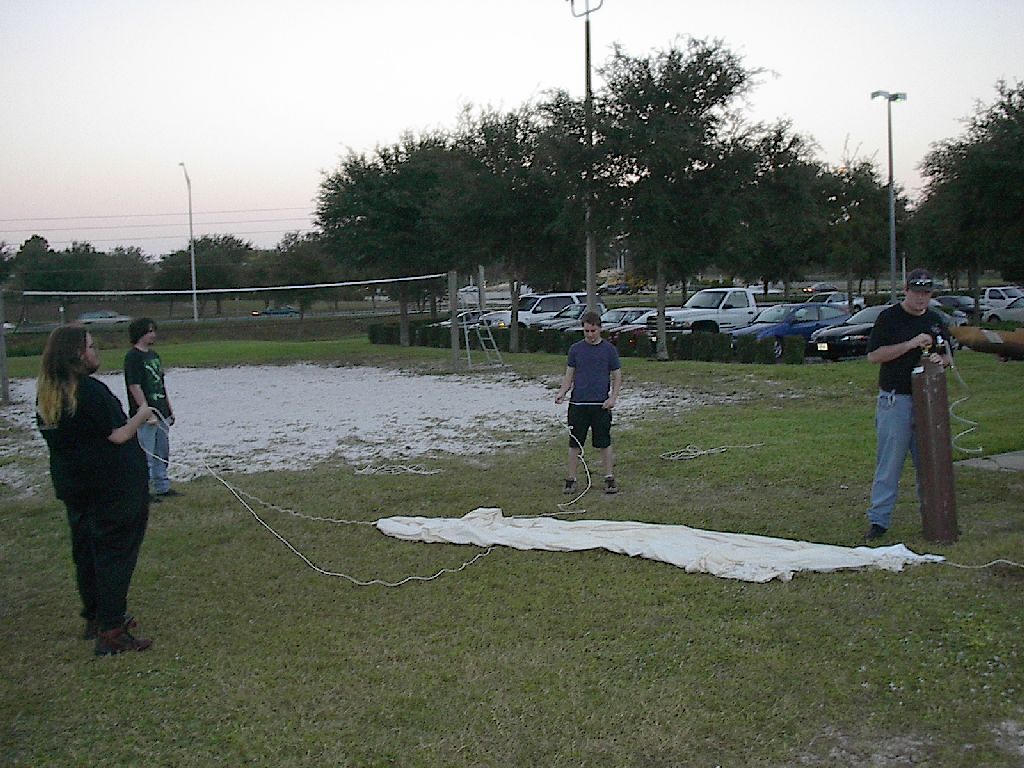
After getting everything ready we started to fill the balloon. It ended up taking 30 minutes to fill.
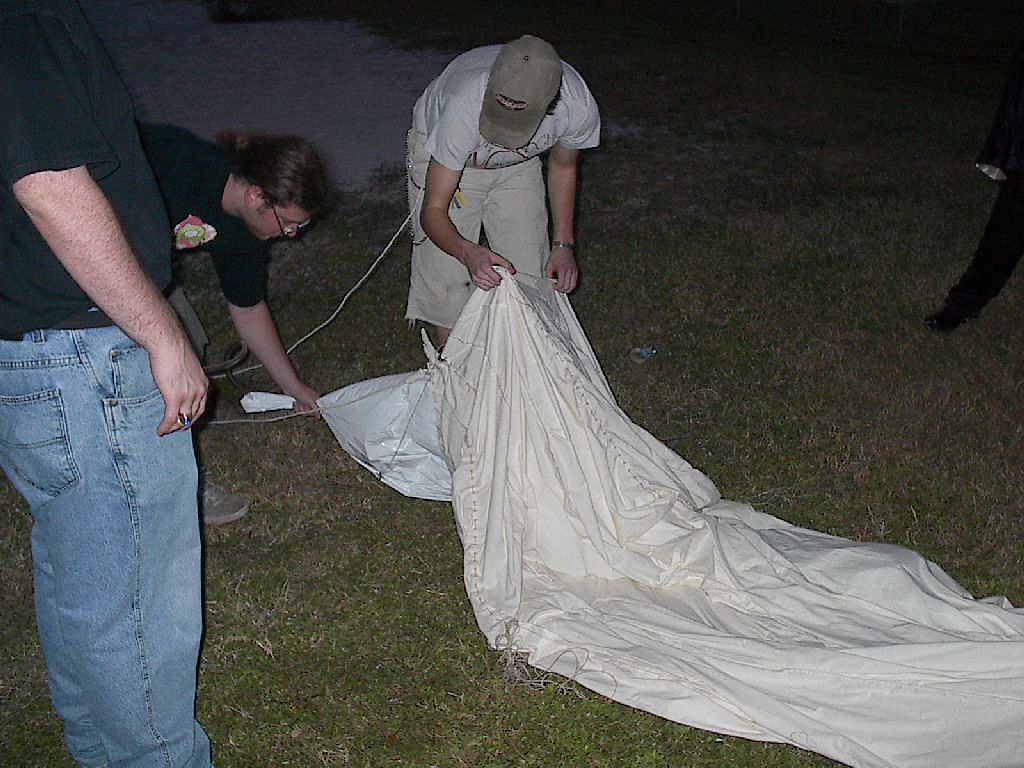
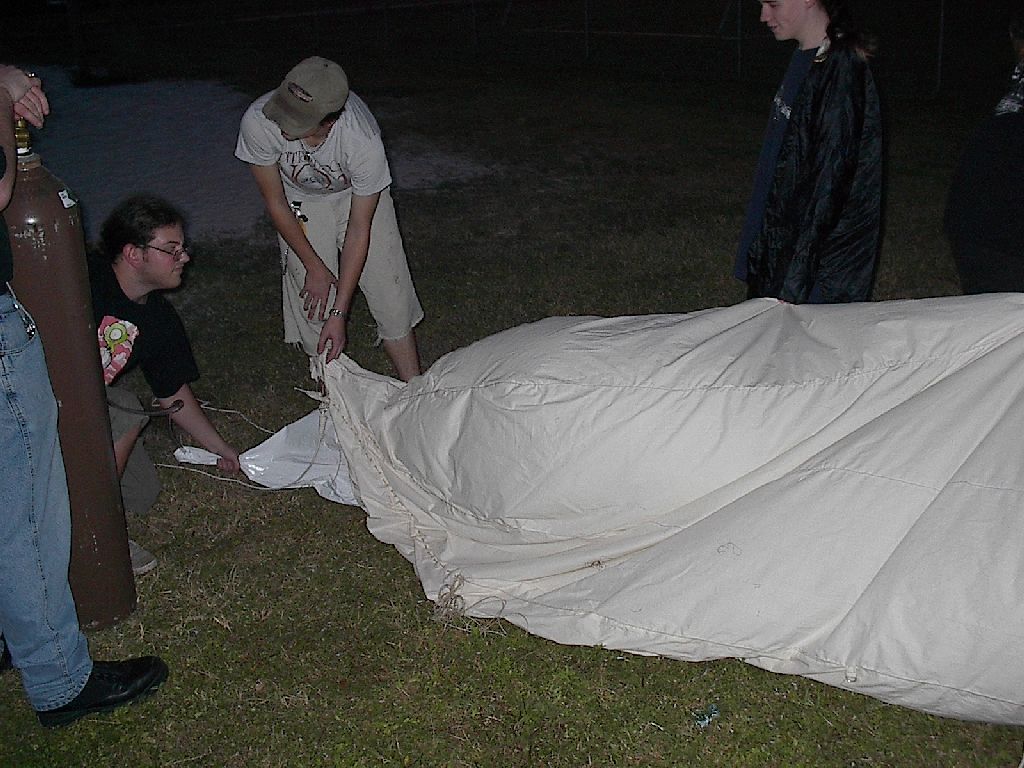
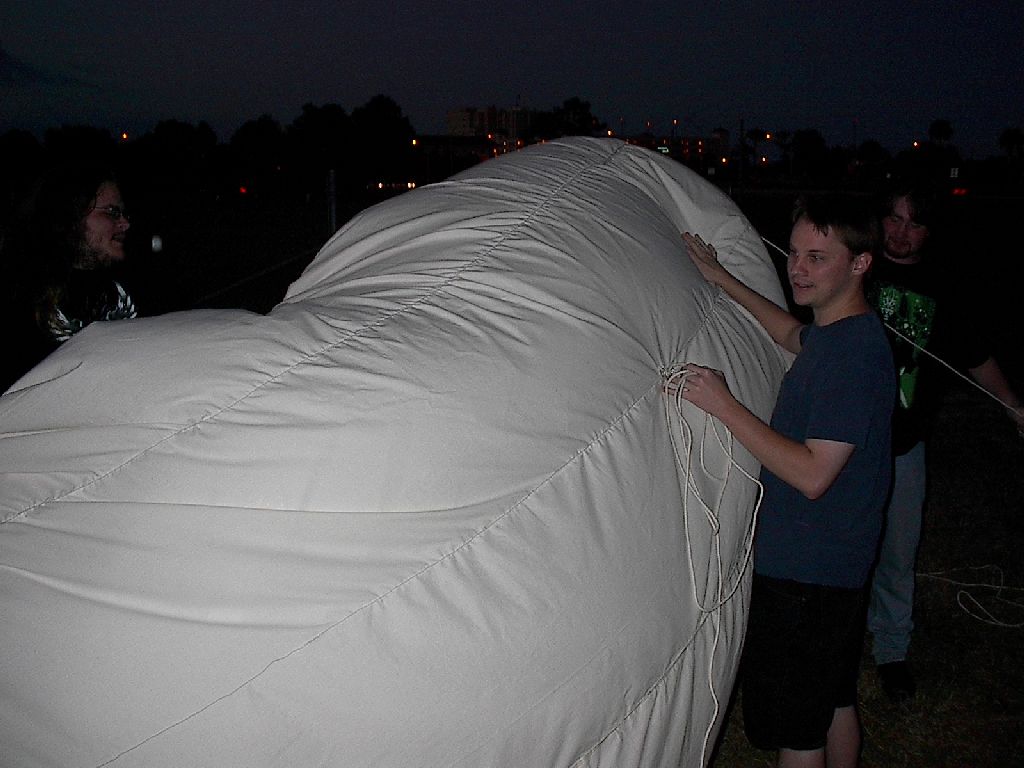
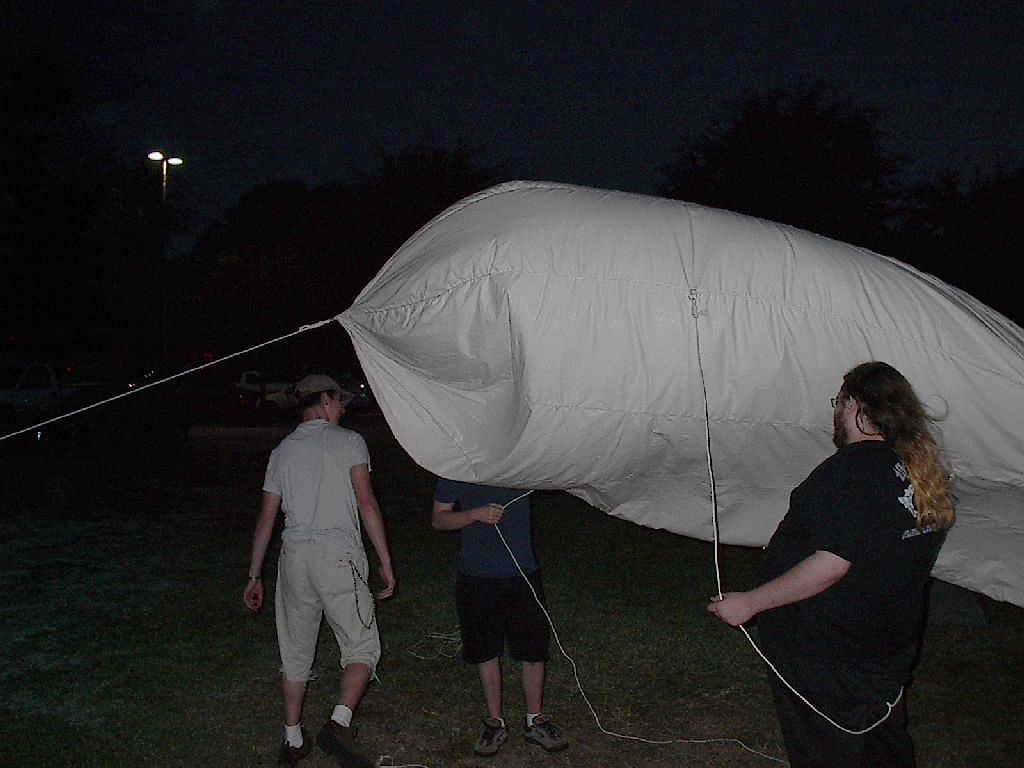

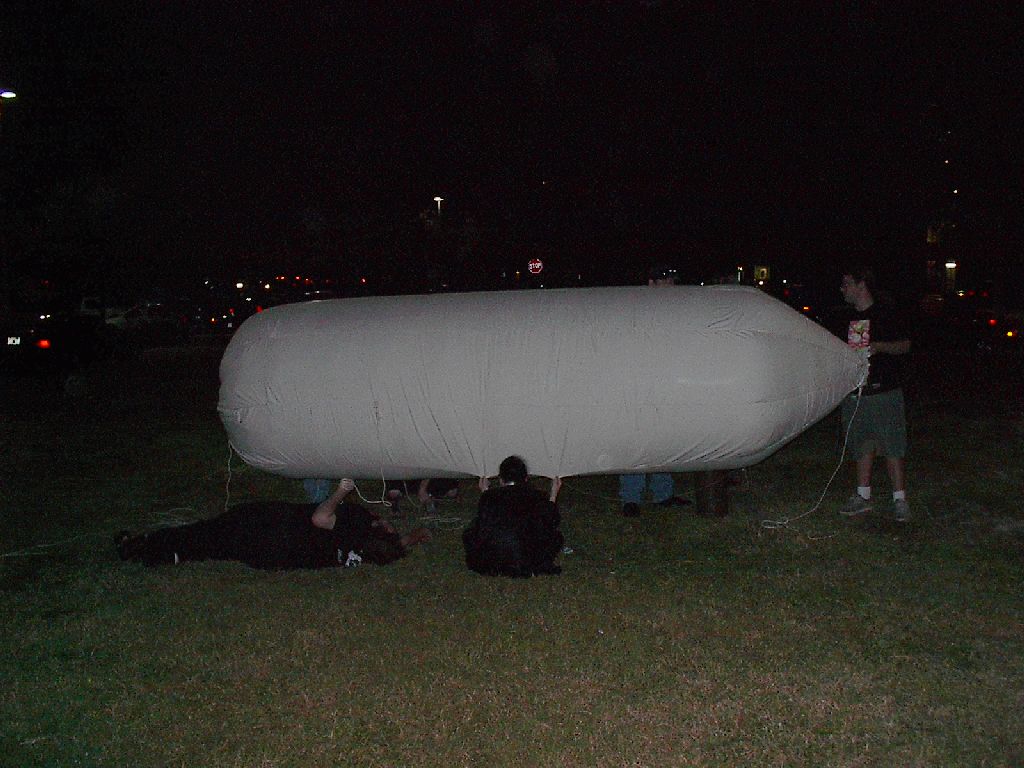
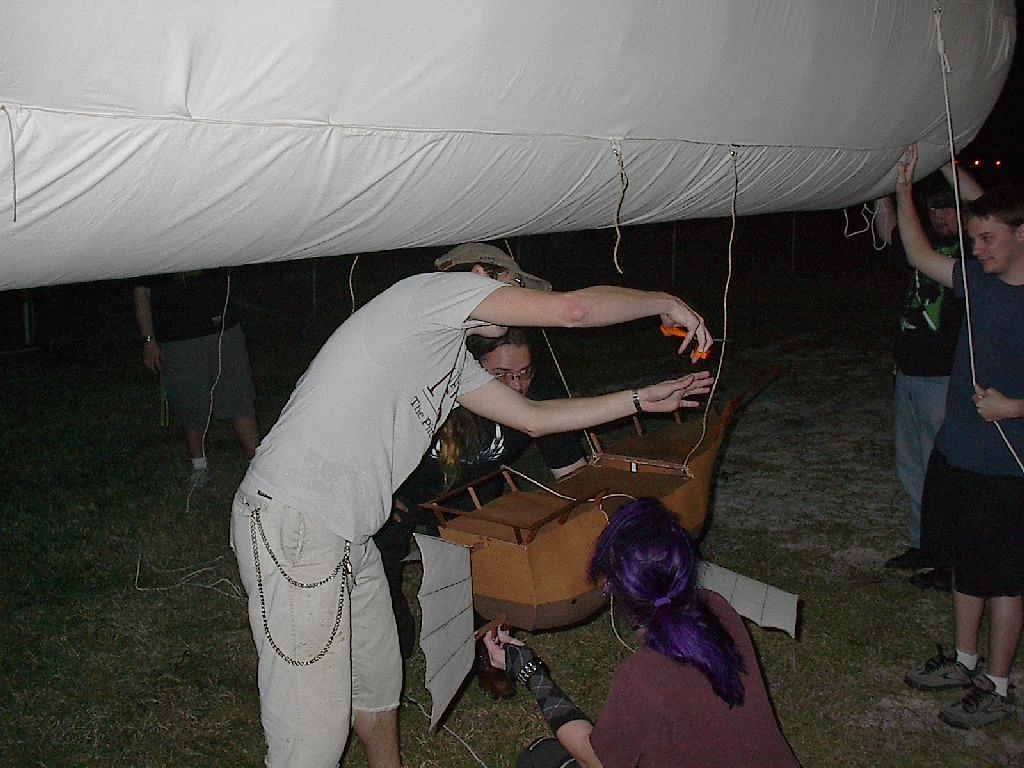
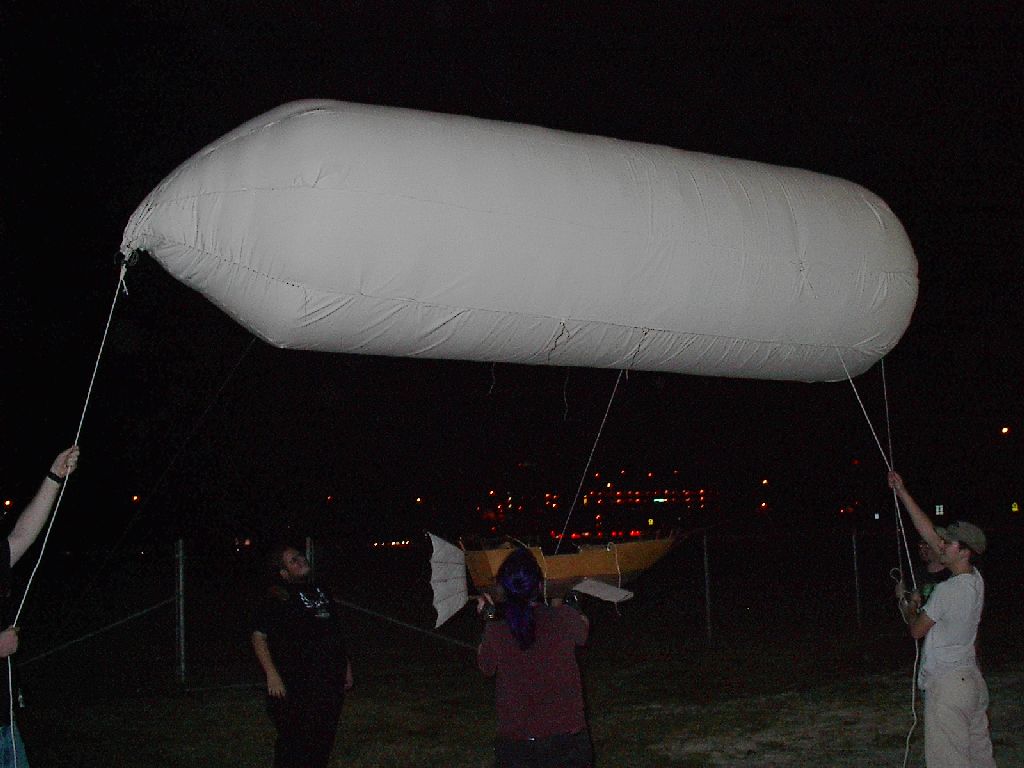
Once inflated, it was time to attach the ship. We used some jute twine attached to eyelets that were screwed into the hull.
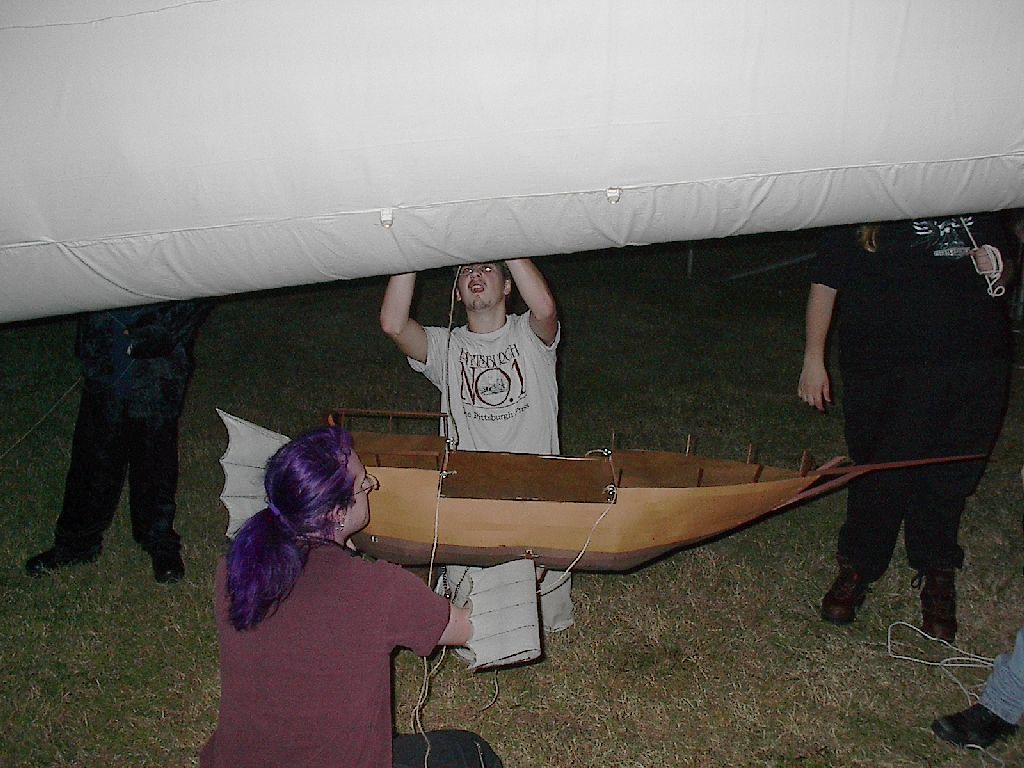
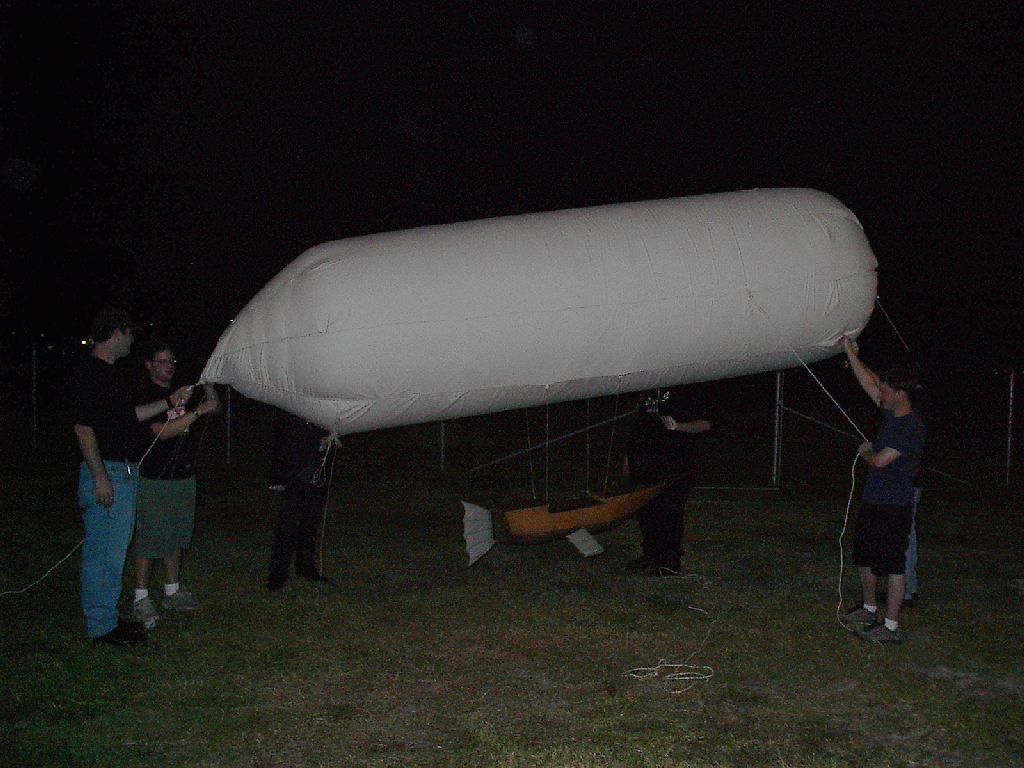
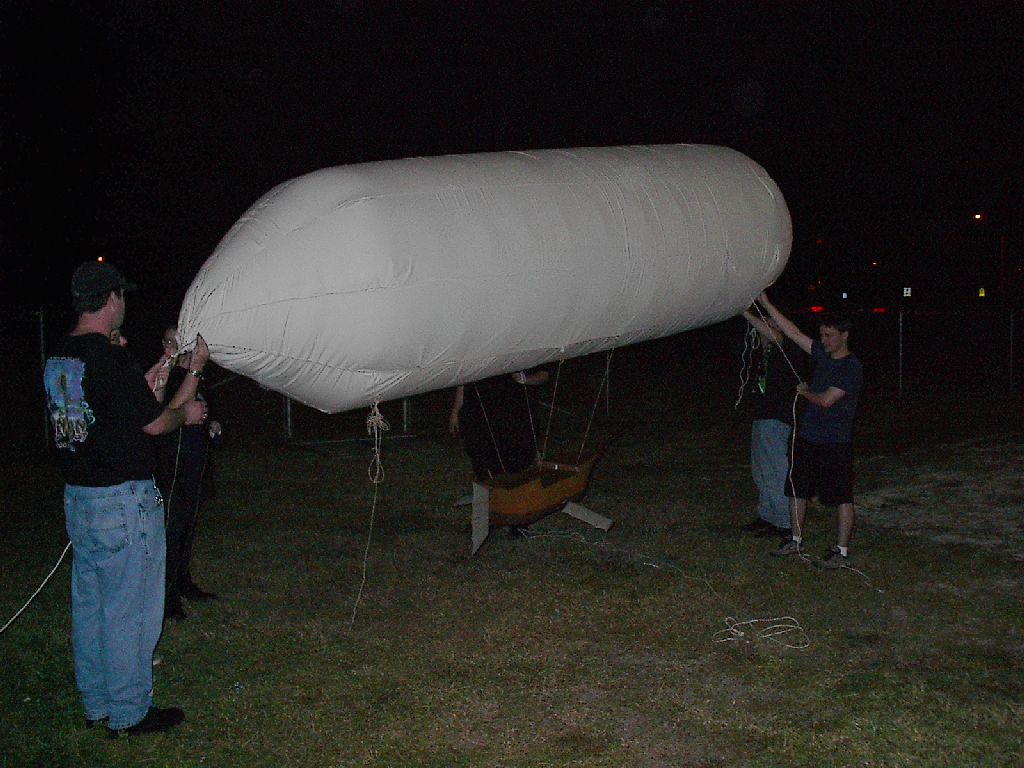
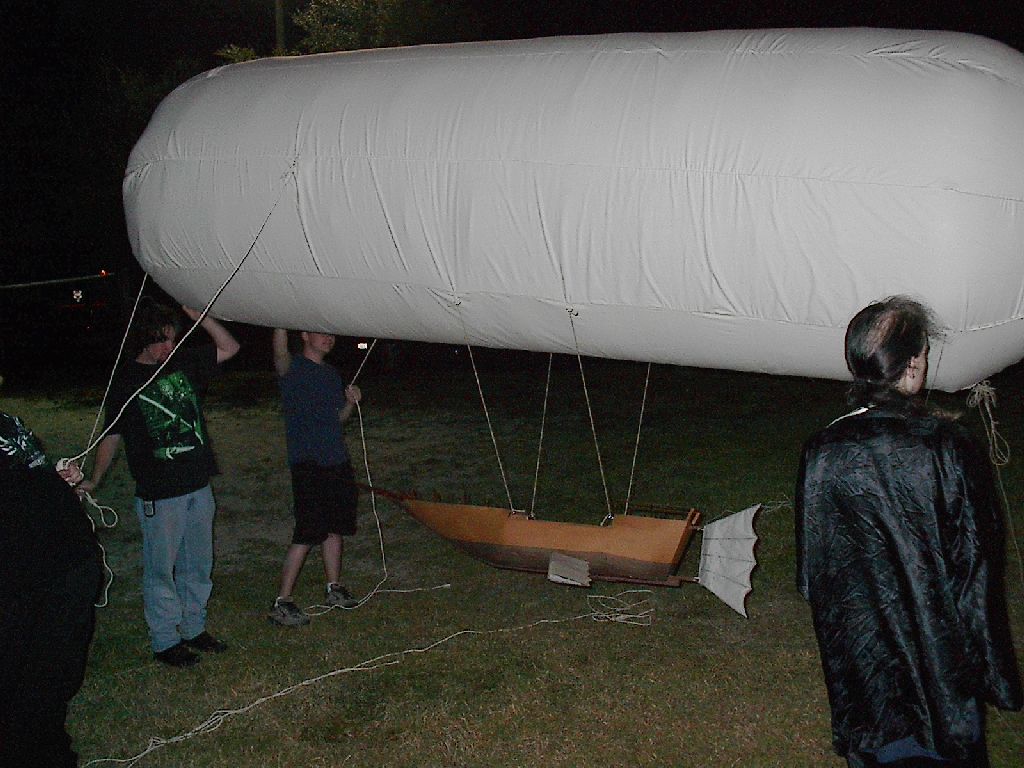
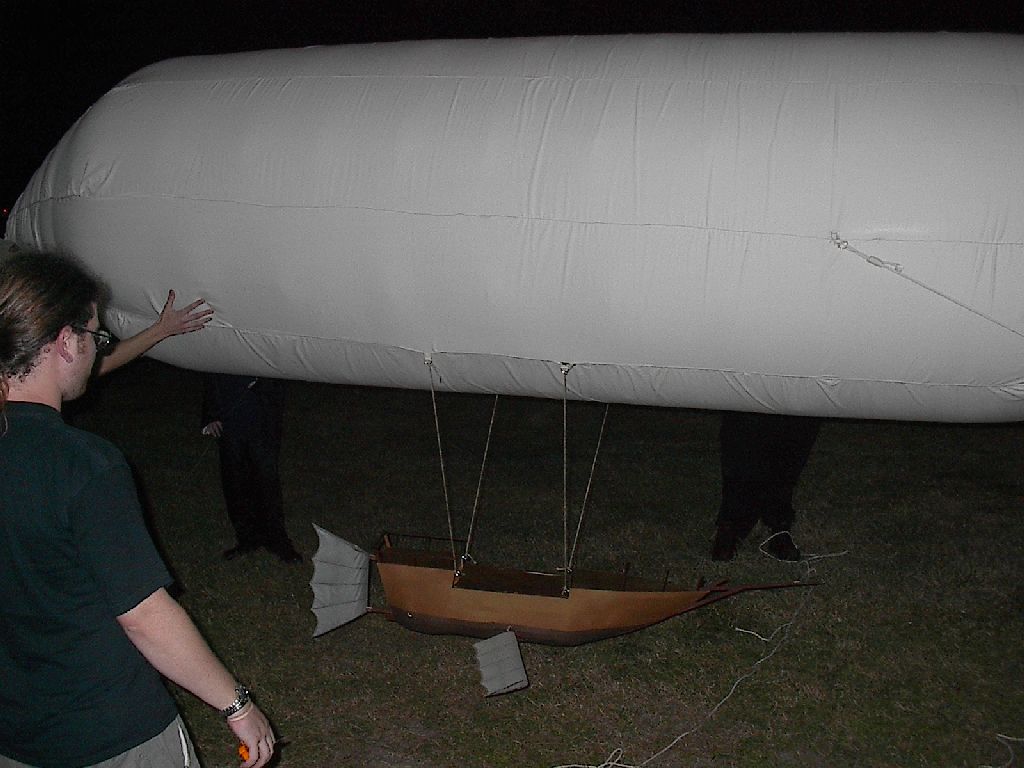
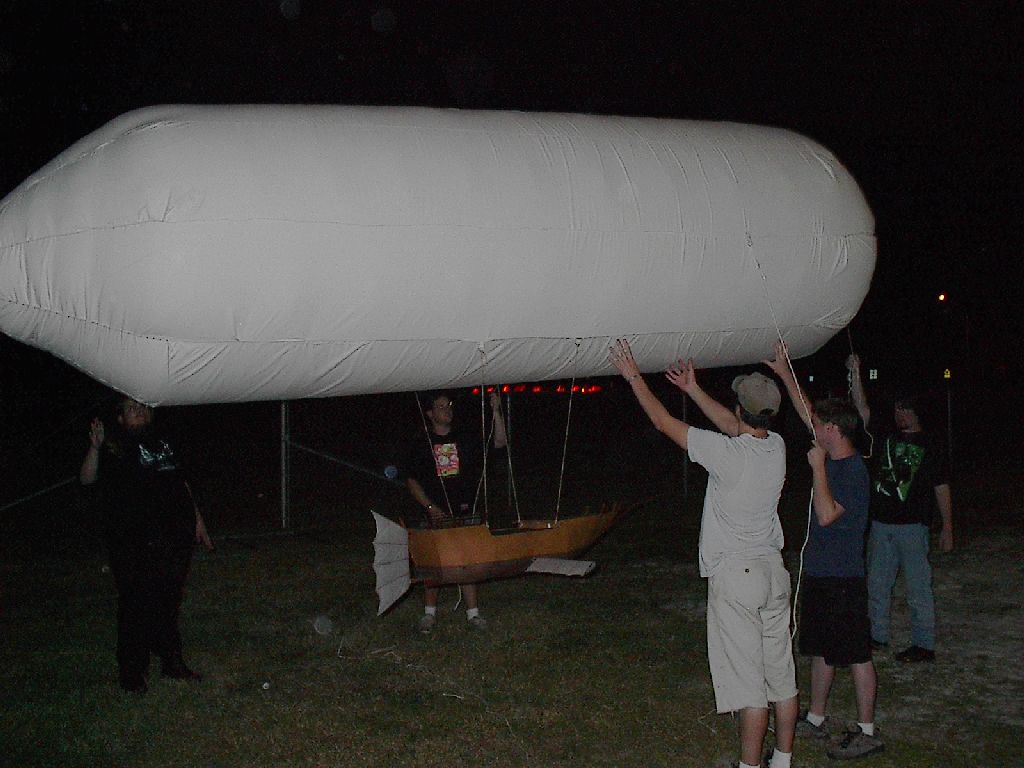
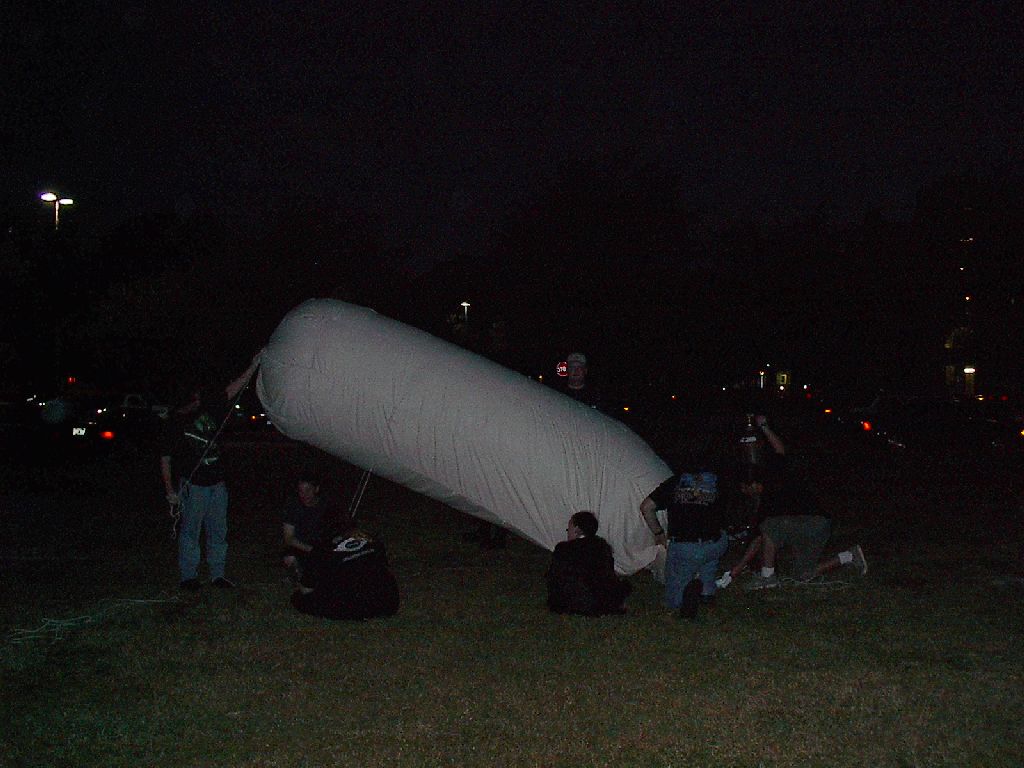
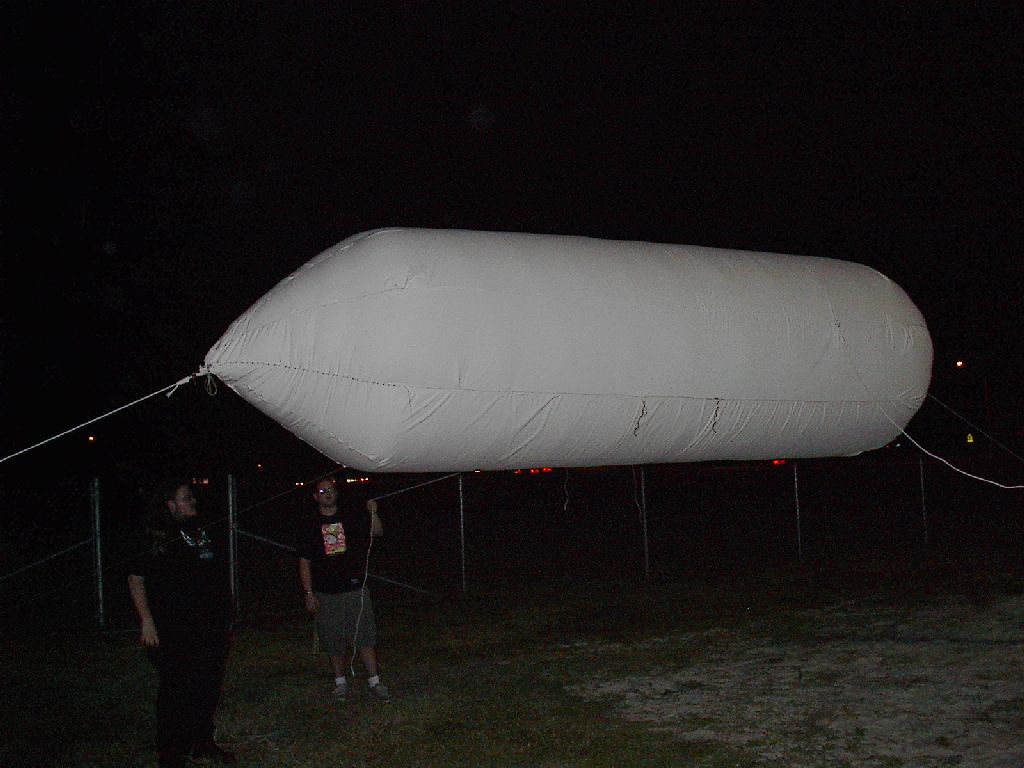
We weren't able to do much with it due to the darkness and the high winds but it confirmed that it actually floated and we'd be able to pull it off. The boat was actually way lighter than we had intended which was a huge advantage. After a few minutes we noticed that one of the attachment points was ripping off so we quickly cut down the boat and deflated the balloon.
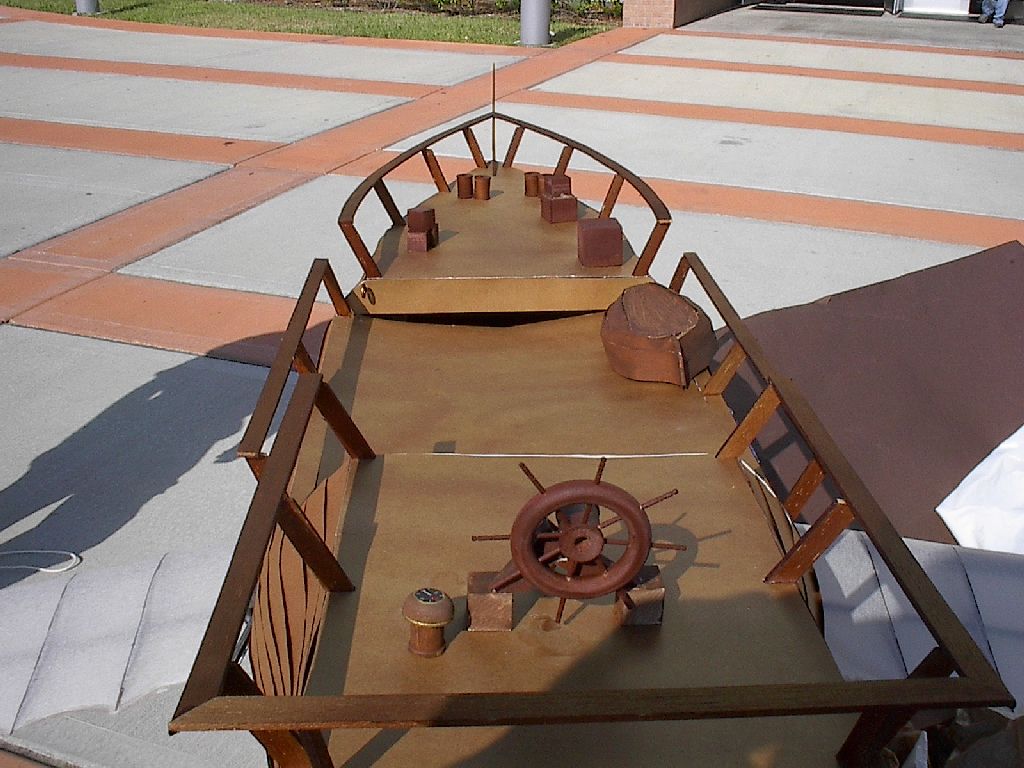
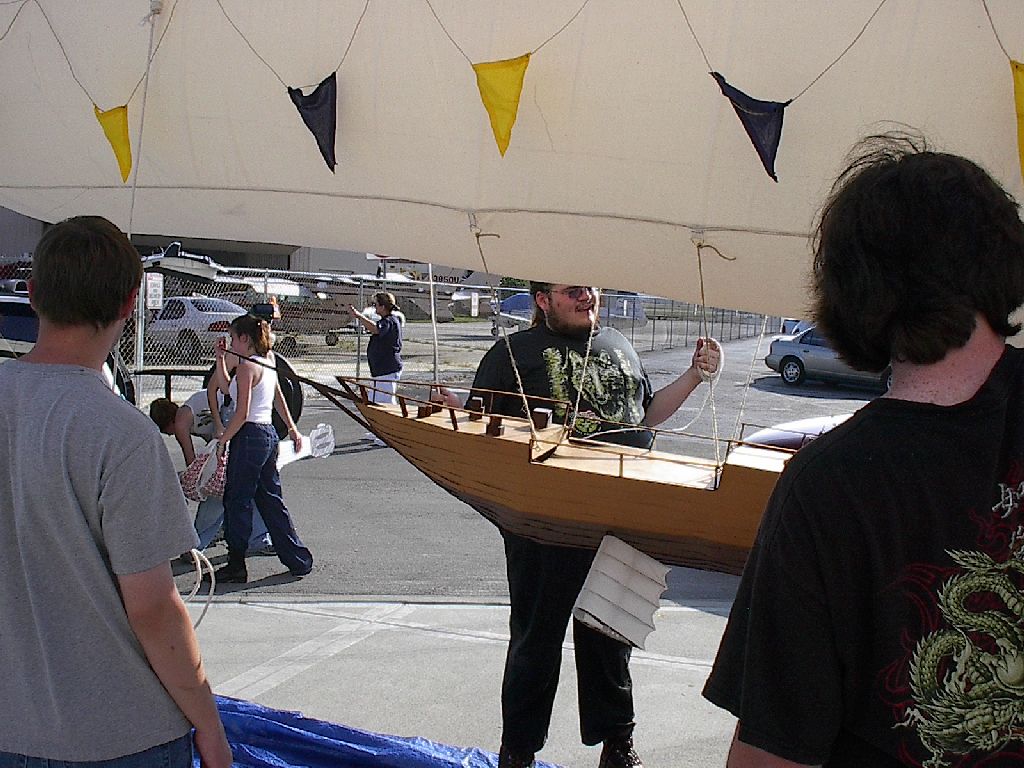
With less than a week before homecoming, we were in good shape. After adding a few more D-rings and strengthening the old ones all we had left to do was detail work. A wheel was made out of balsa shapes and toothpicks and crates and barrels were constructed for the deck. I sewed lengths of hemp rope down the side of the envelope and attached pendants in the school colors to it. Engines were made out of film canisters and balsa wood airplane propellers. The props were left to free spin in the wind, giving the illusion of actual flight.
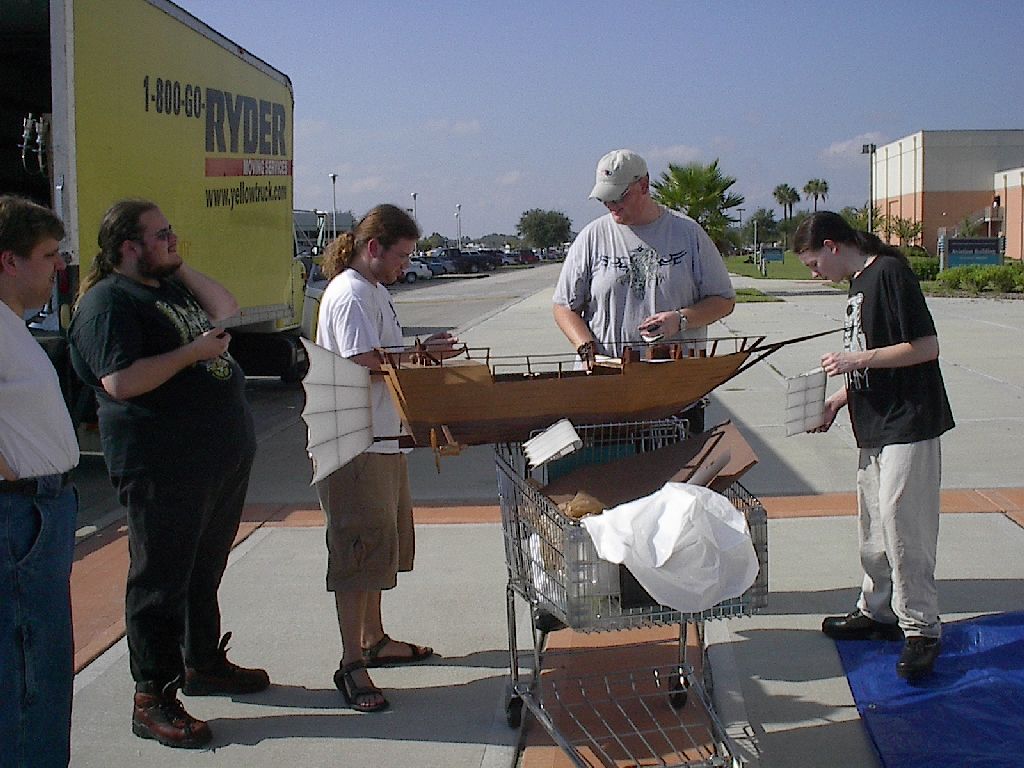
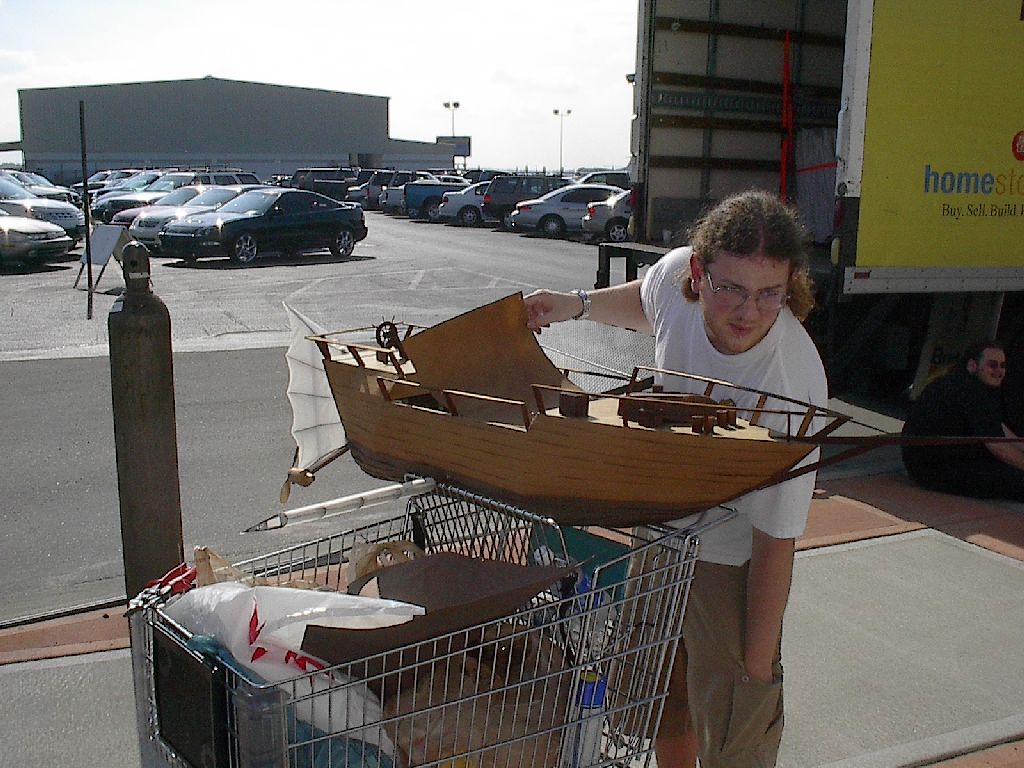
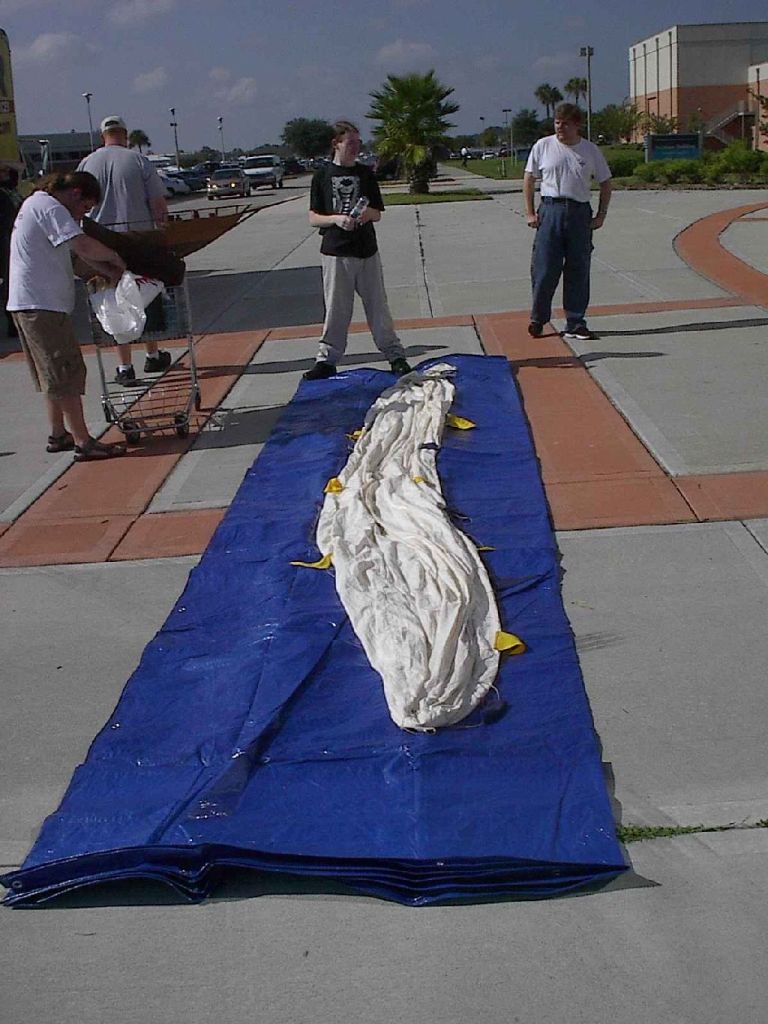
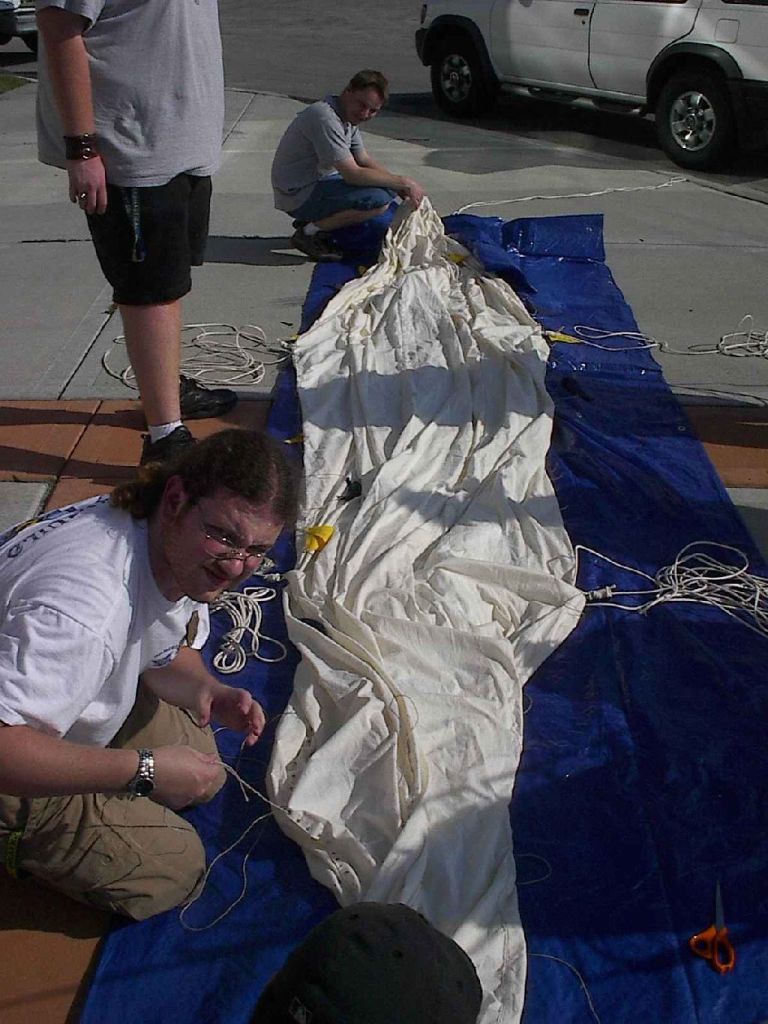
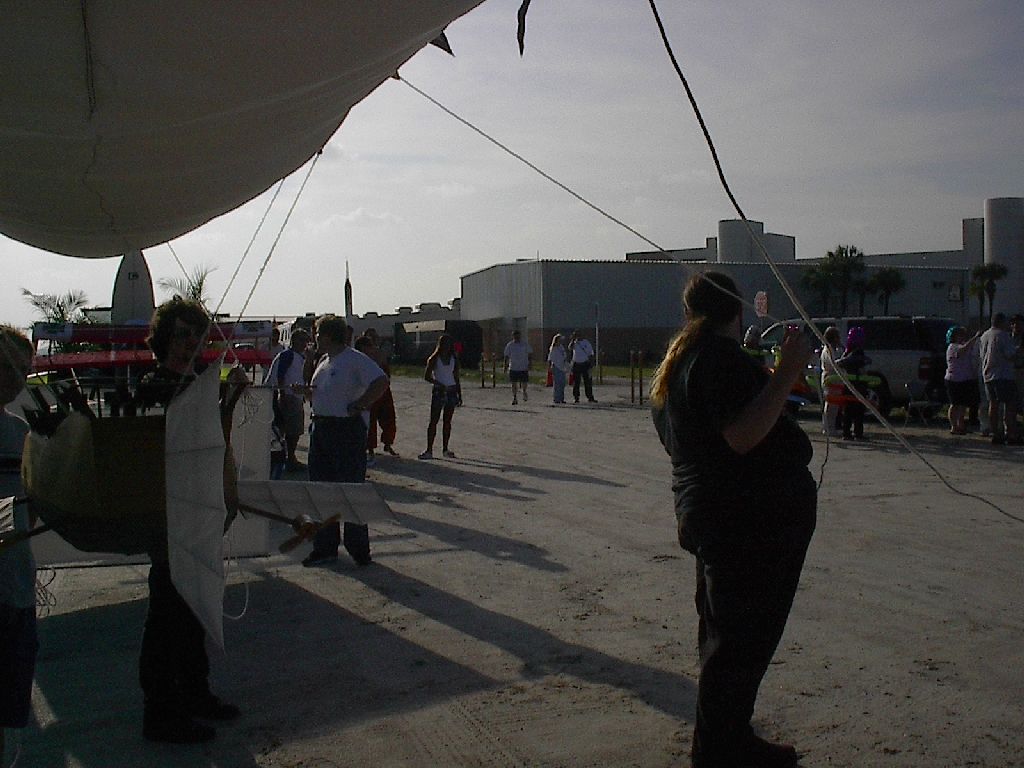
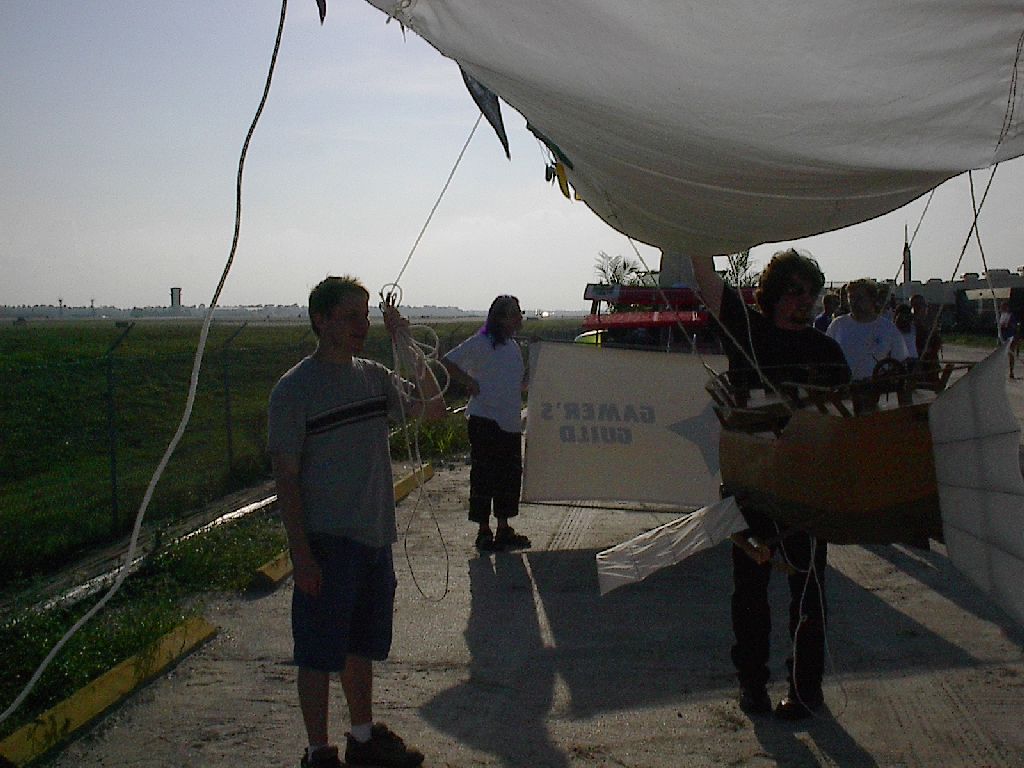
Finally it was the day of the parade. We hauled everything out to a parking lot near the staging area and setup.
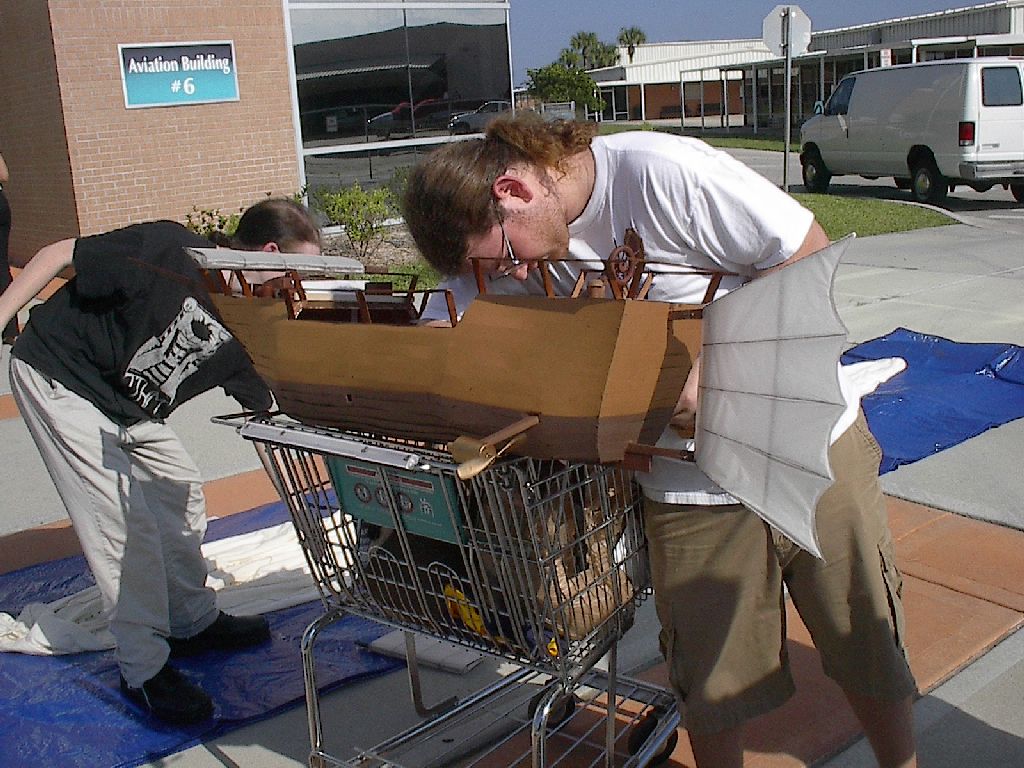

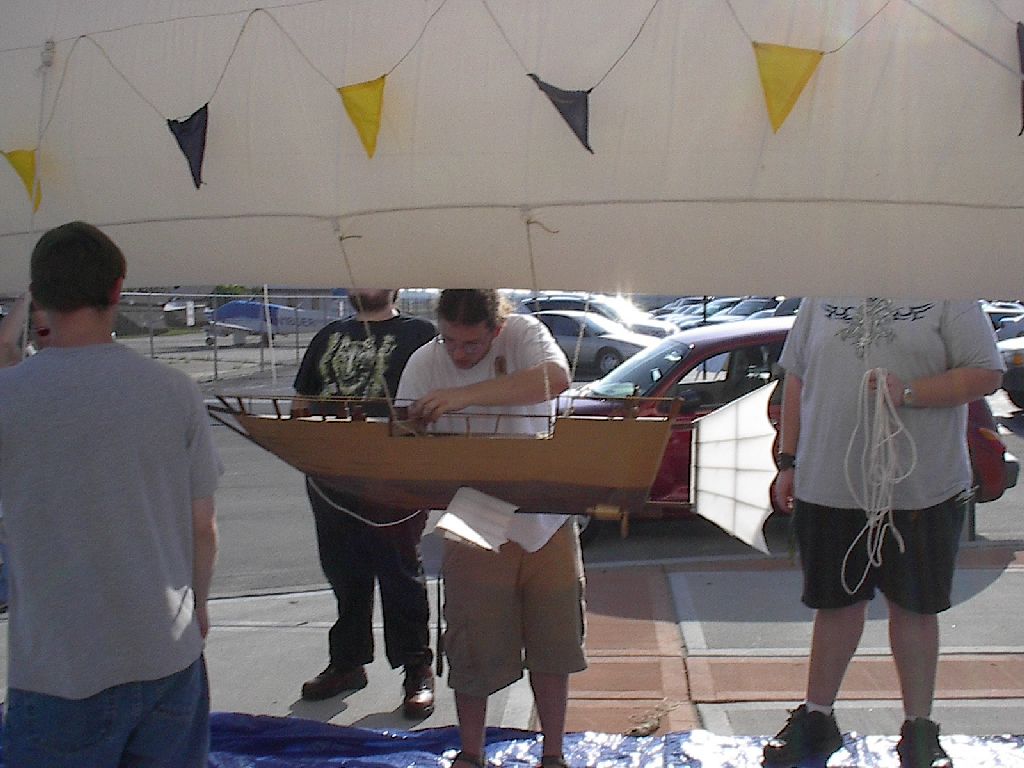
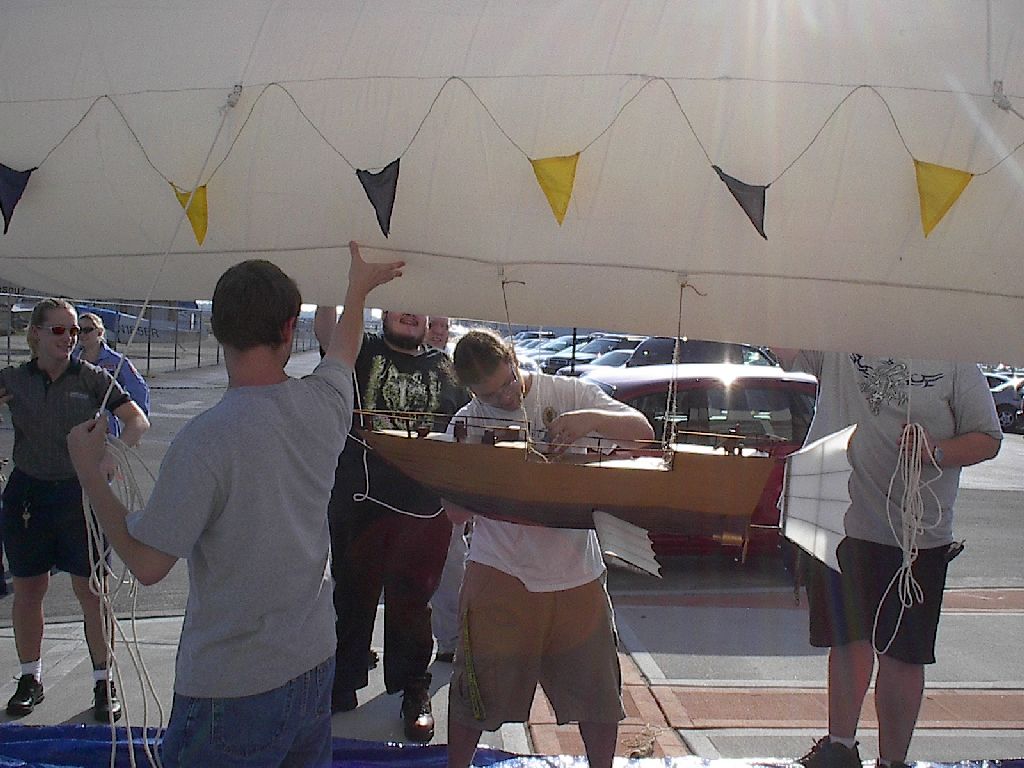
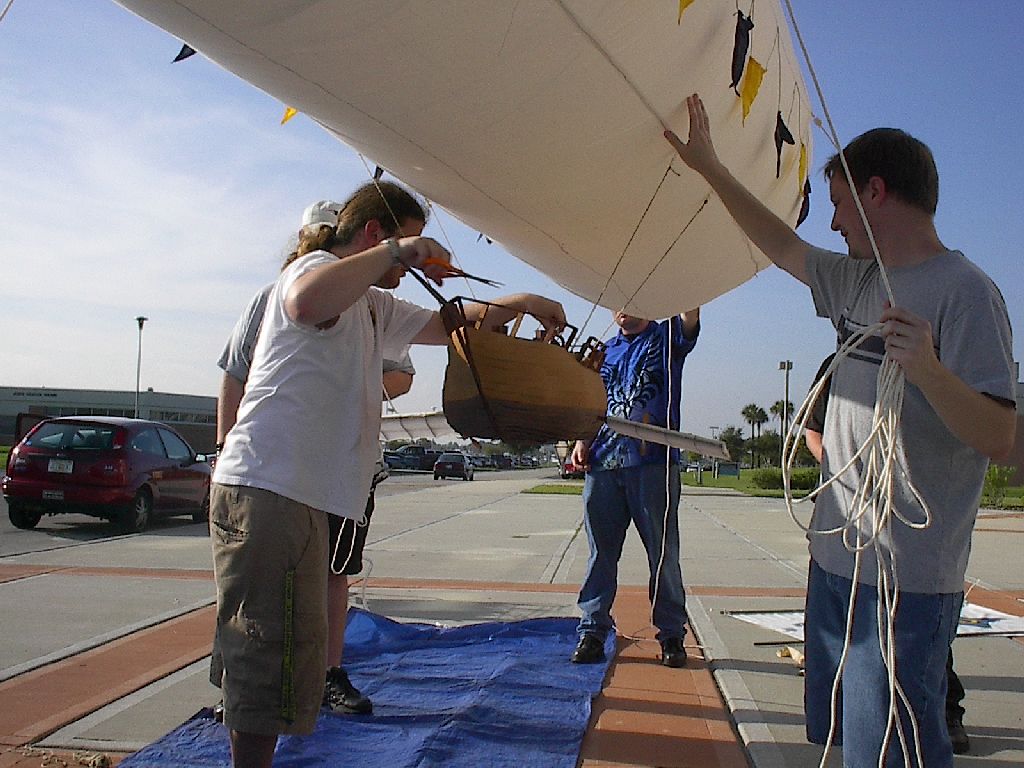
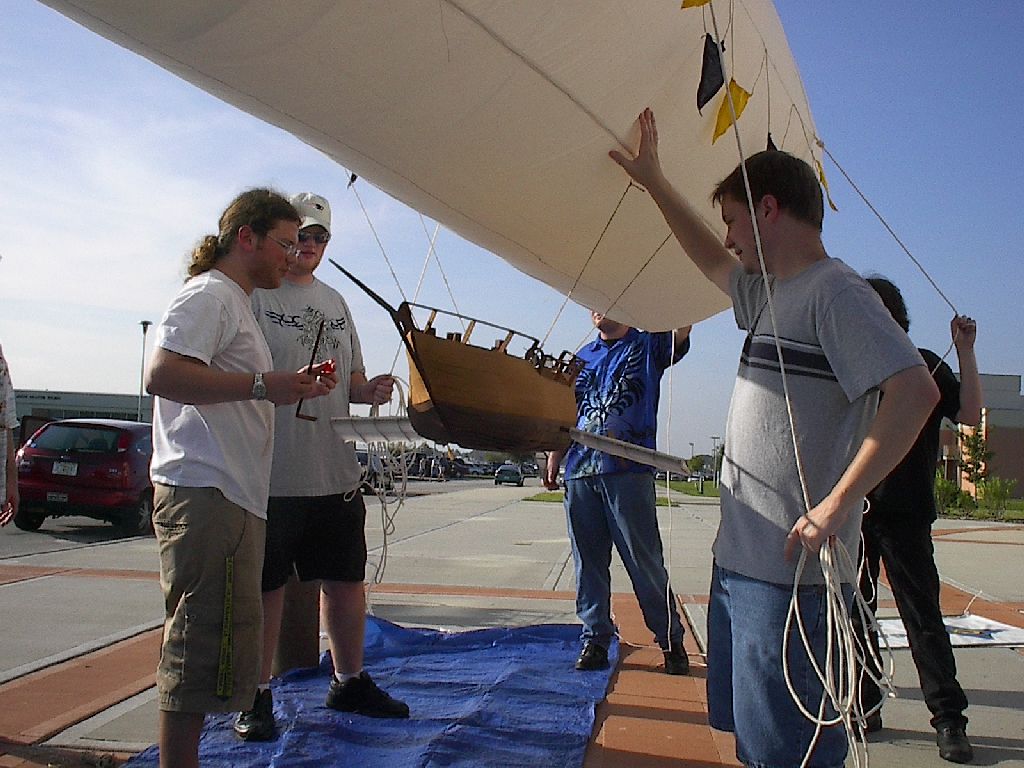

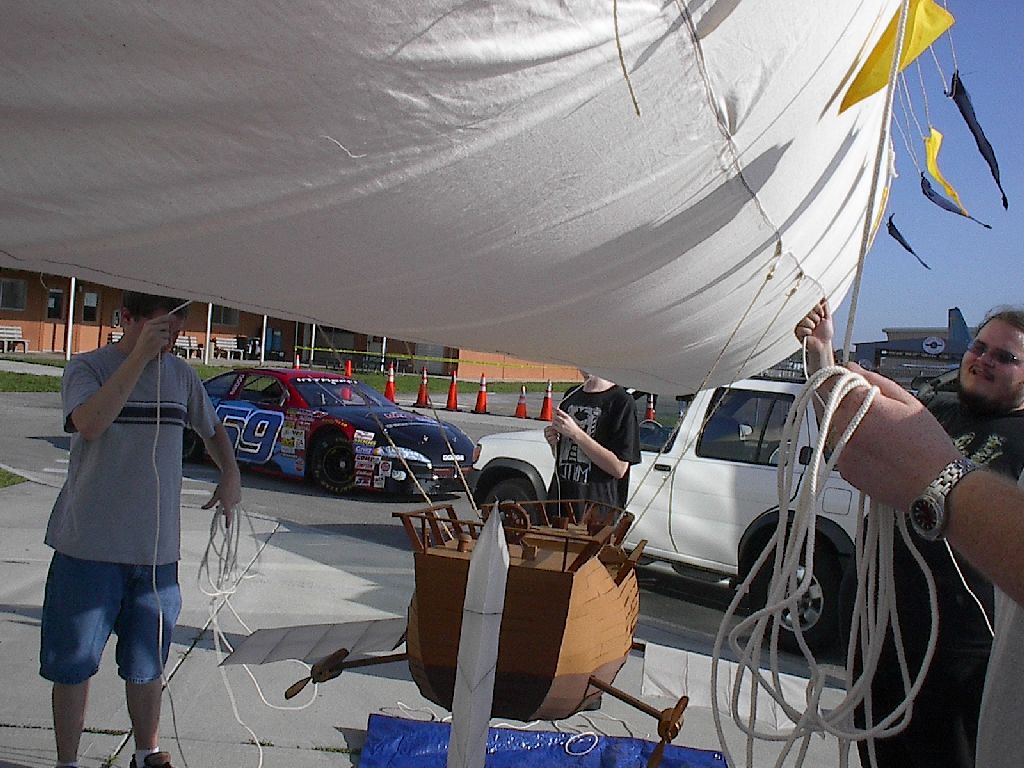
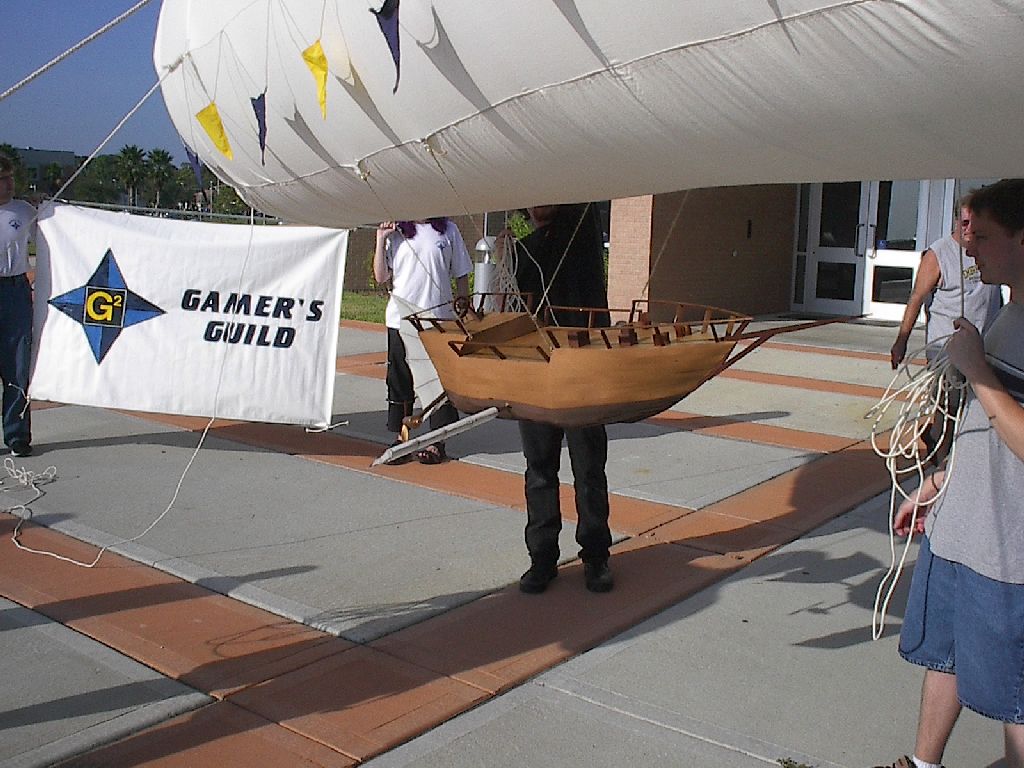
Once everything was ready we marched over to the staging area and got in line. Everyone who went by told us we were sure to win and a lot of people stopped to take pictures. We were pretty far back in the lineup so we had to wait around for a while.

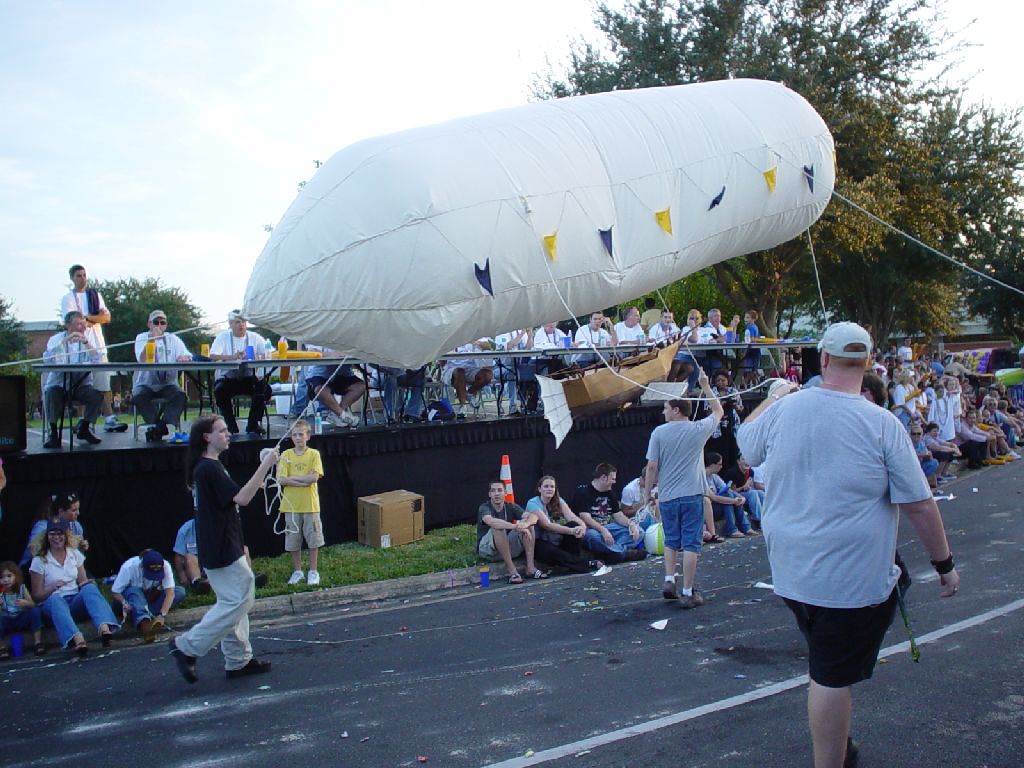
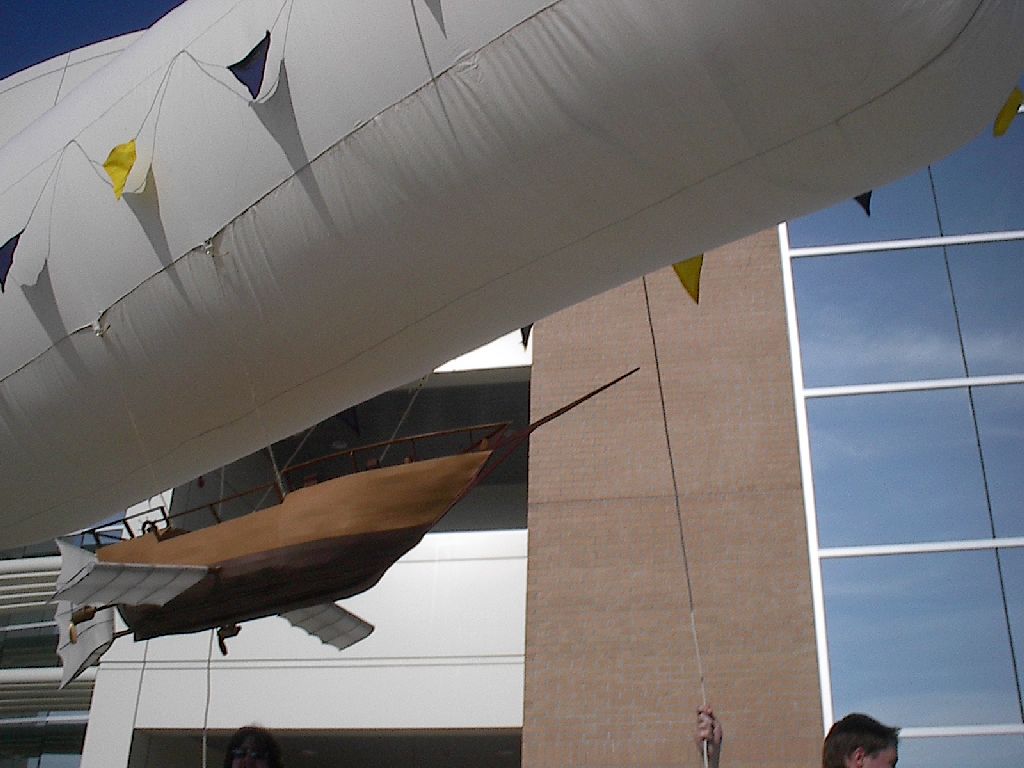
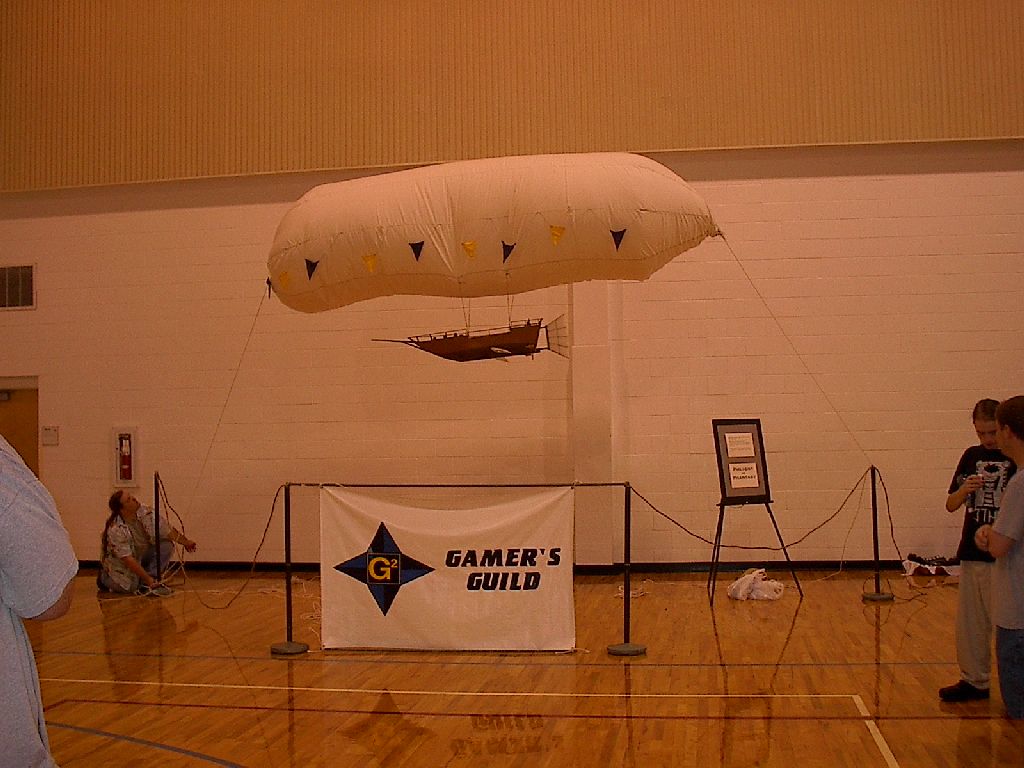
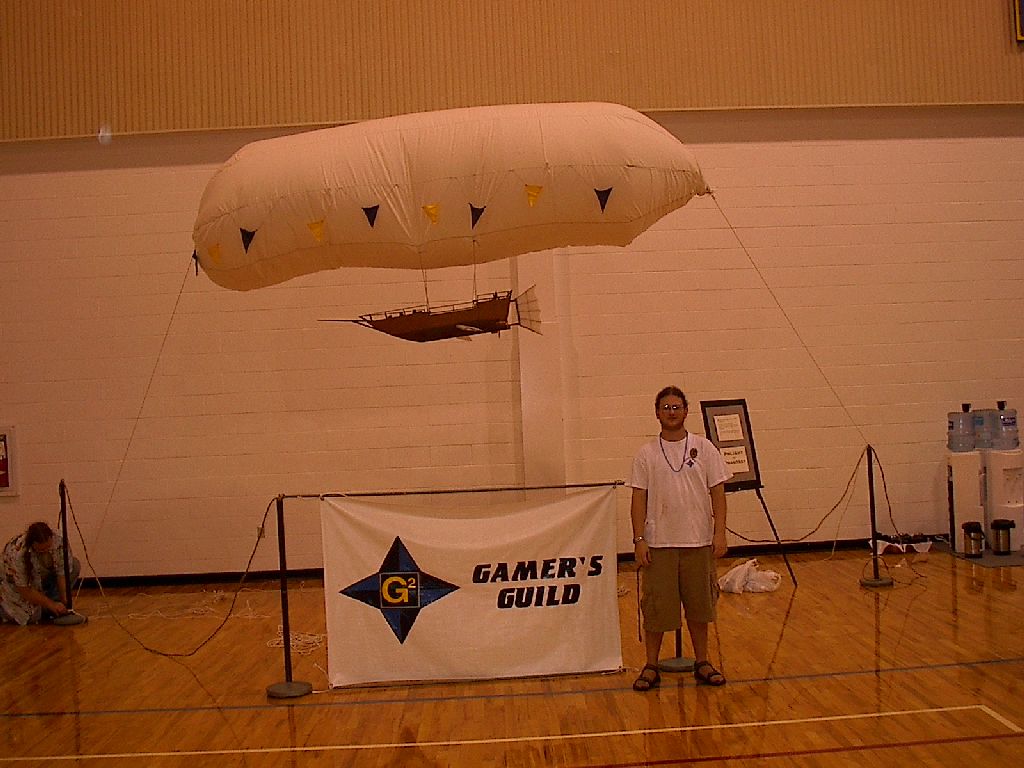
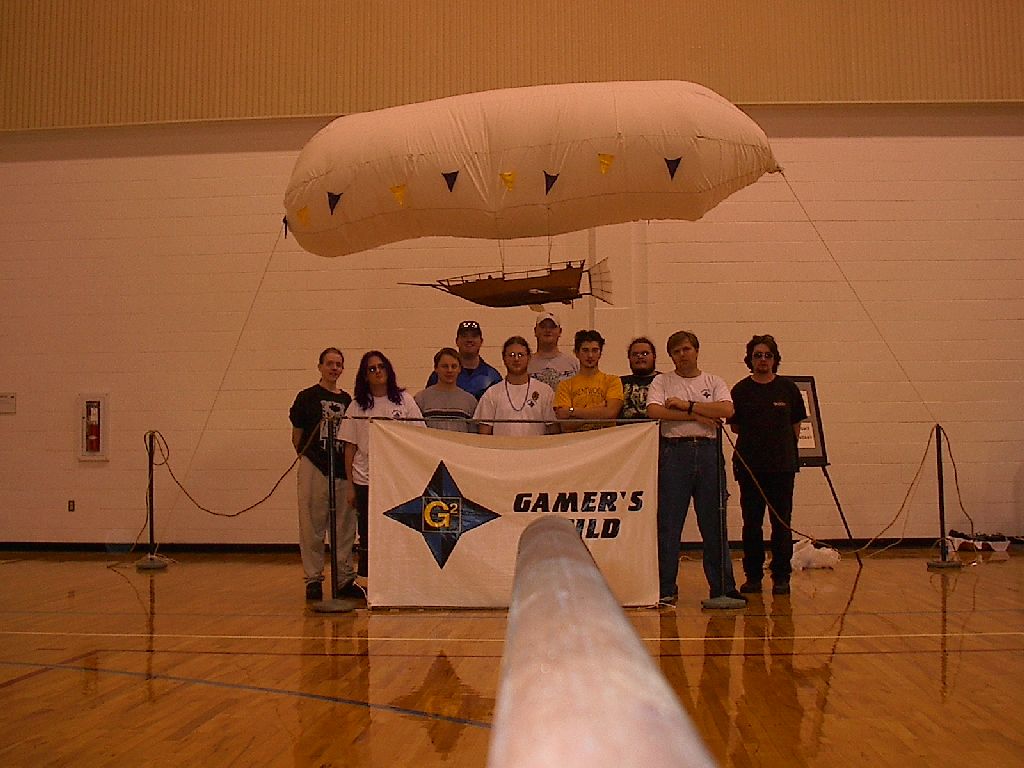
I unfortunately never got many pictures from the parade. For the most part people would glance at us, see the balloon, do a double take and see that it was floating, and then do another double take and see the ship. I think we had the popular vote of the crowd. The parade always finishes at the school fieldhouse where there is a huge tailgate party followed by a basketball game. We had talked to the fieldhouse and gotten permission to bring the airship indoors and setup a static display. The results of the parade would be announced during the second half of the game.
After hanging out for a few hours at the tailgate party, the ball game started. For some reason we always win the games on homecoming. The second half eventually came around and the parade results were announced. What a surprise, we didn't win. The same group that always wins the float category won again this year. The thing that really irked us was that we didn't even place. Second, third and fourth went to other clubs. It wouldn't have been that bad if they had had decent floats but the other groups were nowhere near ours. We figure our loss is due to a perceived lack of school spirit, the fact that we didn't really fit into any of the categories for the parade, and that for some reason the school administration hates our club. Suffice it to say I'd never be putting effort into the homecoming parade again(until the next year). After hearing the news of our loss we took down the ship and headed back to the dorms for a group bitching session.

In all I'm glad I had the chance to do this project. It's actually something I've wanted to do for a while now and I never thought I'd be able to do it on the scale we did. Unlike previous years where we ceremonially destroyed the float with large blunt objects, we left this one intact for the year. The balloon was saved for future use, as for the ship it hung it in my dorm room until the end of the year then was taken by a friend of mine.
Tweet
