Scratchbuilt Mattel Hoverboard
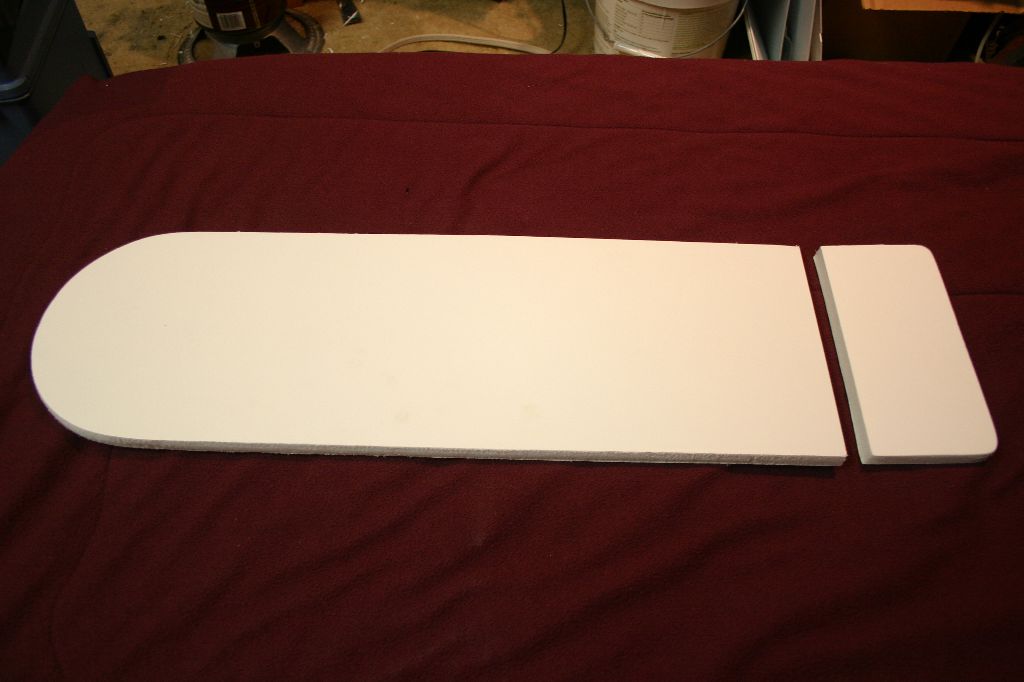
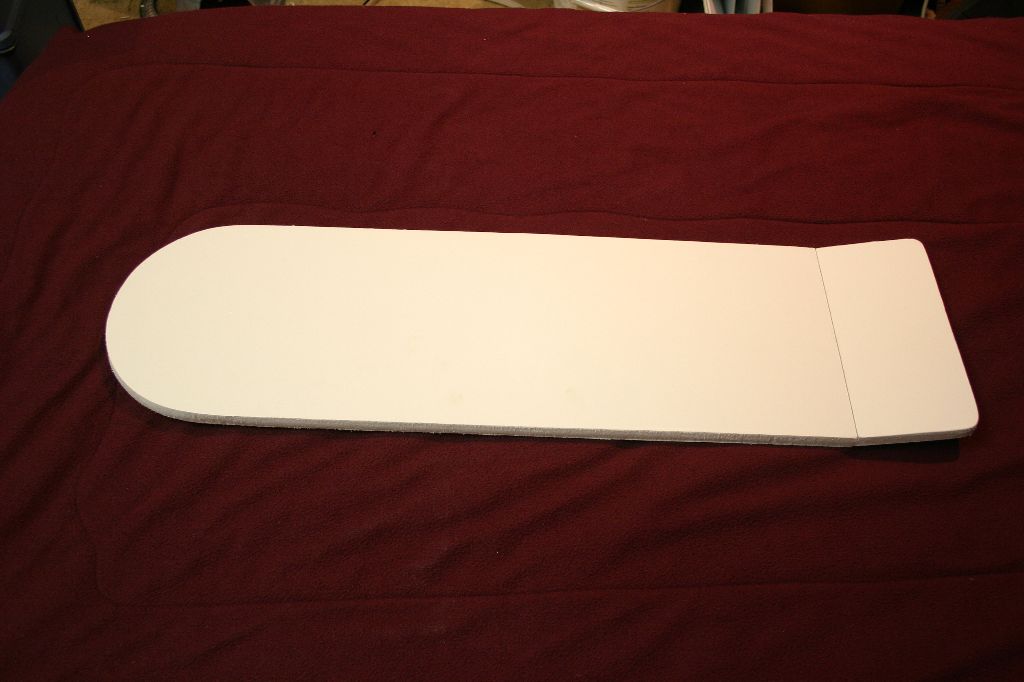
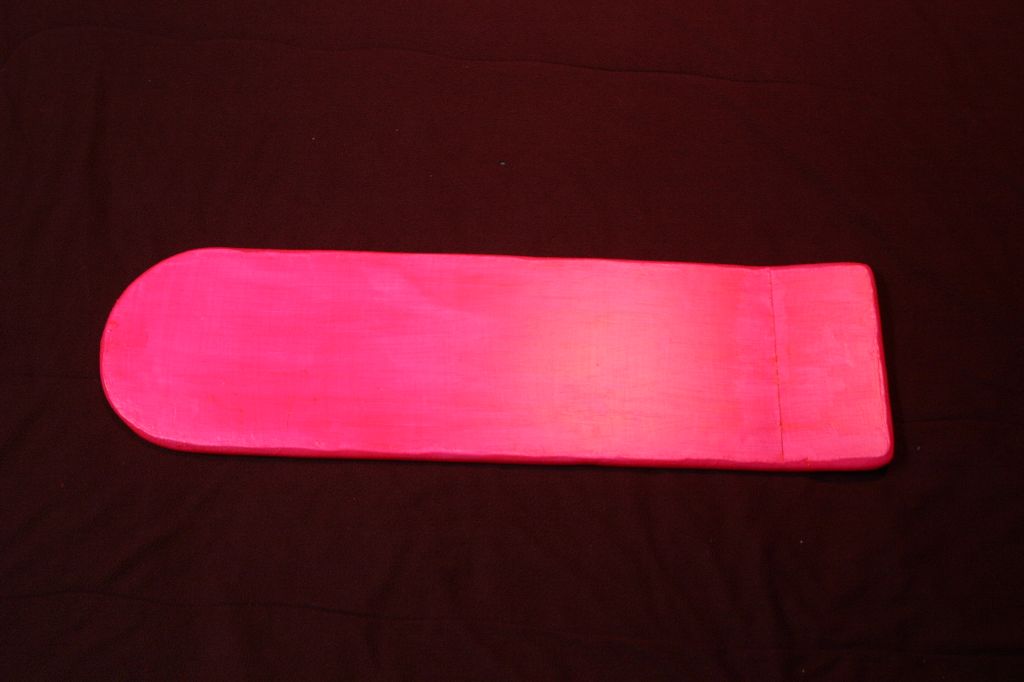
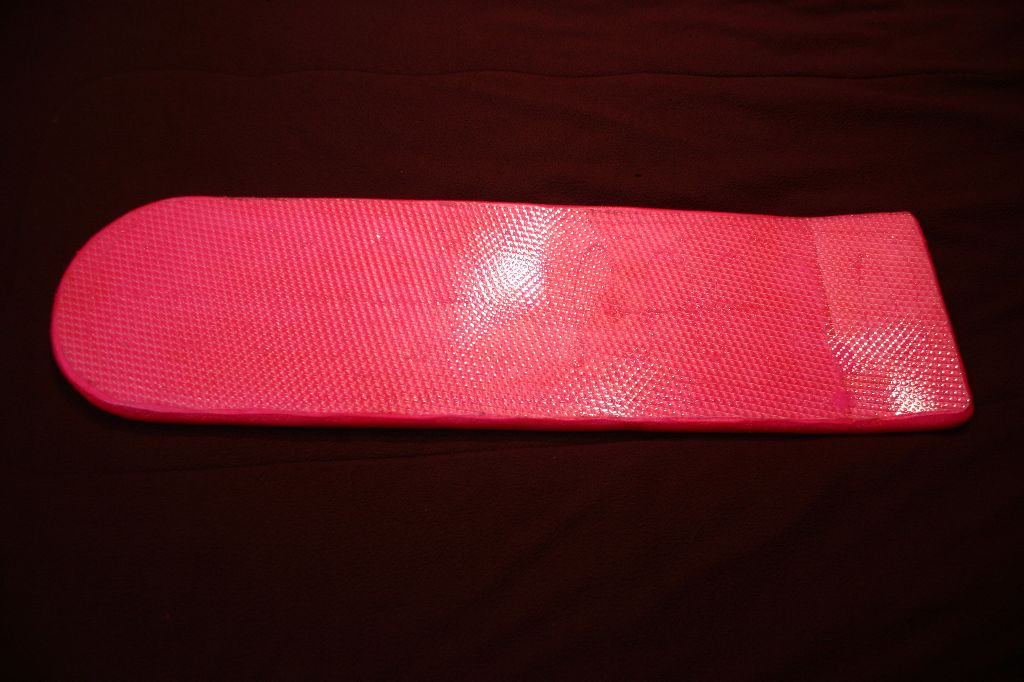
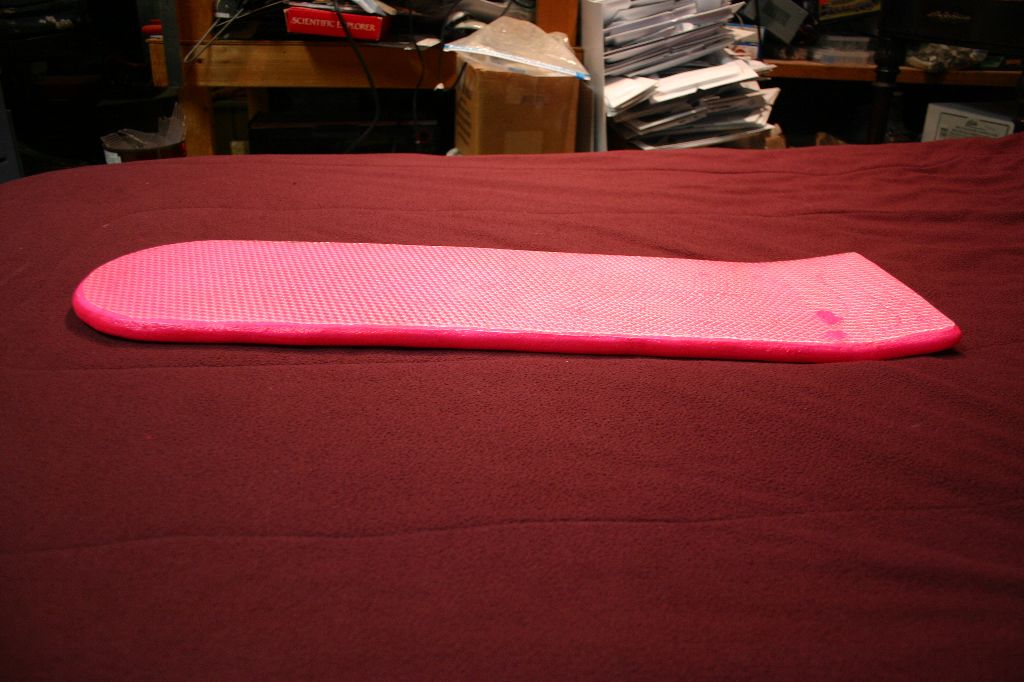
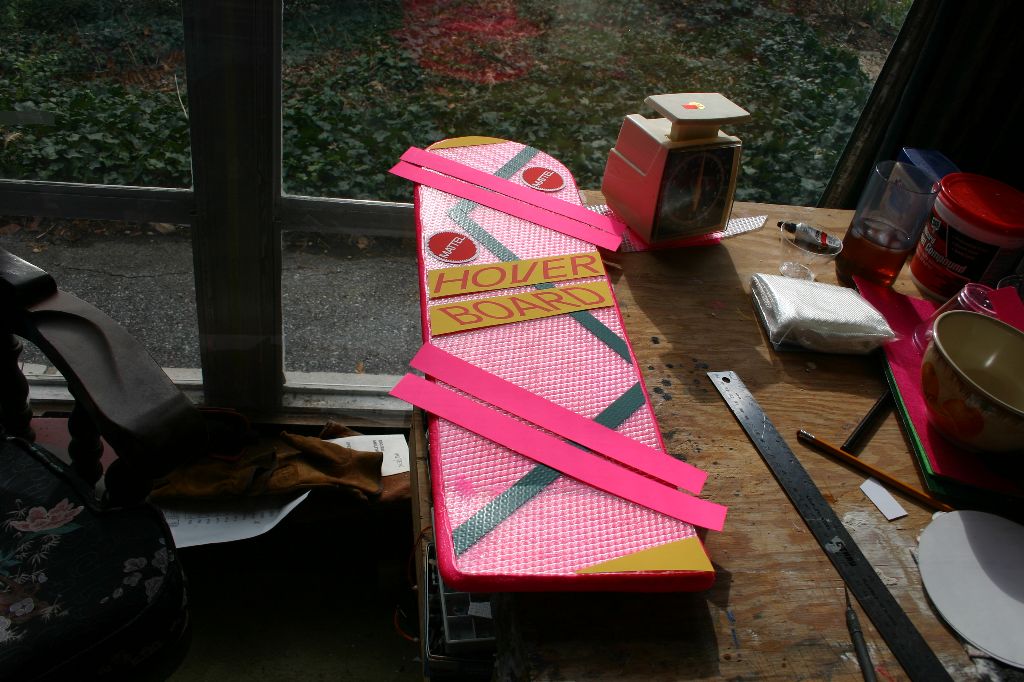
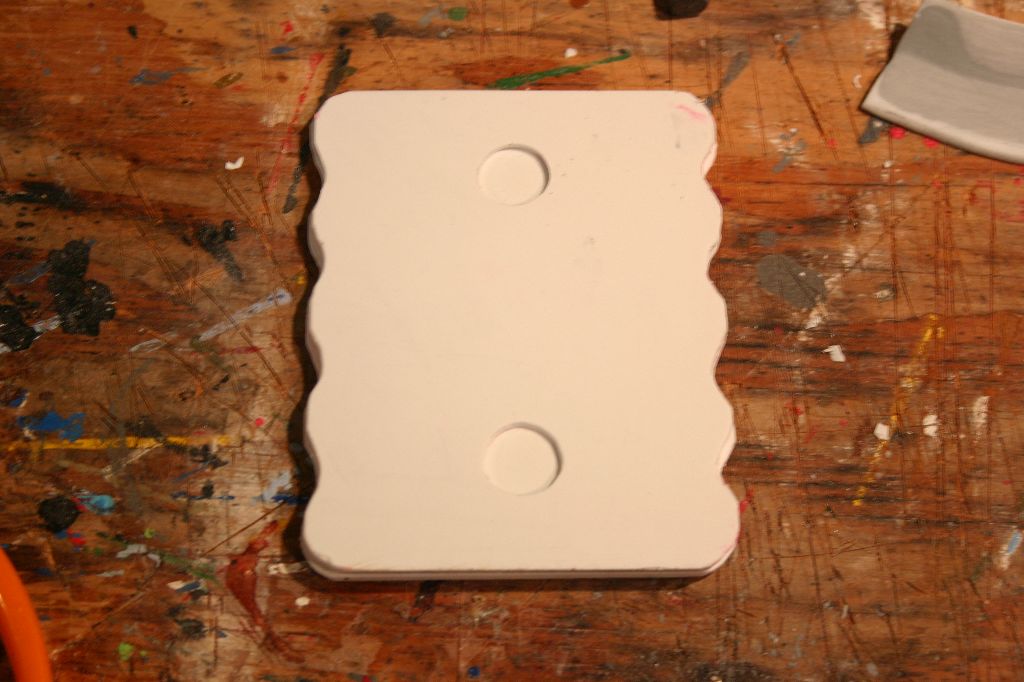
My friends Rose and Tony who I designed the Soundwave costume for bought a Delorean. As Christmas 2006 approached I thought what better gift to give them than a hoverboard (they have no intention of modifying the car). A quick search of The Replica Prop Forum turned up both a brief tutorial and full vector graphics for a board. Since I had no access to woodworking tools I decided to make my replica out of half inch foamcore. I had the basic shape cut out and glued together quickly, then spent some time shaping the edges. Technically they're not supposed to be rounded but I wasn't going for total accuracy. I used this project as an opportunity to try out a "new" product, Mod Podge. I needed something to smooth and seal the edges of the foam core and felt like trying something other than regular PVA (white) glue. Mod Podge looks exactly like PVA though isn't as thick or sticky and smells strangely like celery. My tests with it are inconclusive as it seemed to react to the foam (there were little bubbles all over the edges of the board) but the foam didn't seem to loose its structural integrity. If I had to do it again I'd probably just use watered down PVA. Once the deck was dry I gave it a few coats of hot pink acrylic paint.

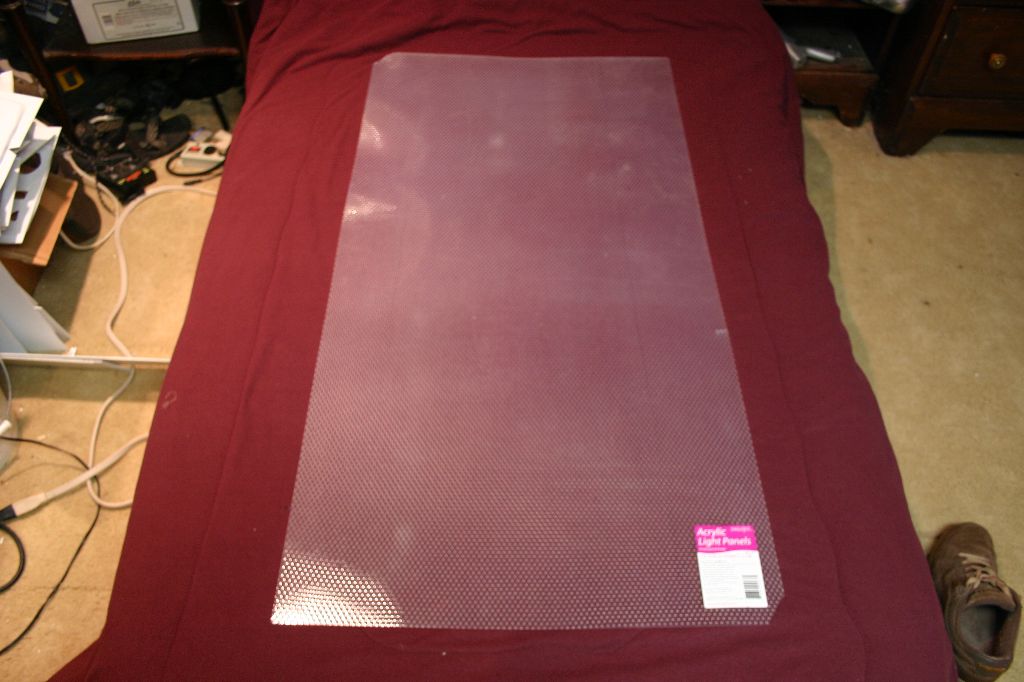
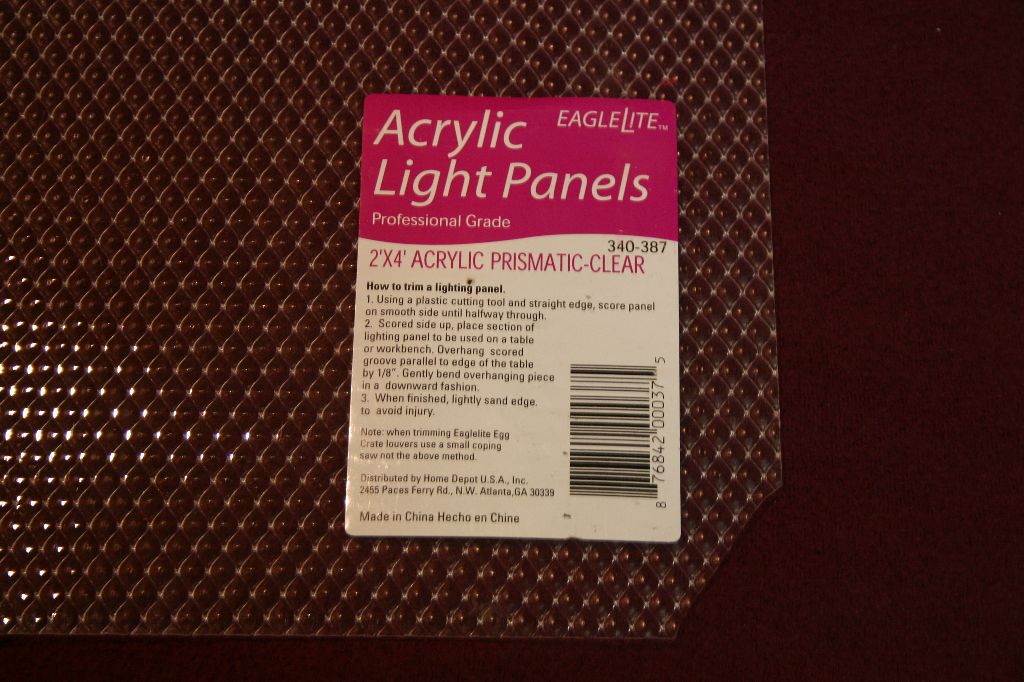
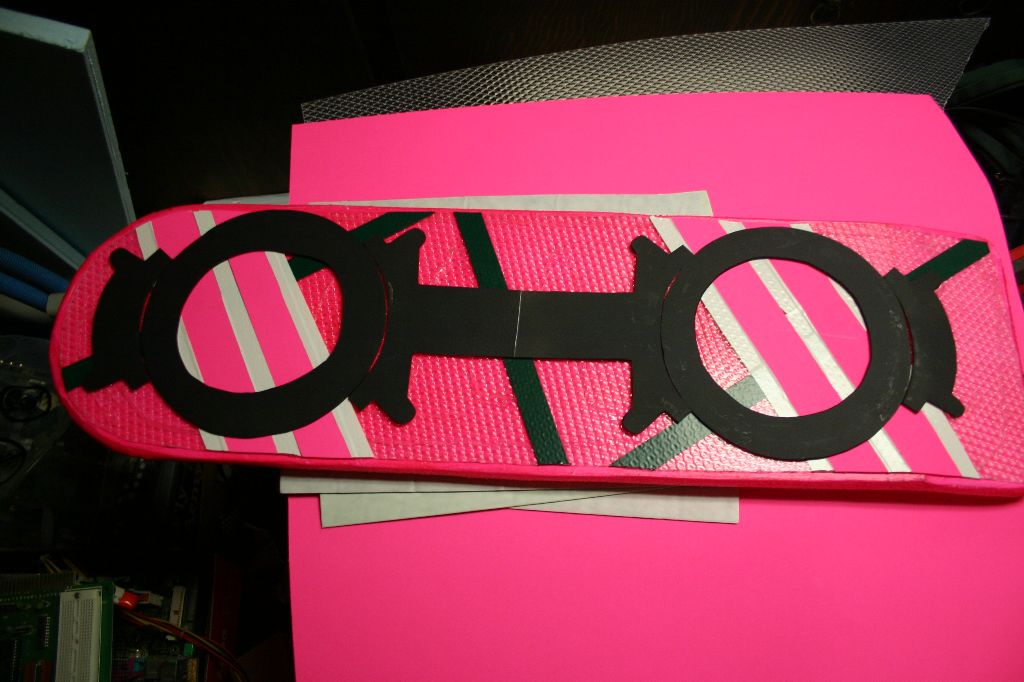
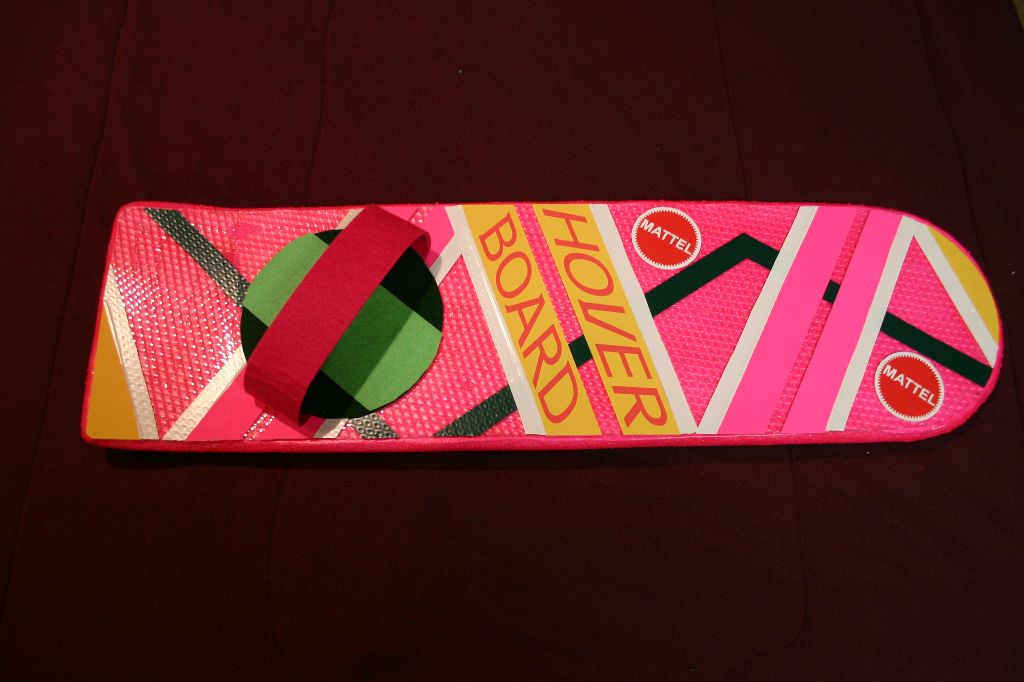
For the lenticular pattern I copied the idea from the tutorial and used a flourescent light sheet. The acrylic was really annoying to cut as it has a tendency to crack. I wound up using my dremel with a small metal cutting wheel to cut the sheet. I glued the sheets onto the deck using Devcon WeldIT, an air drying epoxy glue that dries clear. I realized later that I could have gotten a more accurate look to the board if I had painted the area under the sheets a light purple color, fortunately no one really notices.
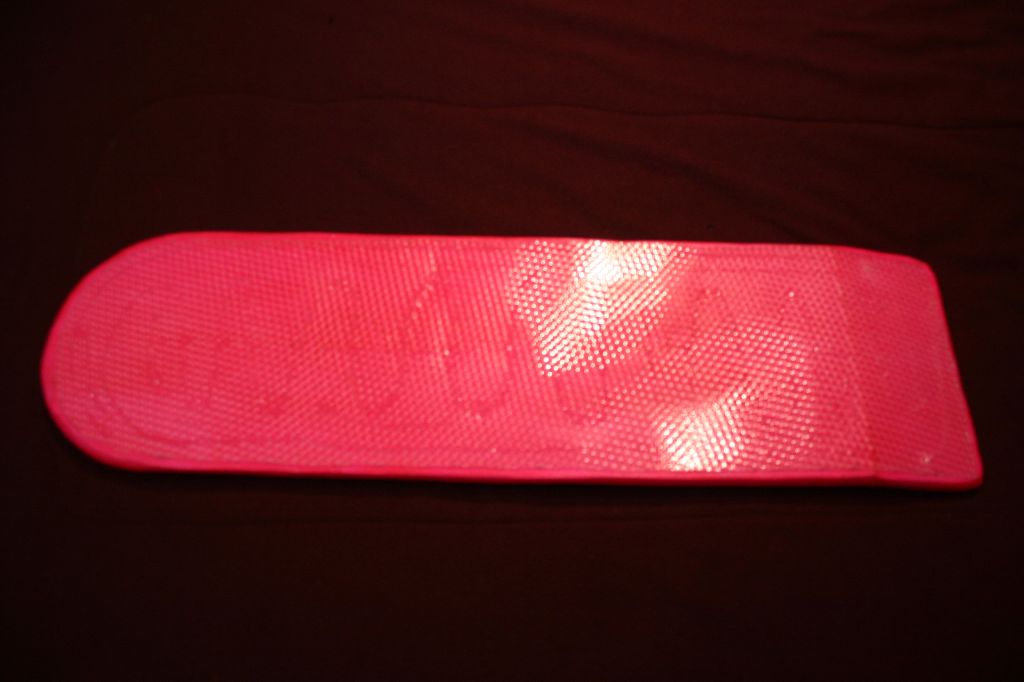

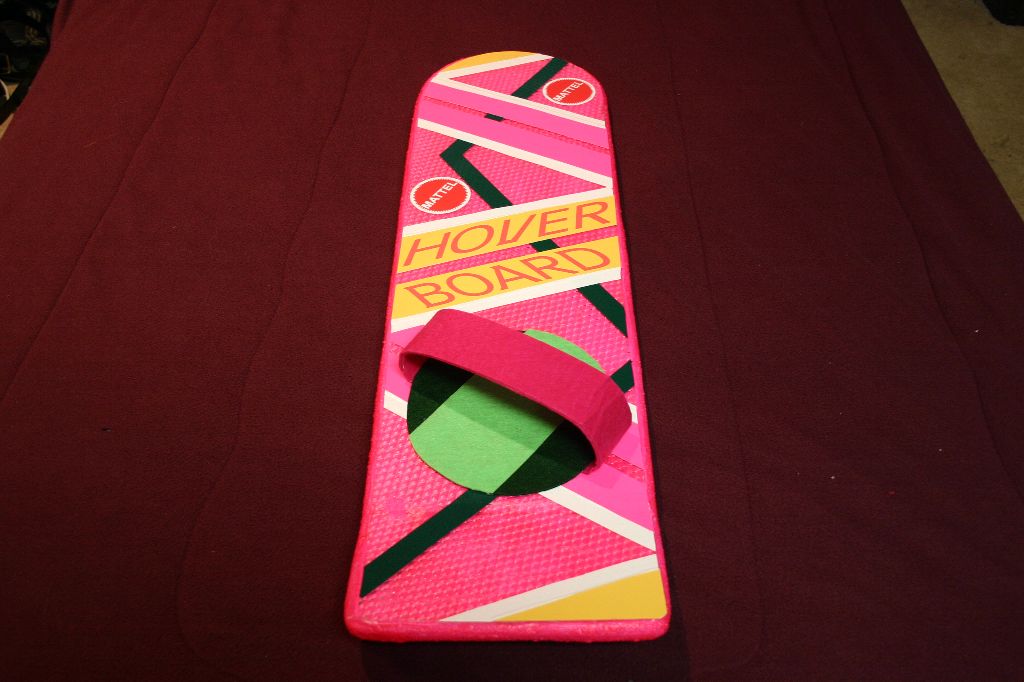
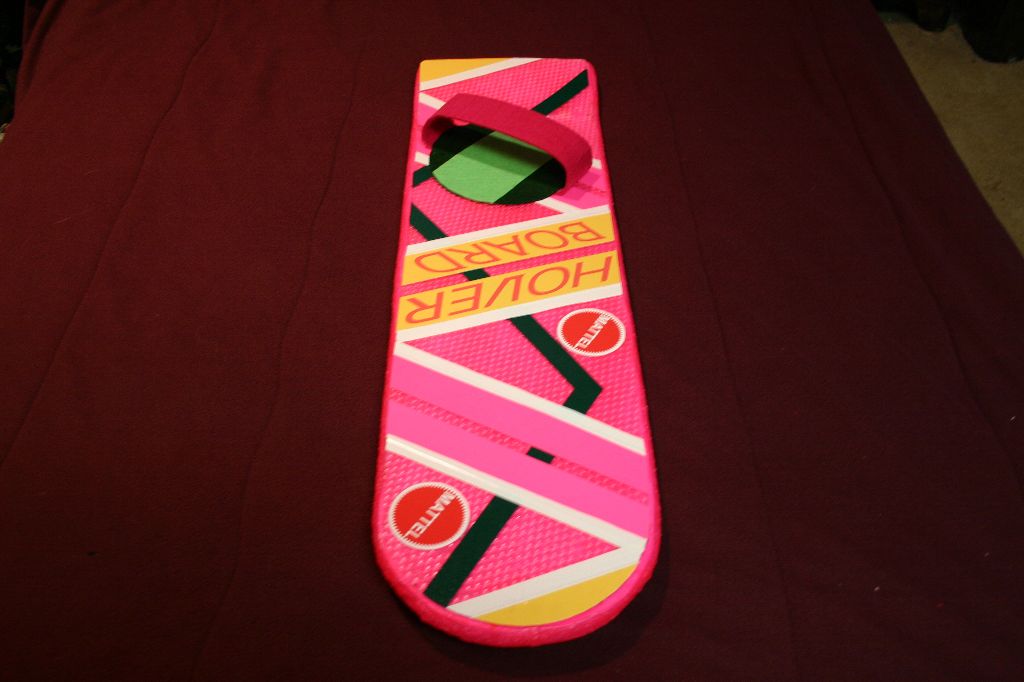
To detail the deck I edited the vector graphics image and pulled out just the "Hover Board" graphic and the 2 yellow sections on the nose and tail. The Mattel logos in the vector graphic were skewed so I found the logo on the internet. All these parts I printed out on matte cardstock and used spray adhesive to glue them to the board. The pink line sections were cut from pink construction paper, the green and white lines were both vinyl electrical tape. Technically the green lines should be a light green though there are some non-hero versions of the board that have the darker color so their accuracy is up for debate.

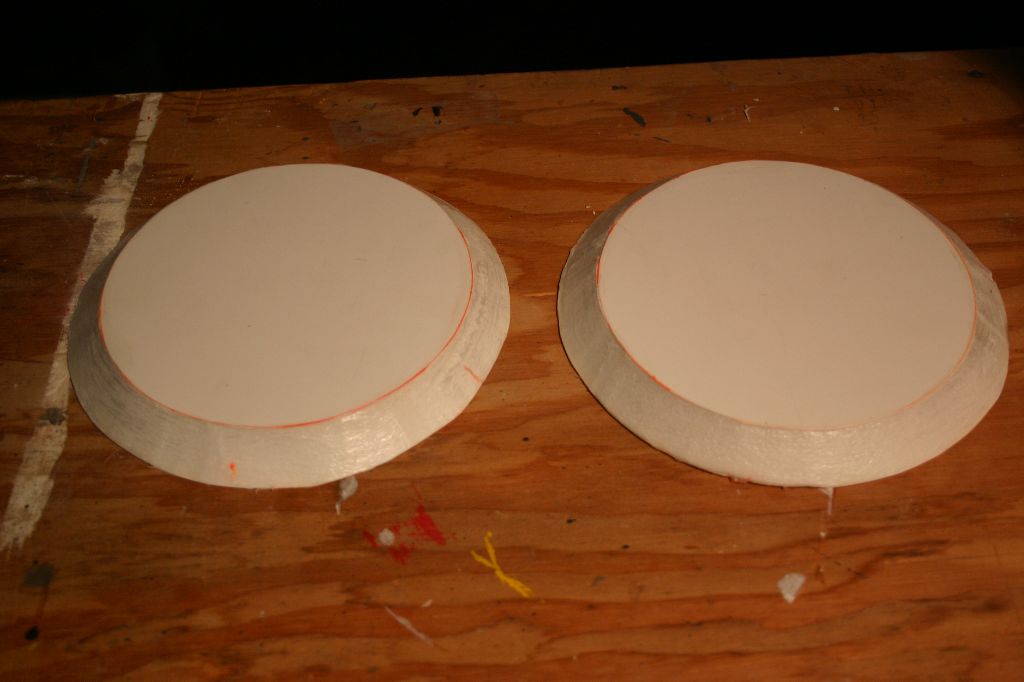
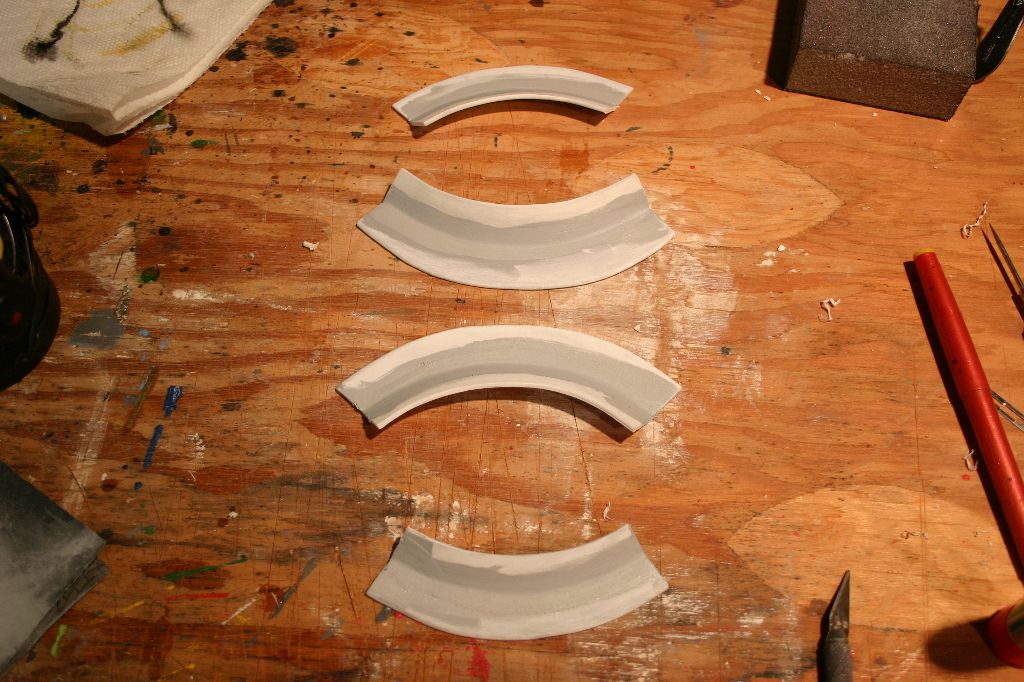
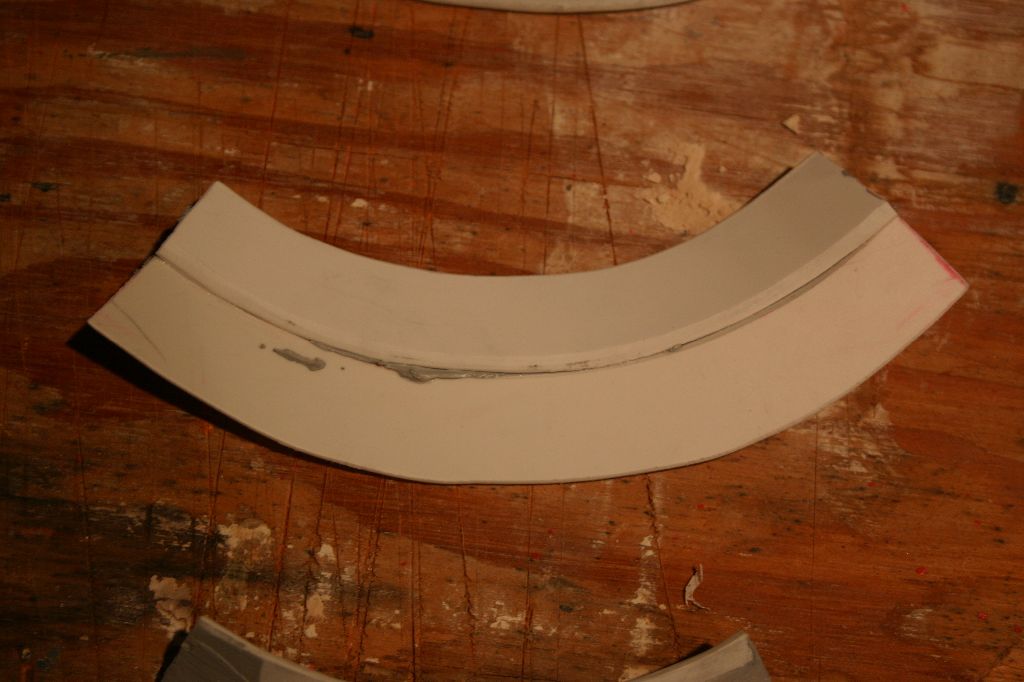
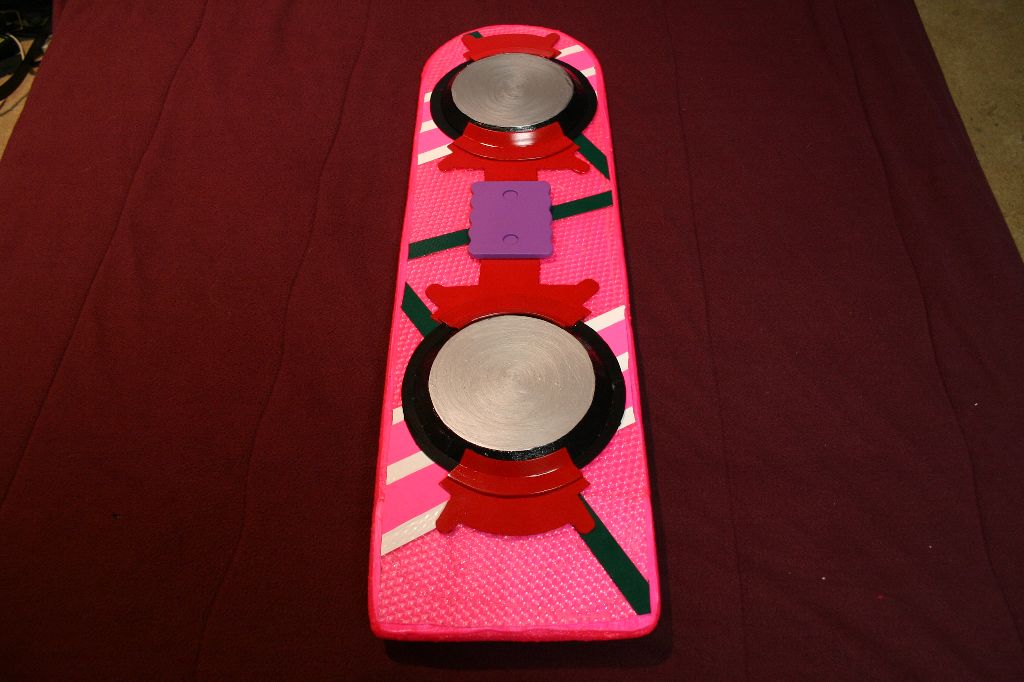
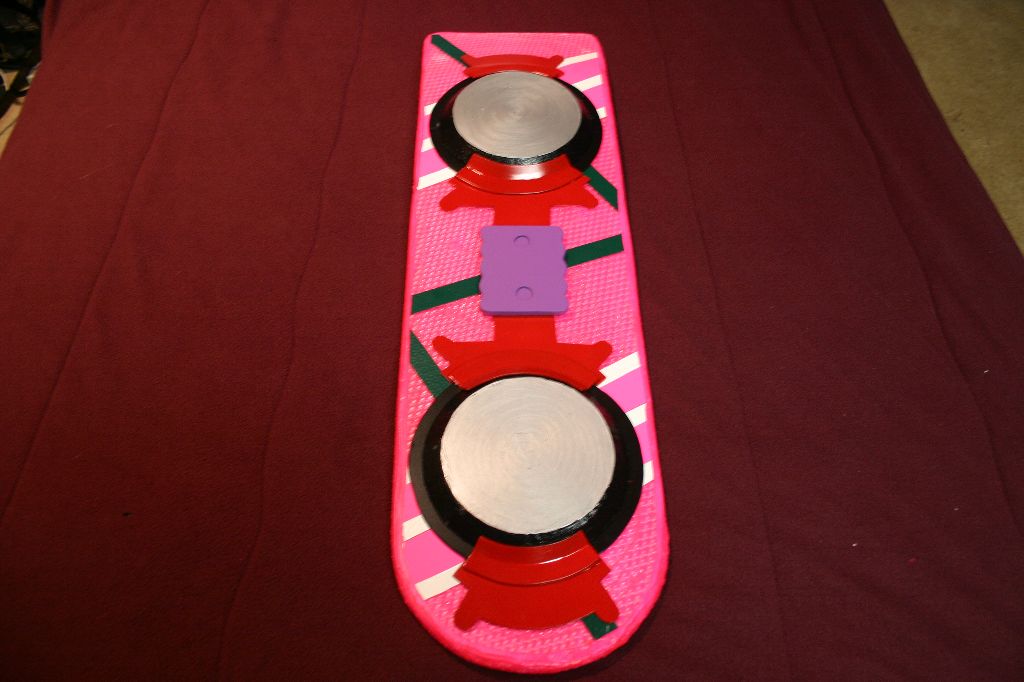
For the "magnets" on the underside I searched everywhere for the metal stove burner covers that were used in the tutorial but could only find them in 8 inch and 10 inch sizes. I tried using some silver ashtrays I found at a homegoods store but they didn't work out. I was under a time constraint so eventually I just gave up and used more of the half inch foamcore to make the disks. The magnet mounting clamps were scratch built out of .080 sheet styrene.
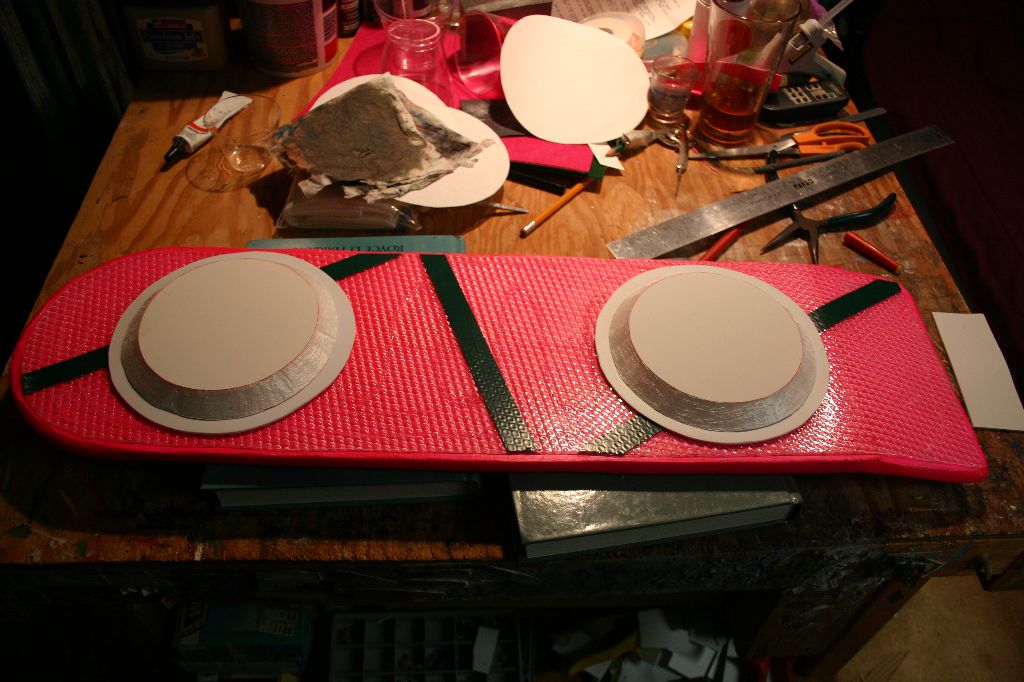
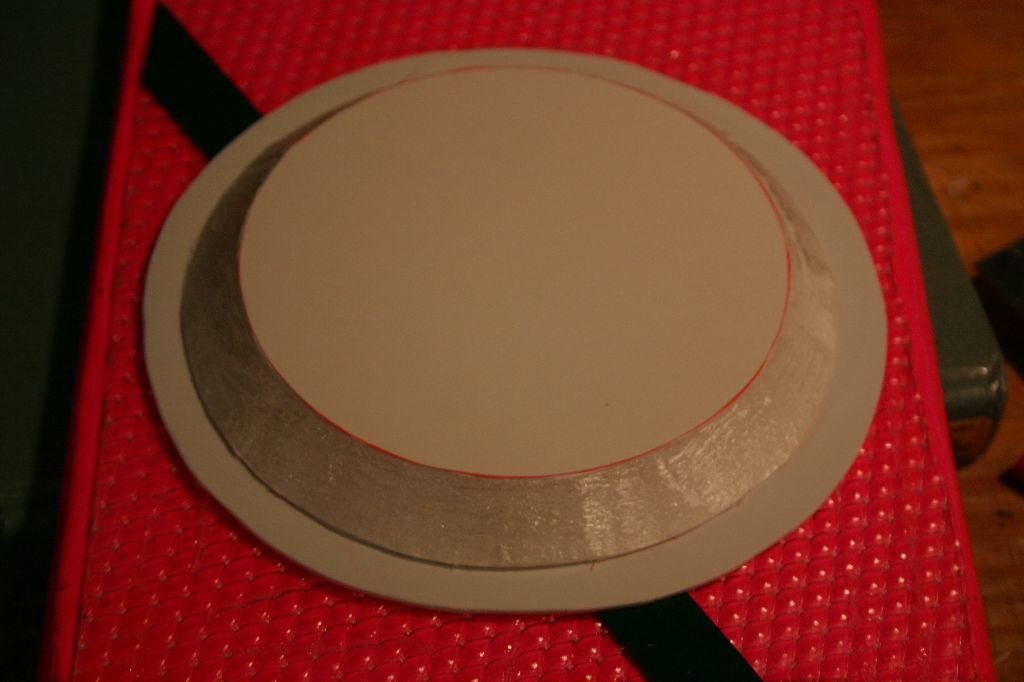

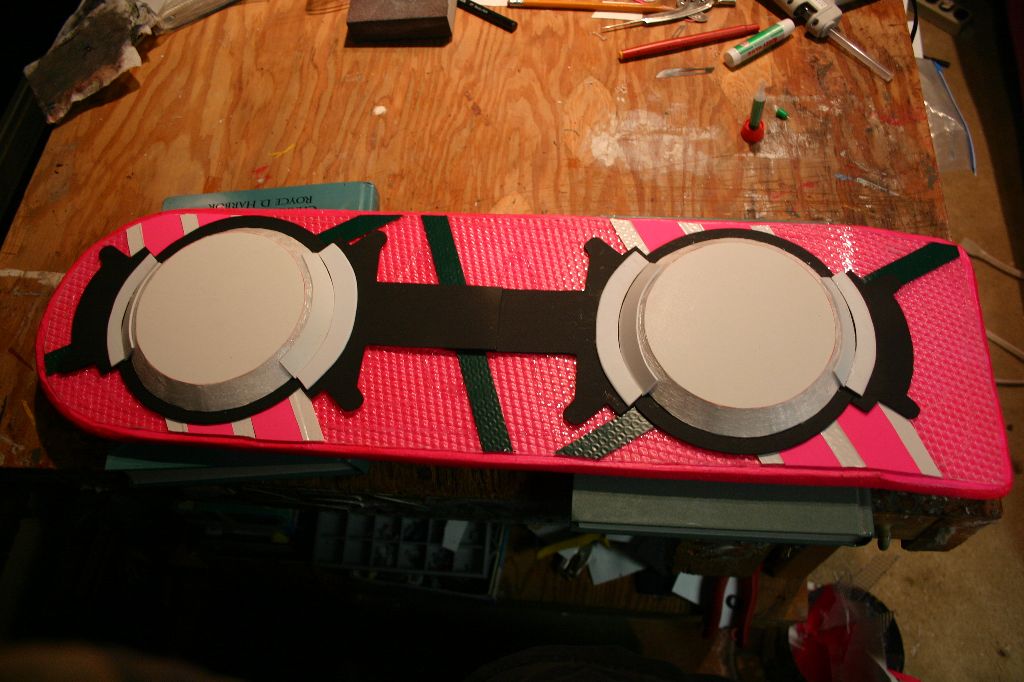
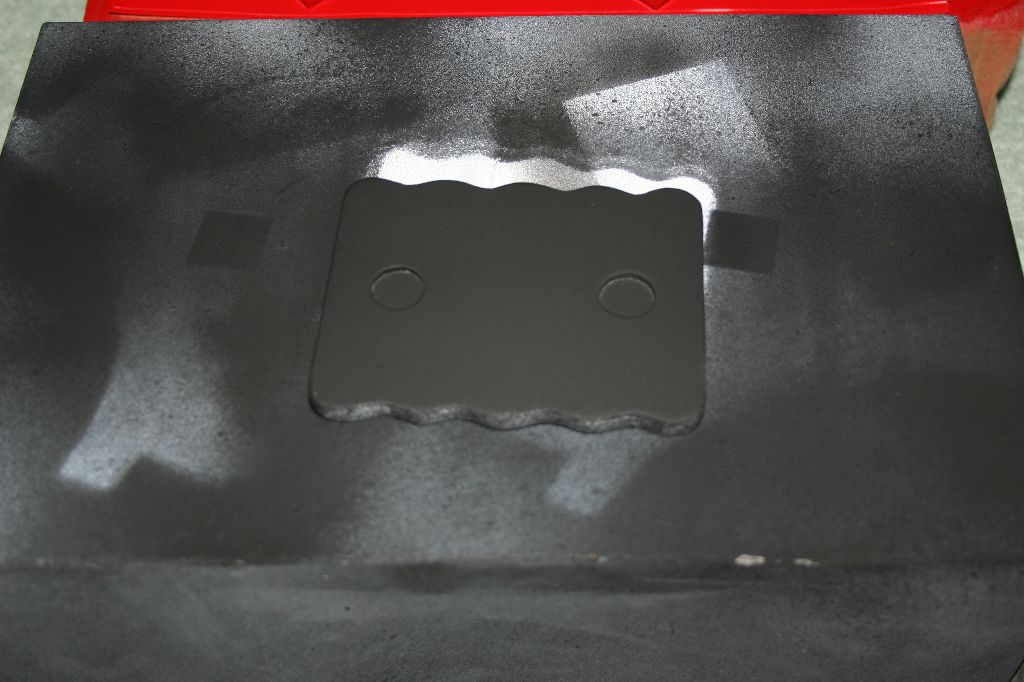
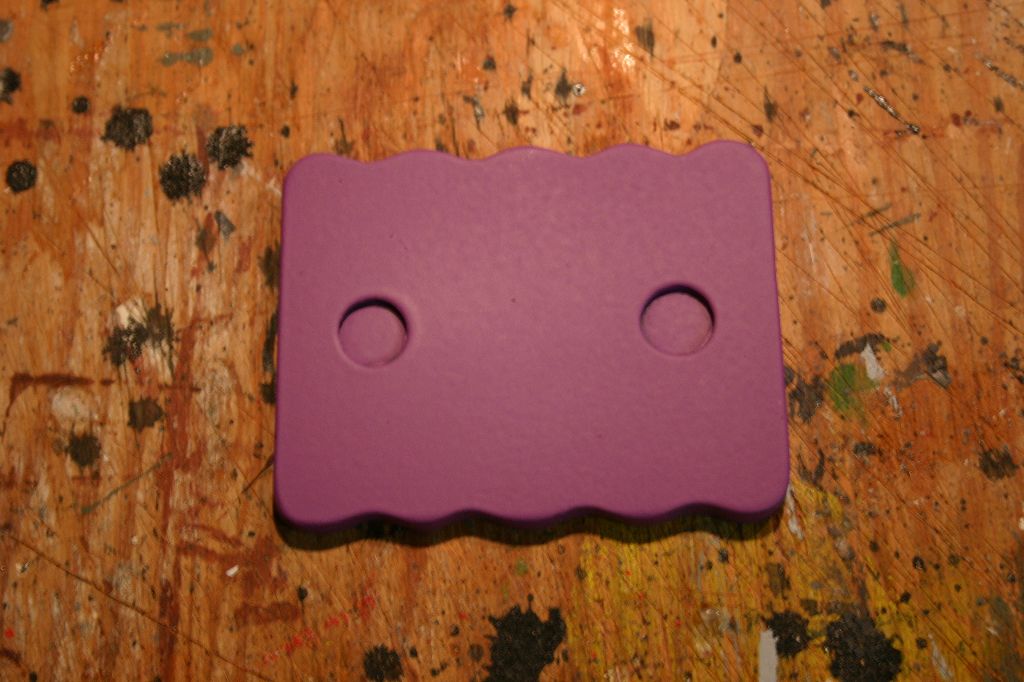
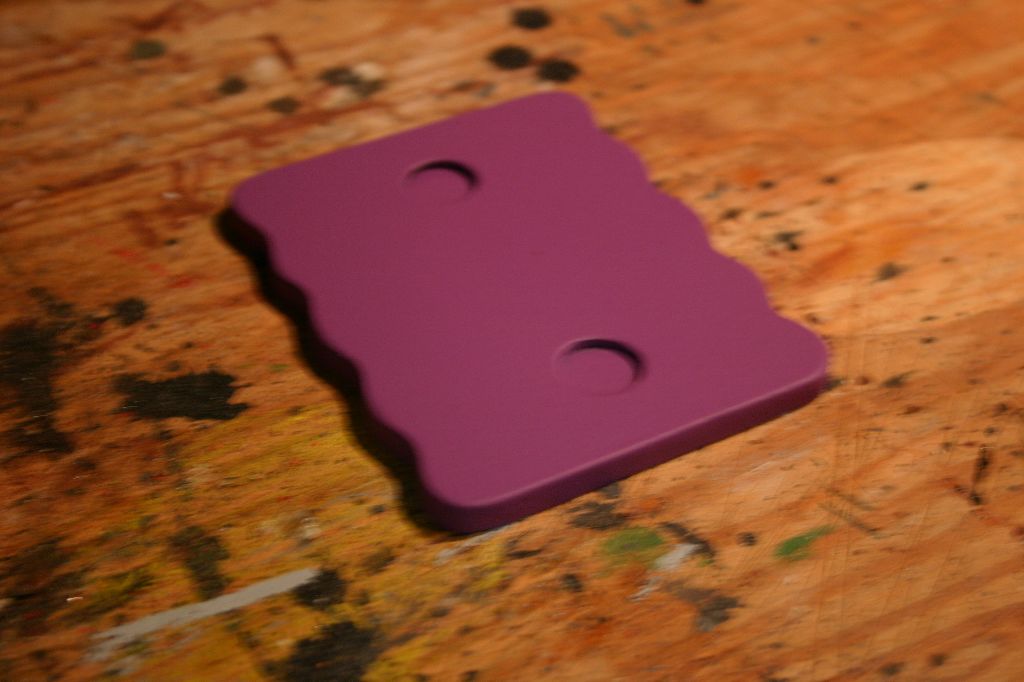

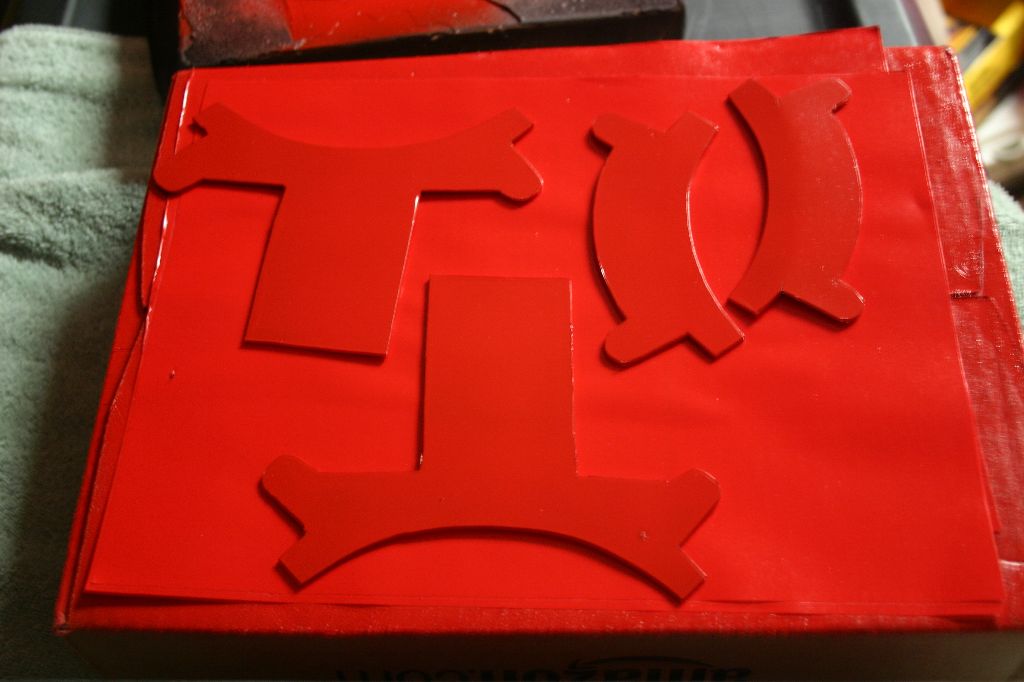
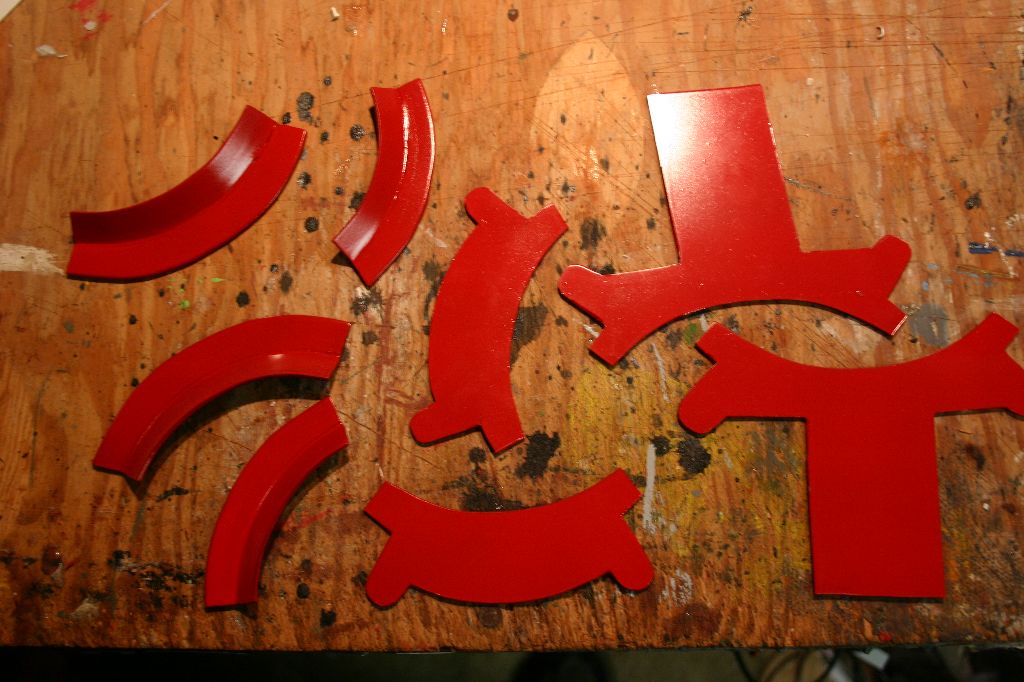

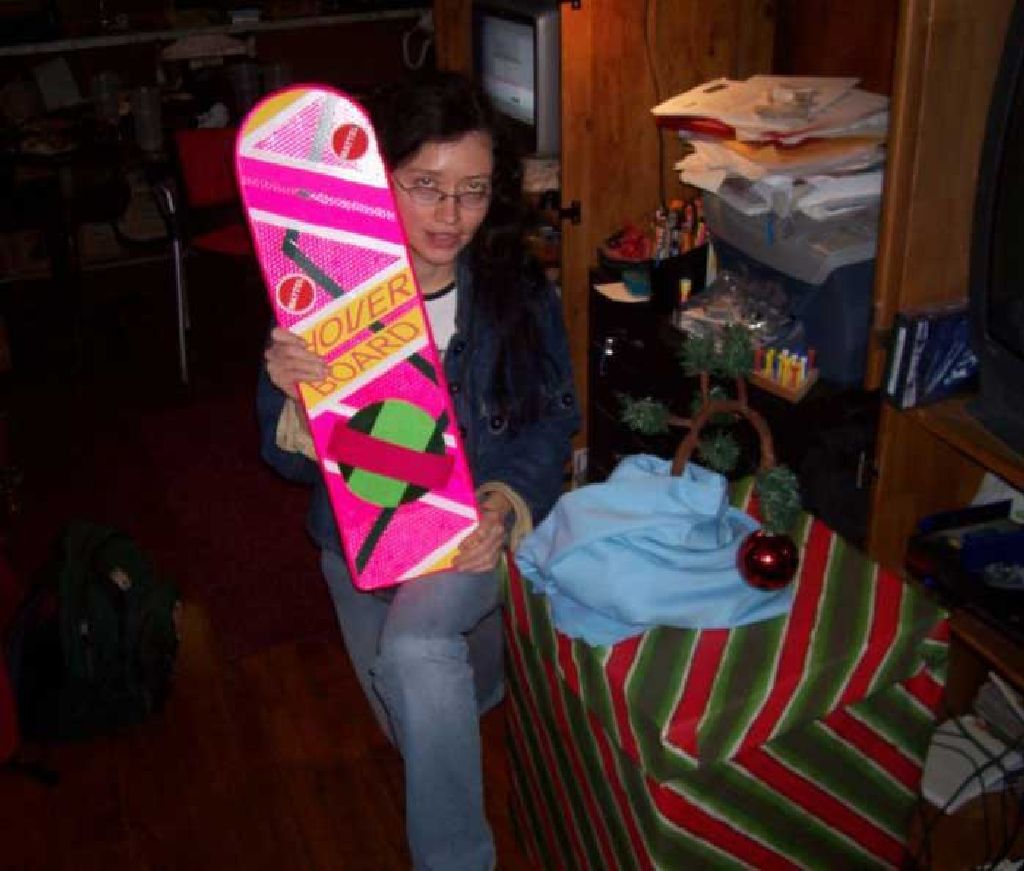
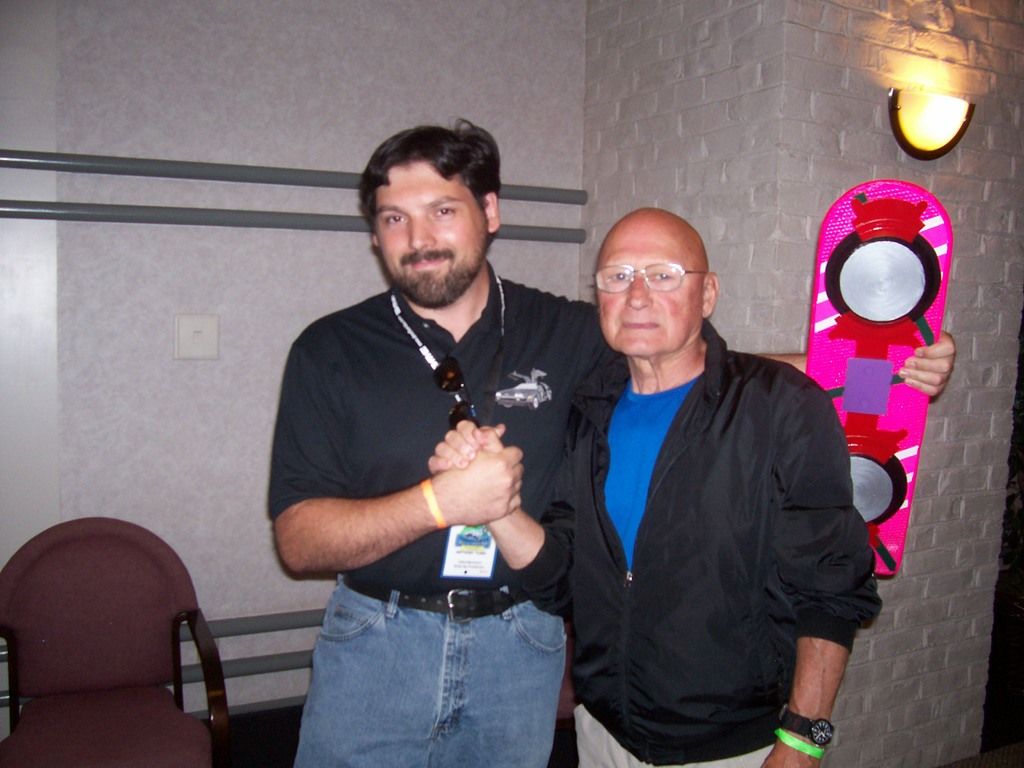
The magnets and mounting clamps were hot glued to the underside of the deck. The footpad was made out of self-adhesive felt pads then hot glued to the top of the deck. In all I'd say it came out about 85%-90% accurate. Of course the first thing everyone asks is "Does it work?" and my stock answer is "Of course, but you have to figure out where to put the batteries first".


Tweet
