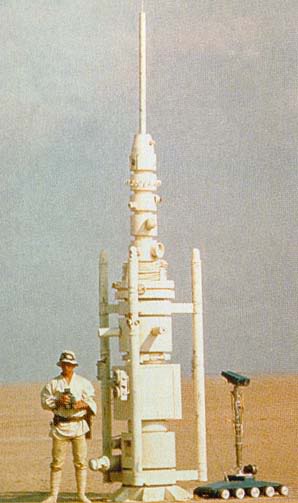
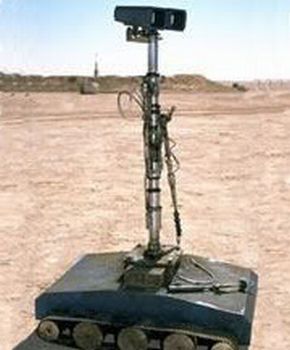
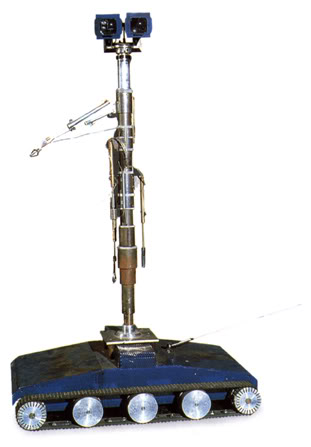
Treadwell Droid
I've had the plans for a Treadwell droid (from the Treadwell Builders Group)for a long time now. I finally got around to building one when my 501st garrison decided we needed a bunch of droids for the 2010 New Years Day Mummers parade. With a bit over a month to build it a number of factors went into the design. I don't have the space or tools to build it out of wood and I didn't want it to be excessively heavy. I also had to skip any mechanization or arms as I didn't have enough time. Eventually I plan to add arms, motorize the head and add a sound system so it will look better for conventions. Functional treads are way more work than I want to do and I wouldn't get much use out of it anyway.
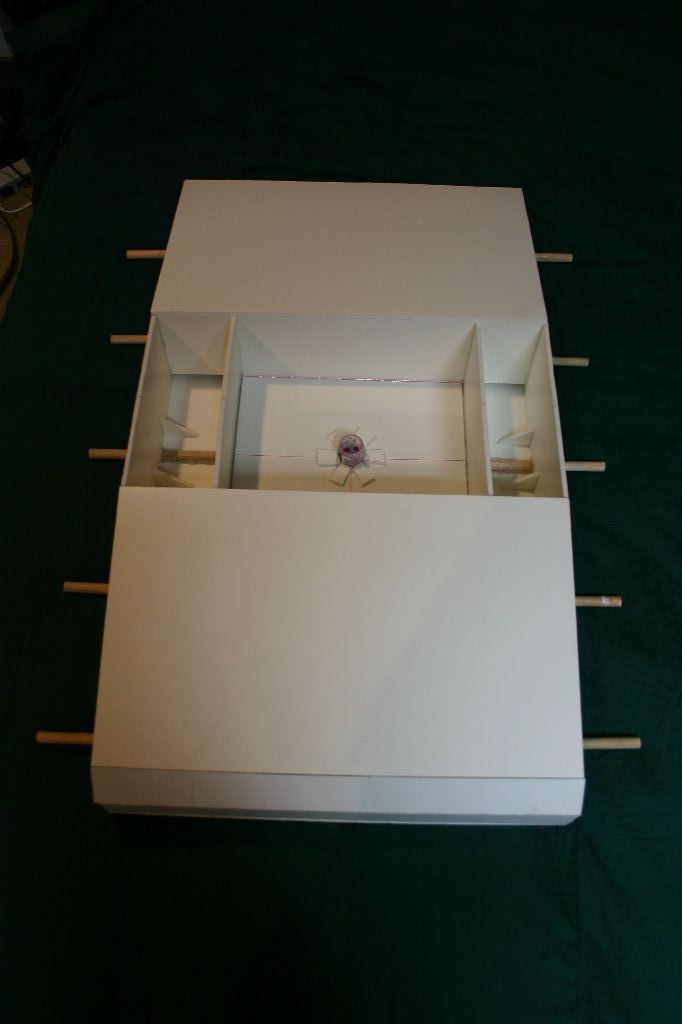
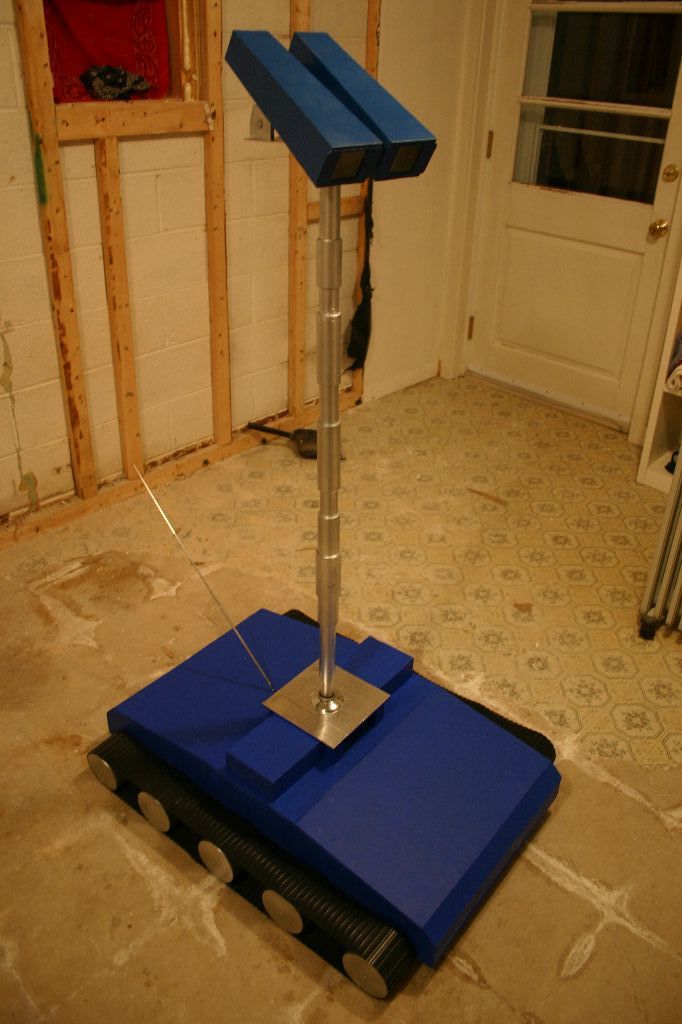
I started by making the base out of foamcore. I wound up using 4 sheets of 3/8 and one sheet of 1/2. Unfortunately the droid is larger than one sheet so I had to work out how to butt together multiple boards but still maintain strength. Everything was glued together with hot glue. I added internal supports to help prevent the foamcore from warping when it was painted.
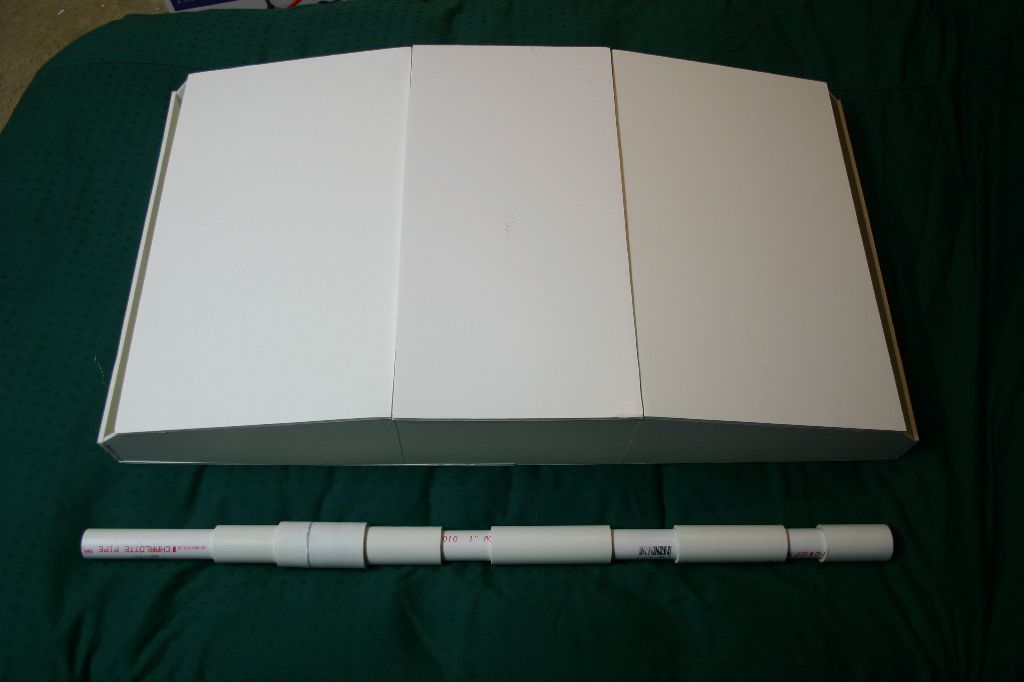
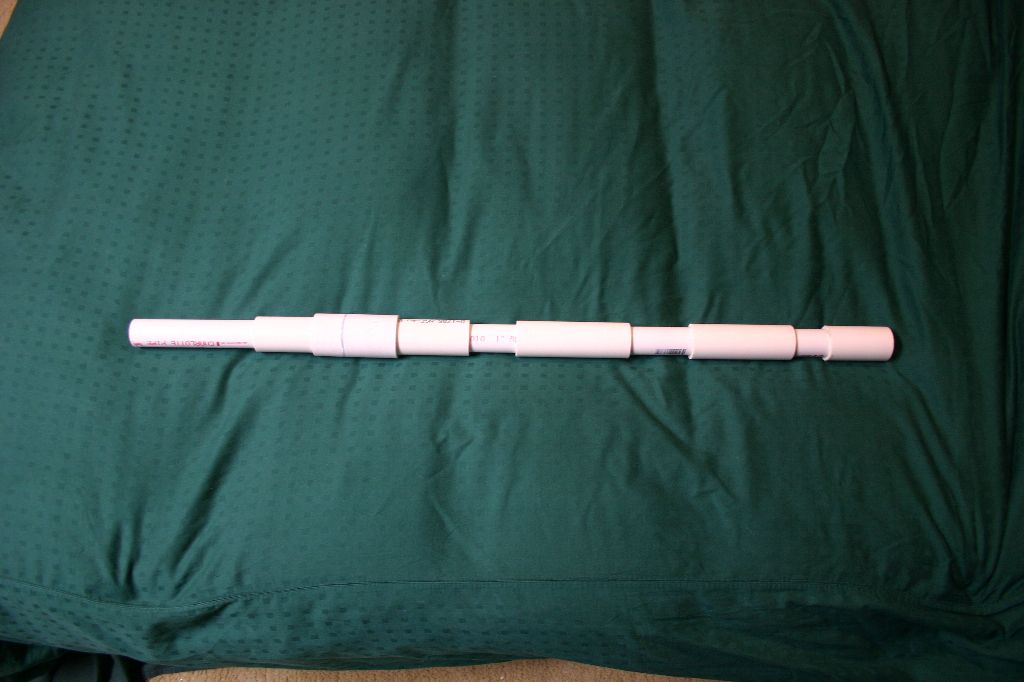
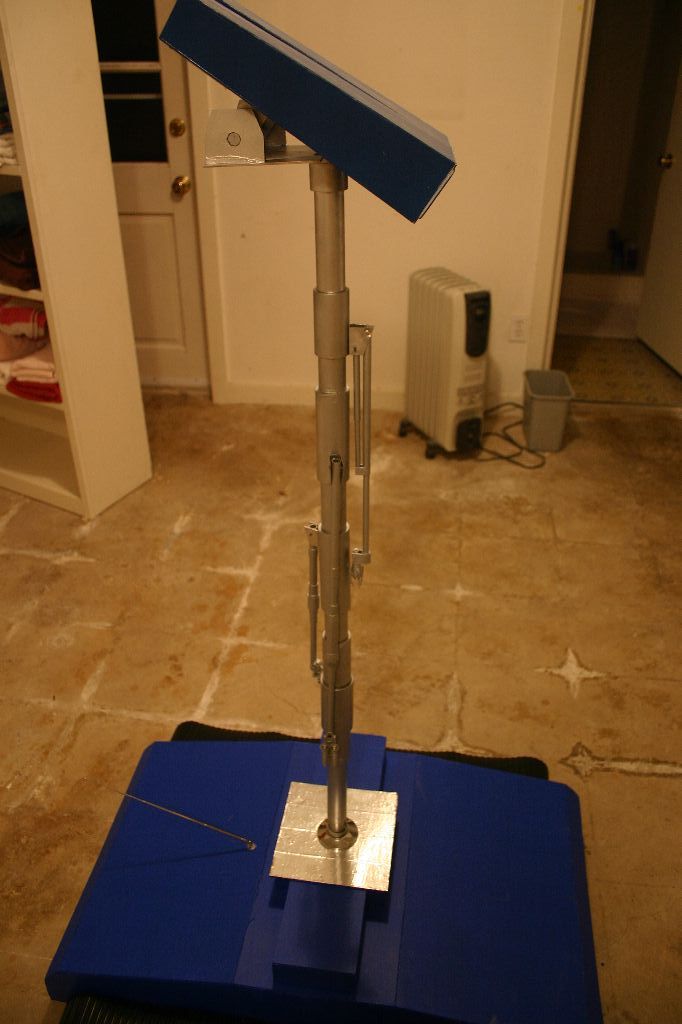
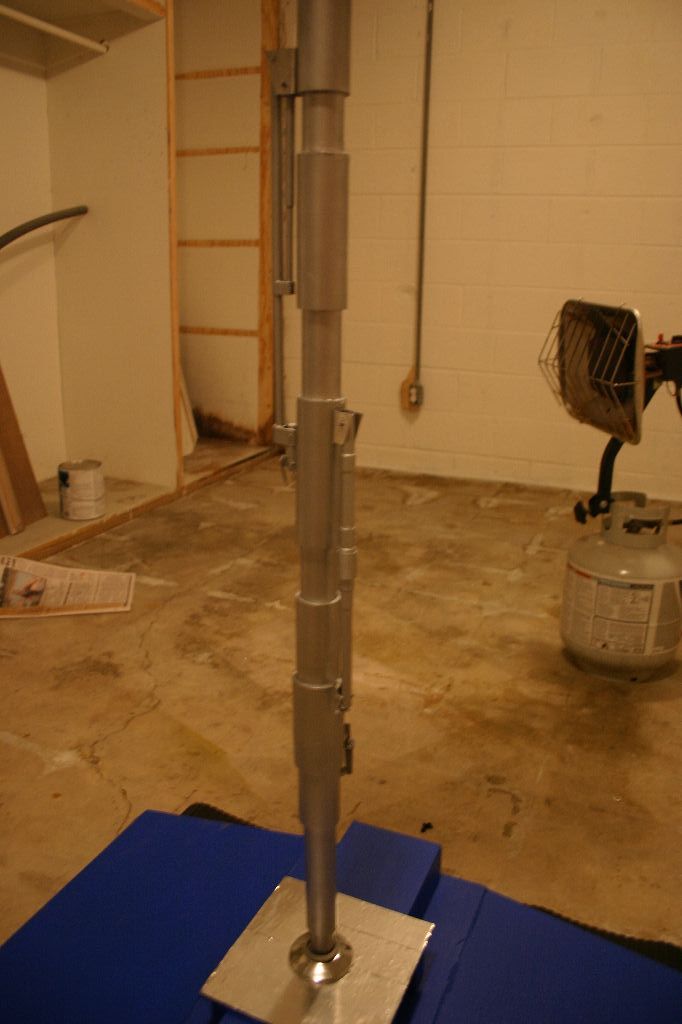
For the neck of the droid the obvious way to make it cheaply was PVC pipe. The actual dimensions of the neck don't match up to most standard PVC sizes so I had to fudge it a bit. I wound up using 1" and 1.25" PVC, two 1.25" couplers and 3/4" electrical conduit. The 1" PVC doesn't quite fit snuggly inside the 1.25" so I had to wrap the 1" with some thin styrene. The 3/4" was also slightly too large to fit inside the 1" so it had to be sanded.
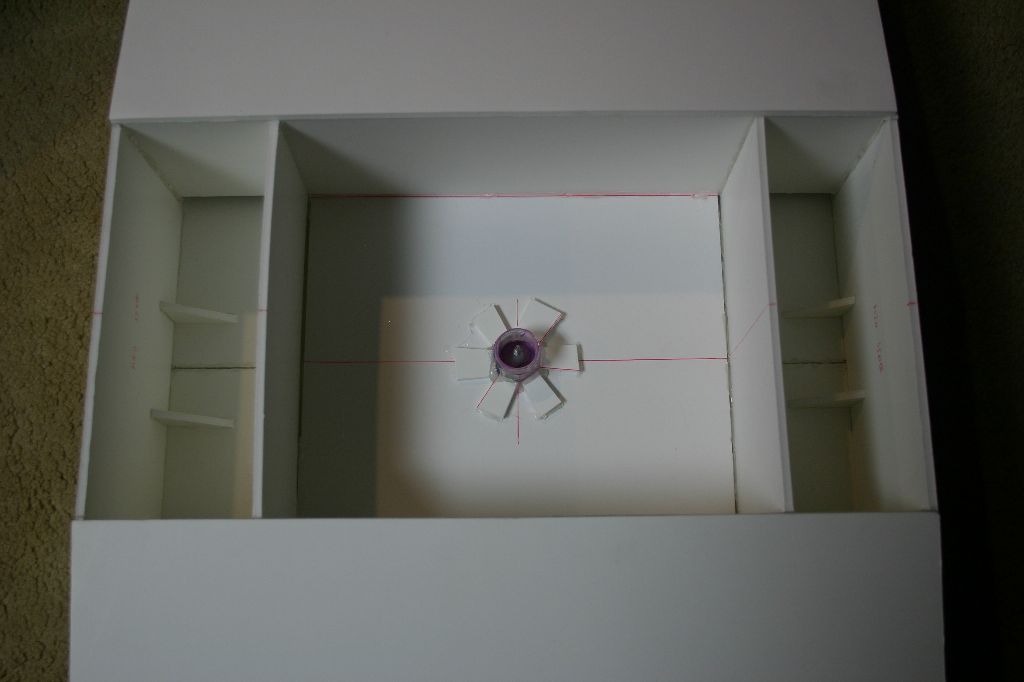
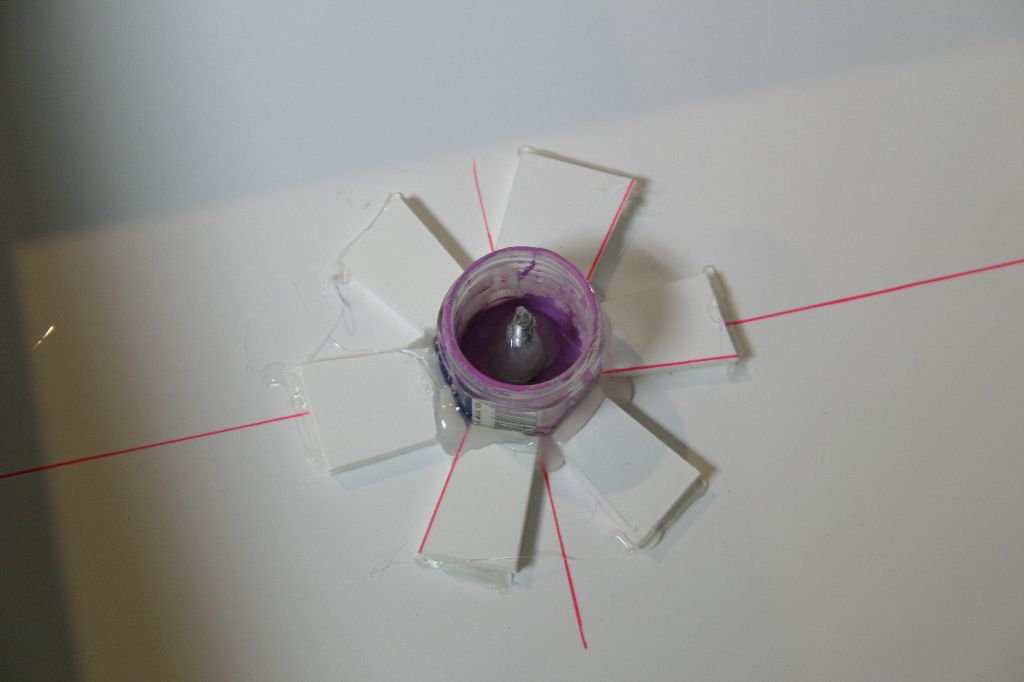
To attach the neck to the body I found an old paint pot that the 3/4" conduit fit into and bolted it to the bottom of the droid.

For the axels I used 1/2" wooden dowels and some 5 minute epoxy.
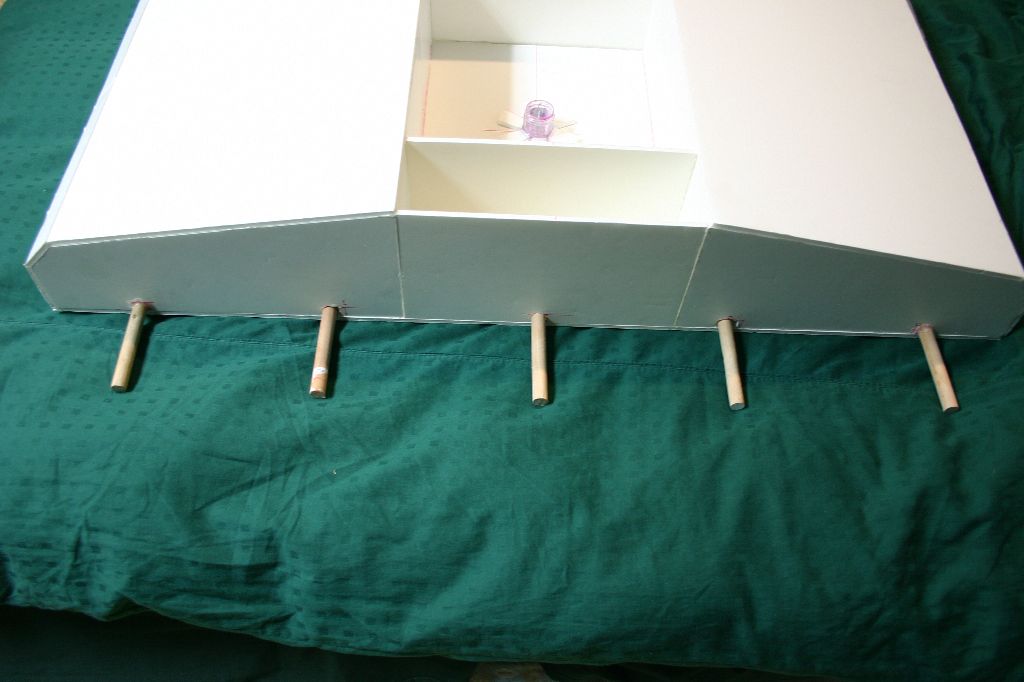

To make the wheels I bought 3" PVC couplers (that are actually 4" in diameter, stupid PVC sizing), a for sale sign and some spray insulation foam. After gluing a circle of sign to one side of each coupler I filled the internal space with the spray foam.
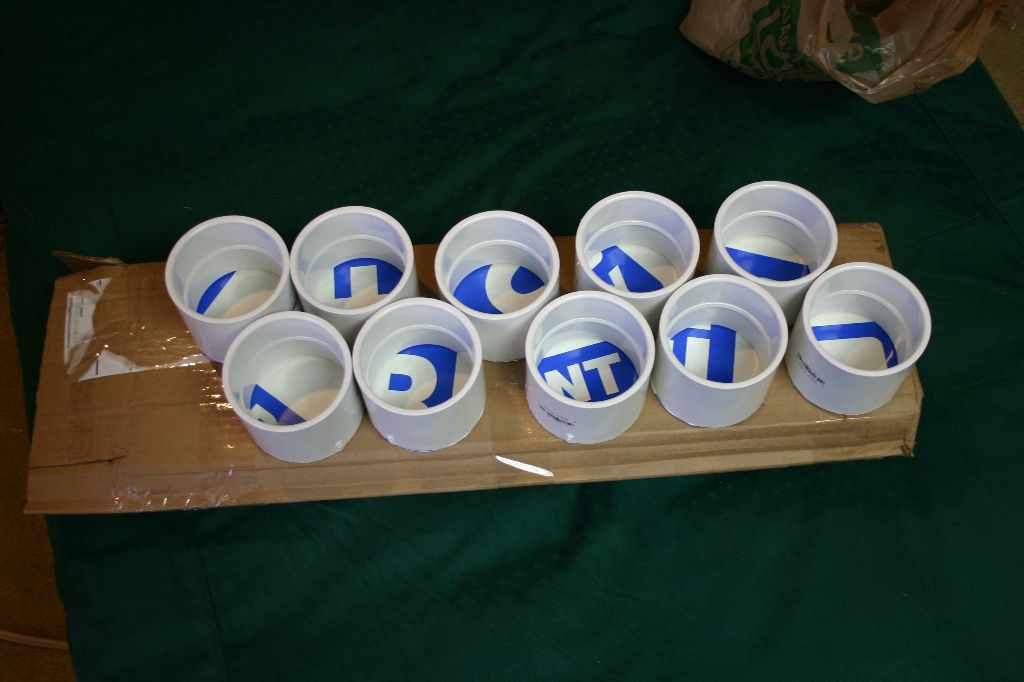
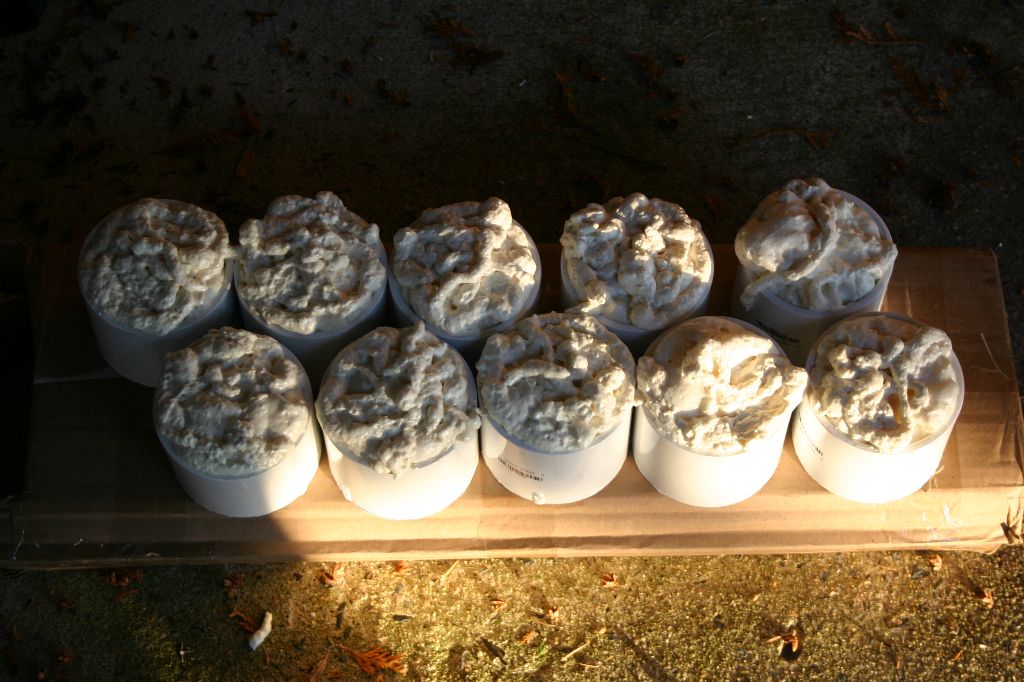

Once the foam was dry I cut off the excess and glued another circle of plastic on.
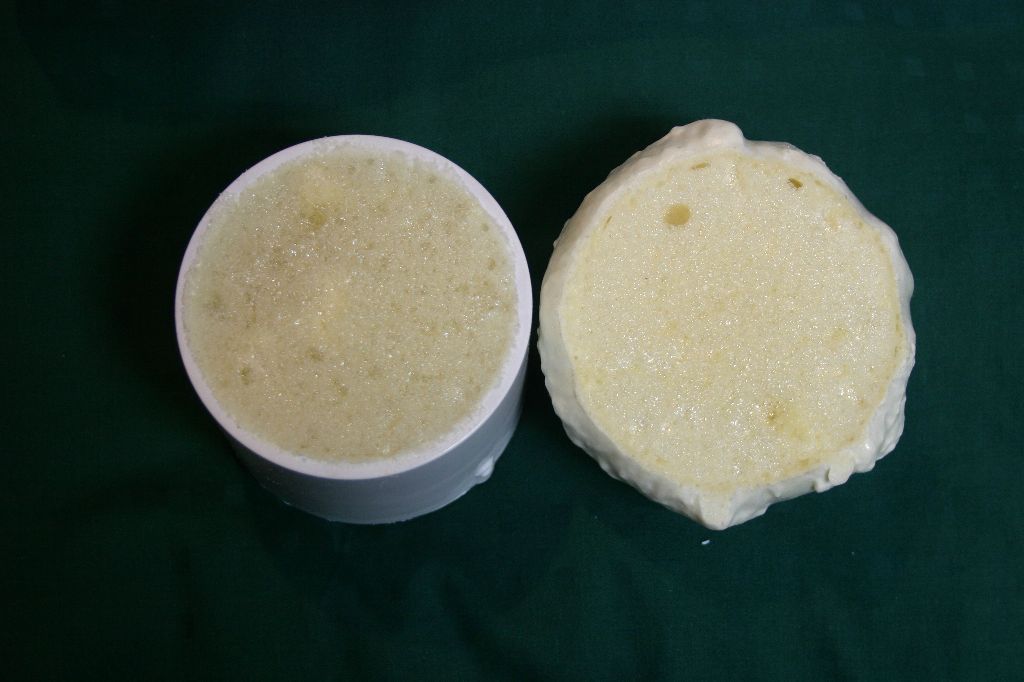
Though this seemed like a good idea it didn't totally work out. The expanding foam releases a lot of gas while drying. Since I sprayed it into an enclosed space a lot of the gas collected in the bottom and pushed most of the foam out instead of expanding evenly. Though the trimmed side looked good when I eventually drilled a hole in the other side to insert the axel I found the assemblies to be mostly empty. If I was going to do it again I'd either cut rounds of sheet insulation foam or not glue the plastic to the coupler and just fill them sideways.
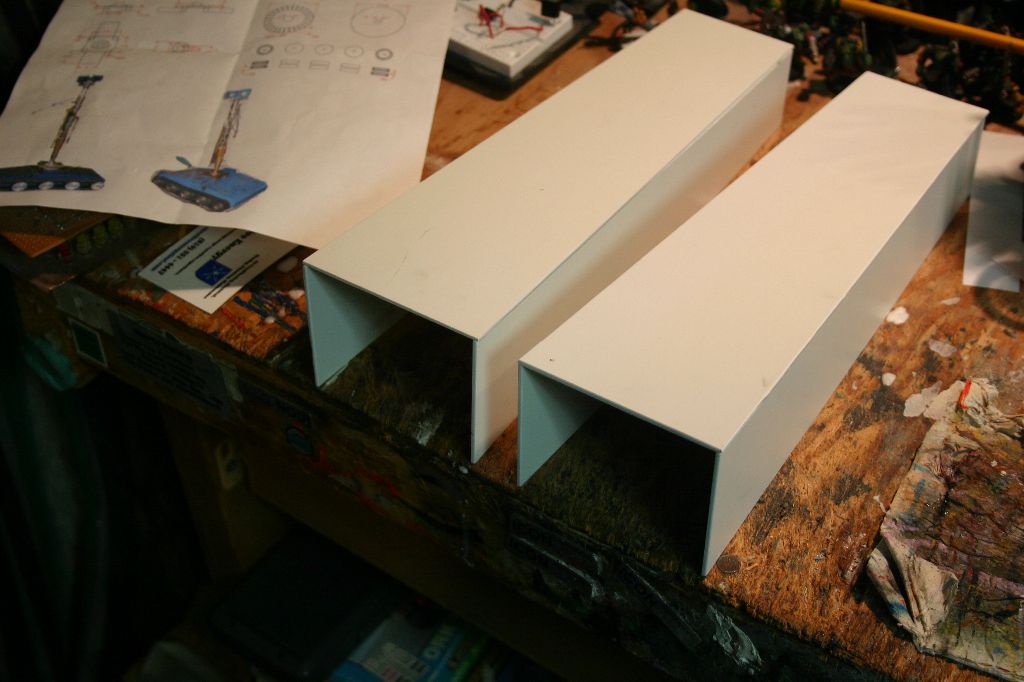
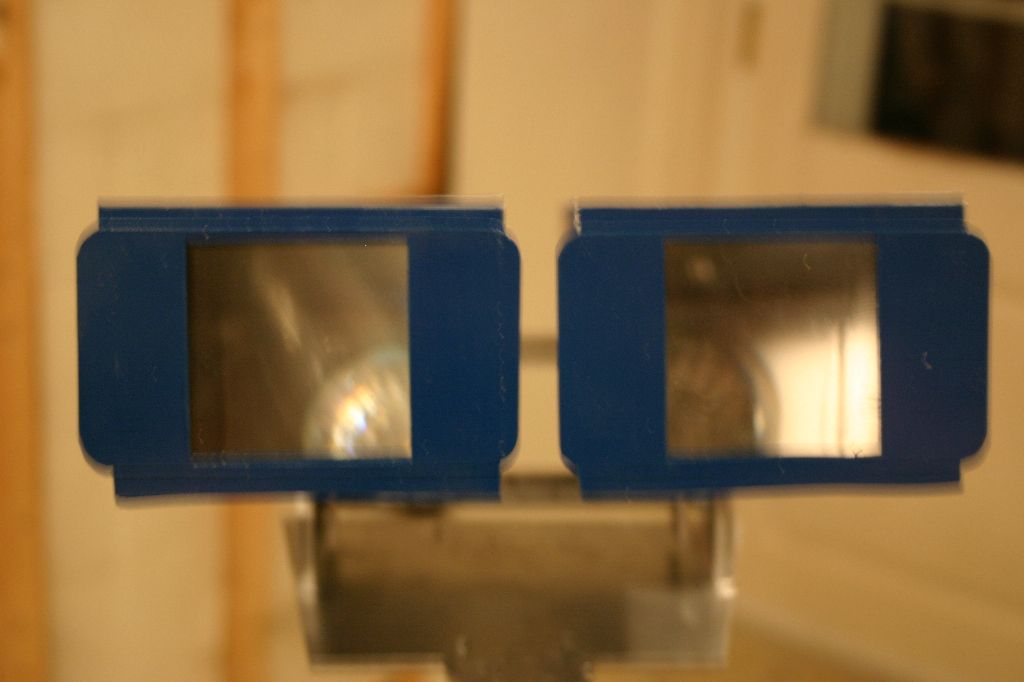
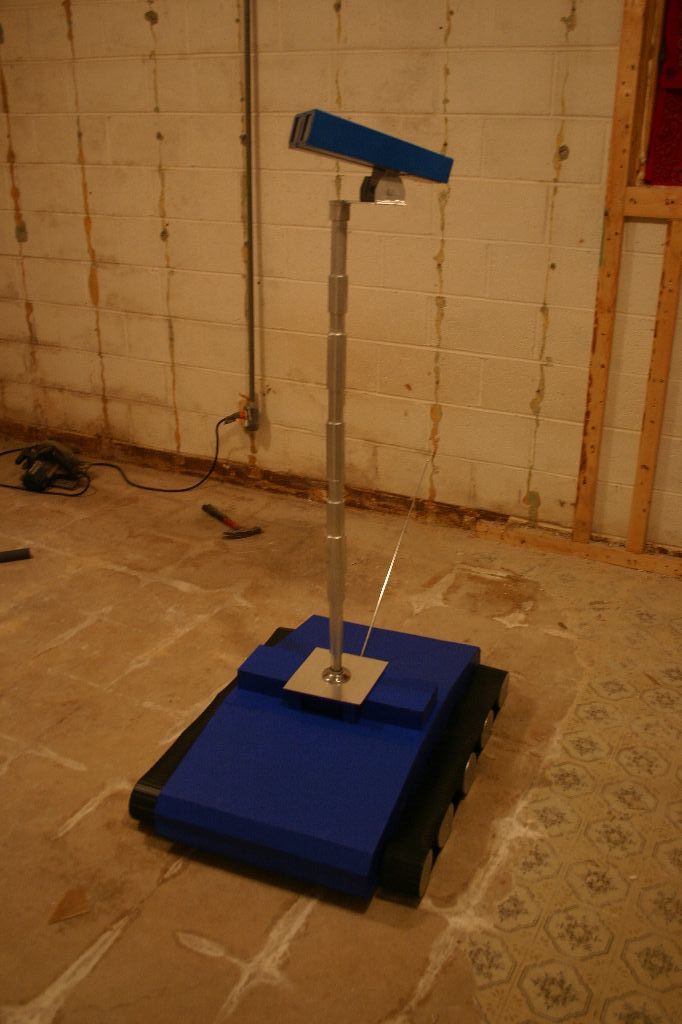
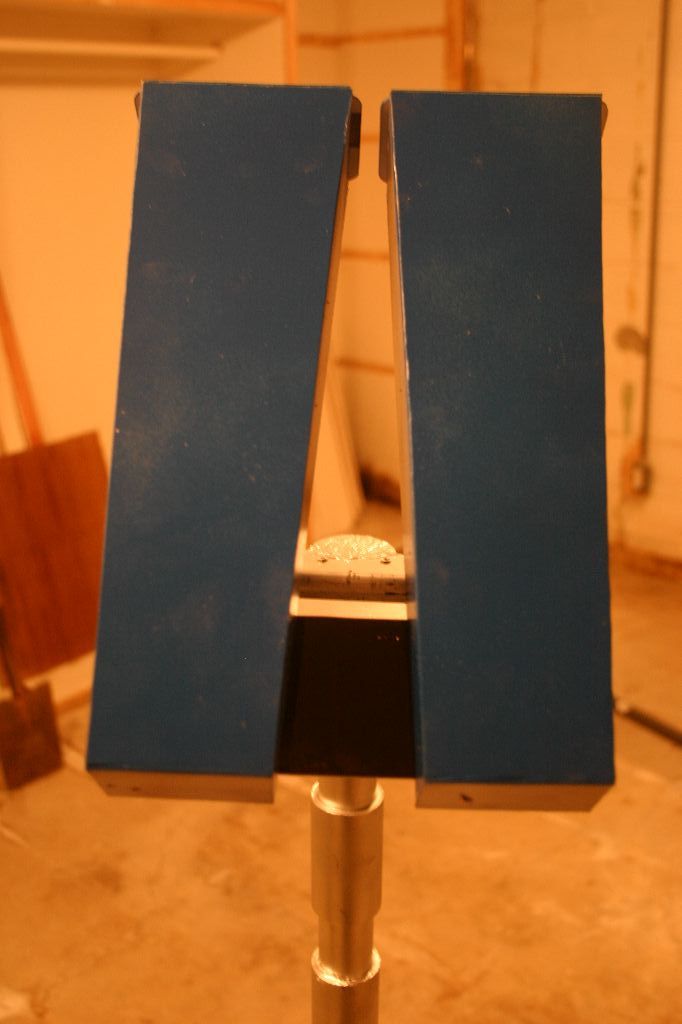
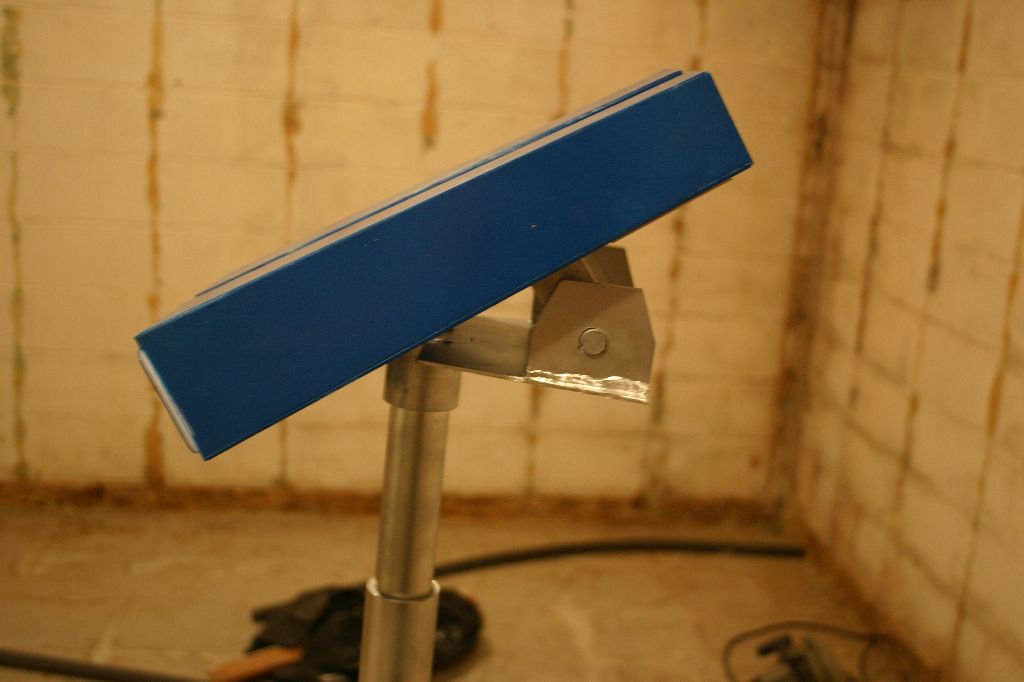
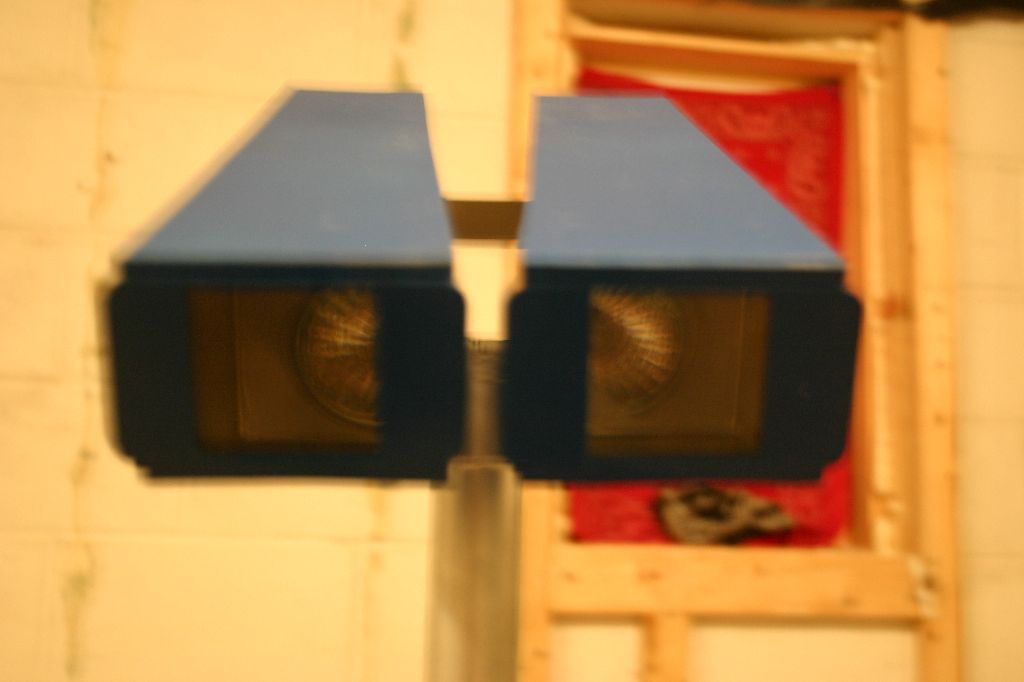
Next up was the head. I built the eyes out of sheet styrene, the neck attachment was plexiglas with a PVC coupler screwed on. The hinge was built out of sheet and tube styrene. I attached old projector bulbs inside the head to resemble eyes. For the lenses I had a busted plastic lens sheet from an overhead projector that I cut up. It gives a bit of a magnifying effect which is interesting.
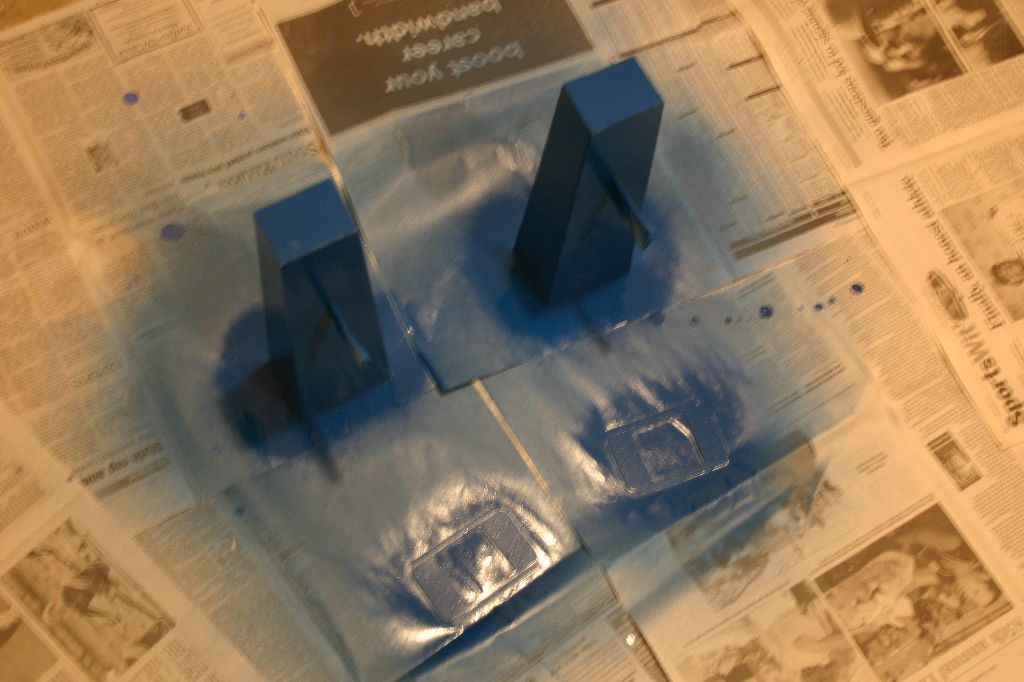
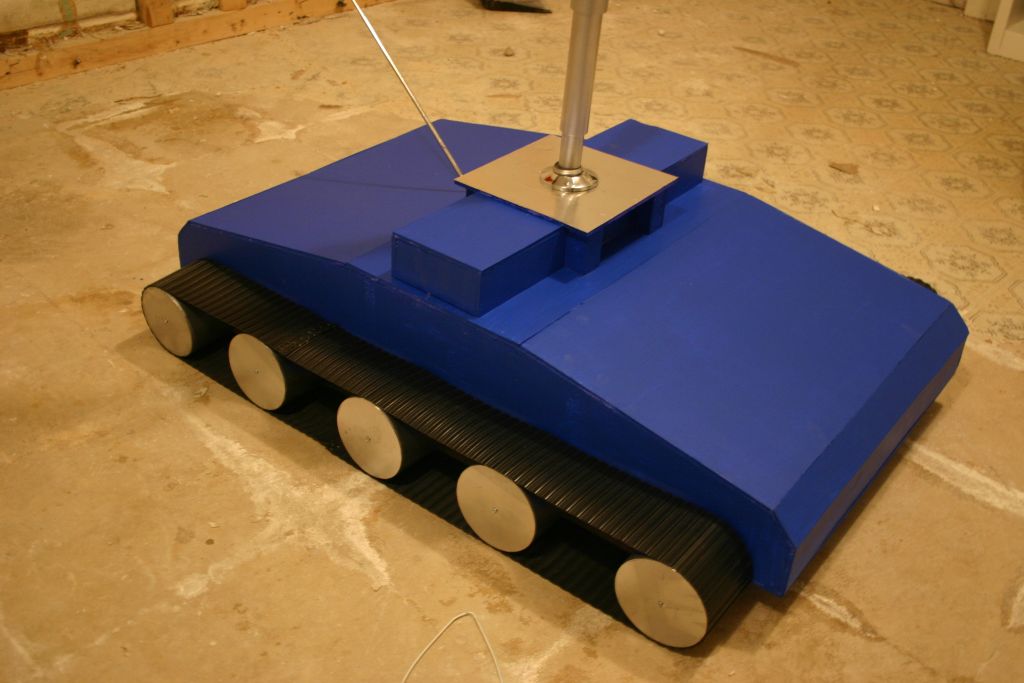
For paint I used Liquitex Basic Acrylic cobalt blue for the base, Testors blue spray for the eyes and Dutch Boy aluminum spray for everything else. The wheels were attached to the dowels with a screw on the end. The treads were made from a ribbed rubber mat I found at Home Depot. I picked up two feet of it and then cut it cross grain to create tread sections. It took about two and a half sections per side. I attached the sections together with a standard office stapler.
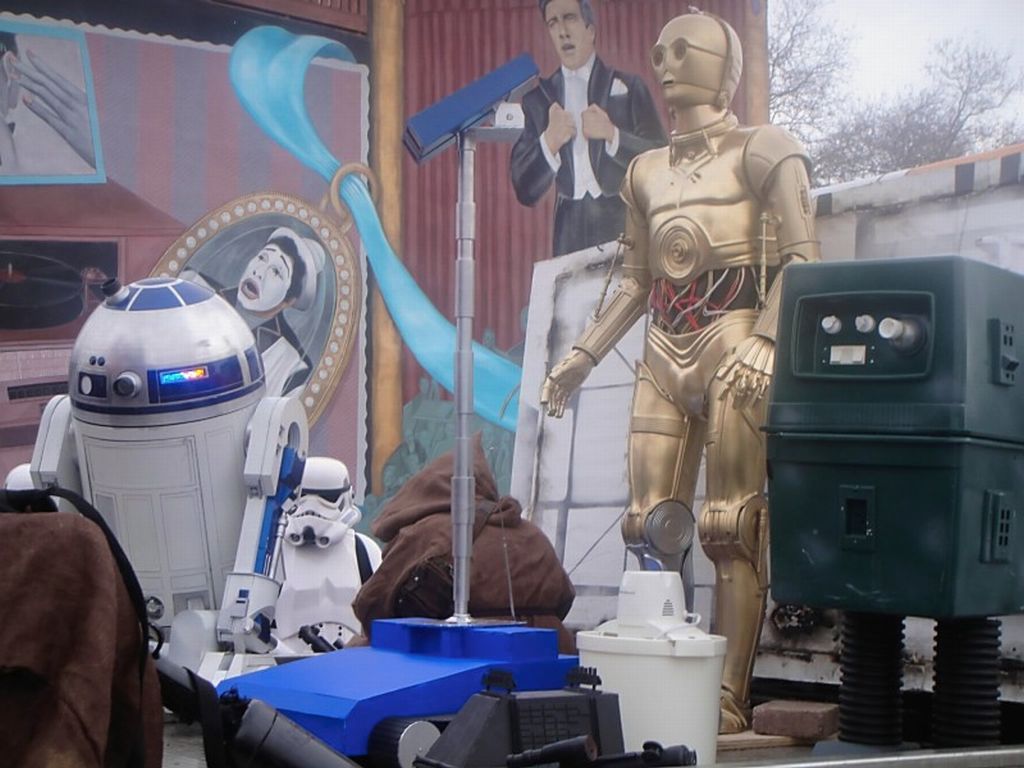
And here are pics from the event:


Update!
With Wizard World East 2010 fast approaching I figured it was a good reason to finally add the arms to the Treadwell. I used styrene tube and junk from my bits box for the arms and bent some sheet aluminum to make the attachment points.

Tweet
