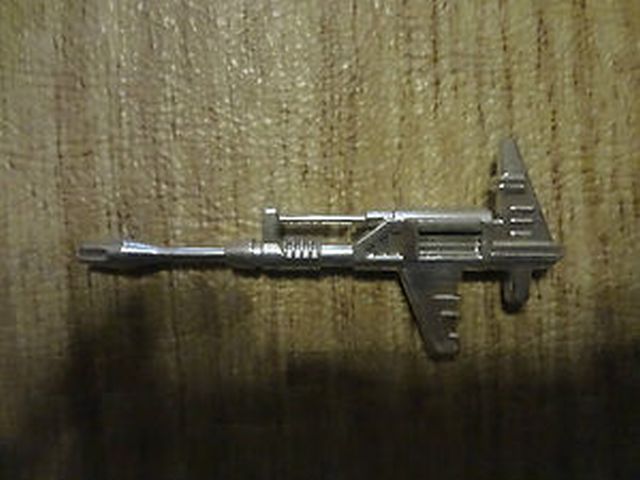
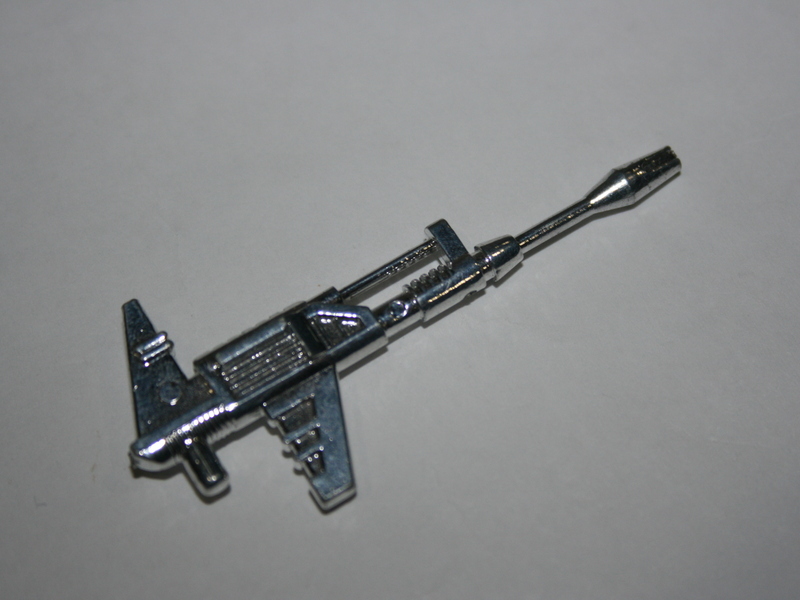
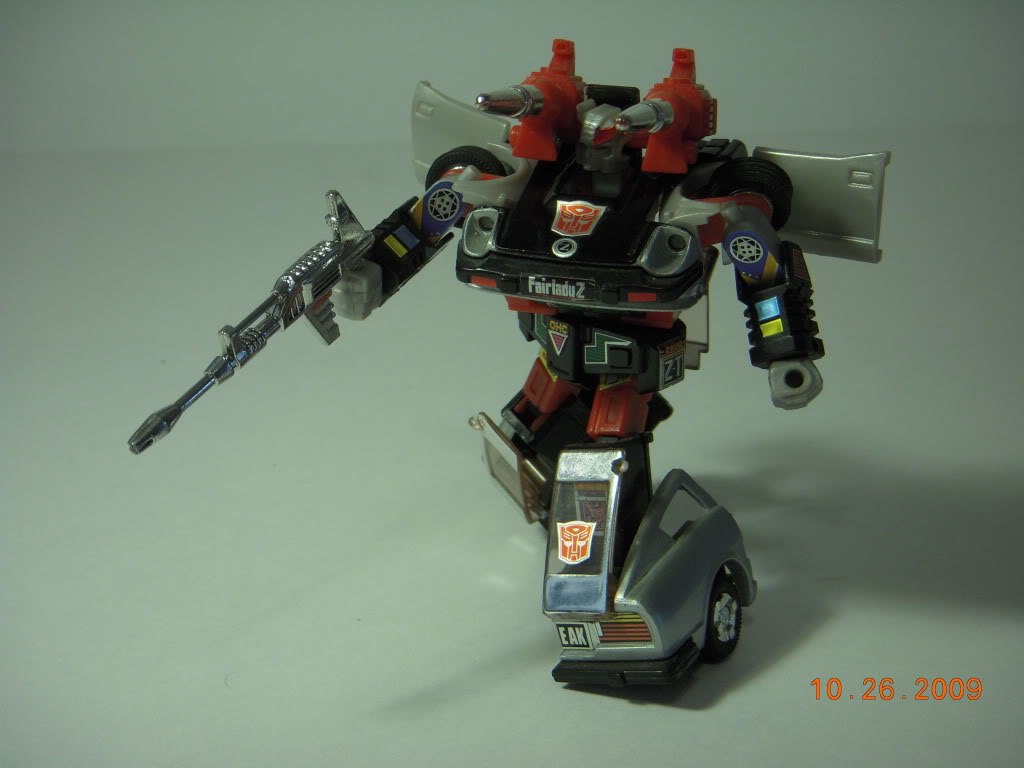
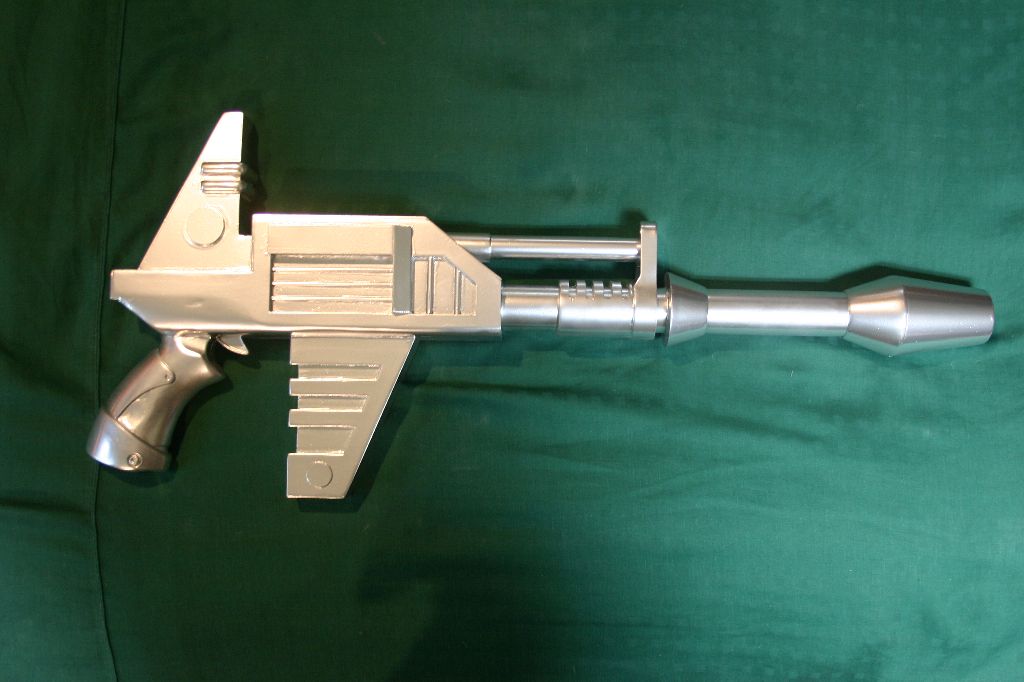
G1 Prowl Blaster
This was another project for my friends Rose and Tony. The previous year I made them an Optimus Prime Ion Blaster for their trip to Botcon. That was a hit and with the next Botcon approaching they asked me to make a new blaster, this time a human scale version of Prowl's gun.
As usual I started by working out some basic measurement and scaling to work out where to start. My standard caveat of "don't trust any numbers on my plans" applies as they're just general guidelines and things probably changed between writing it down and actually making it.

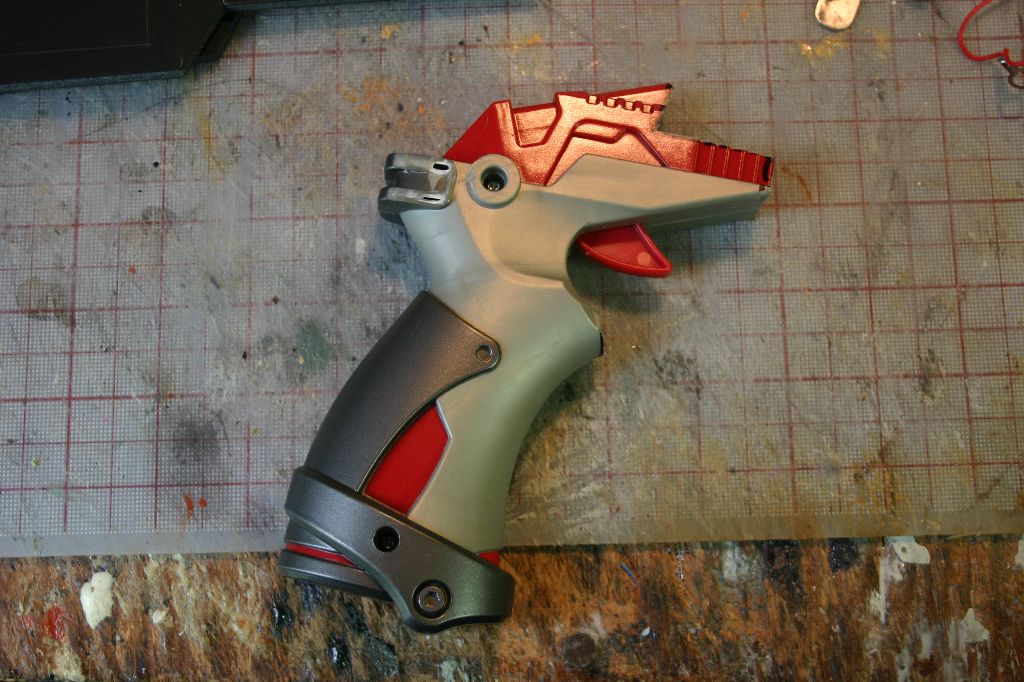
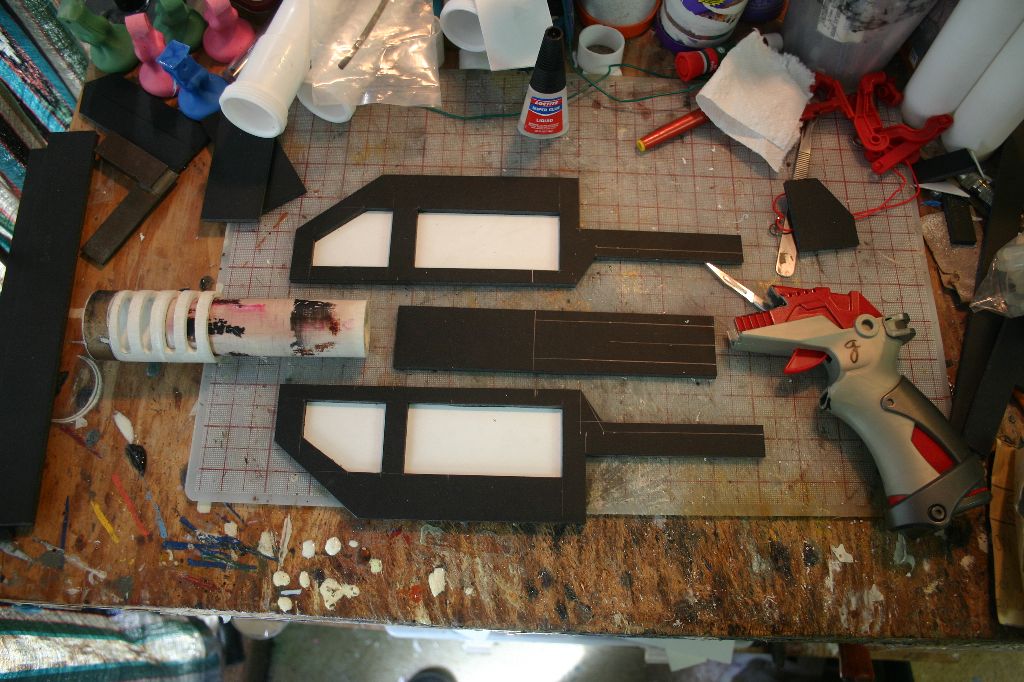
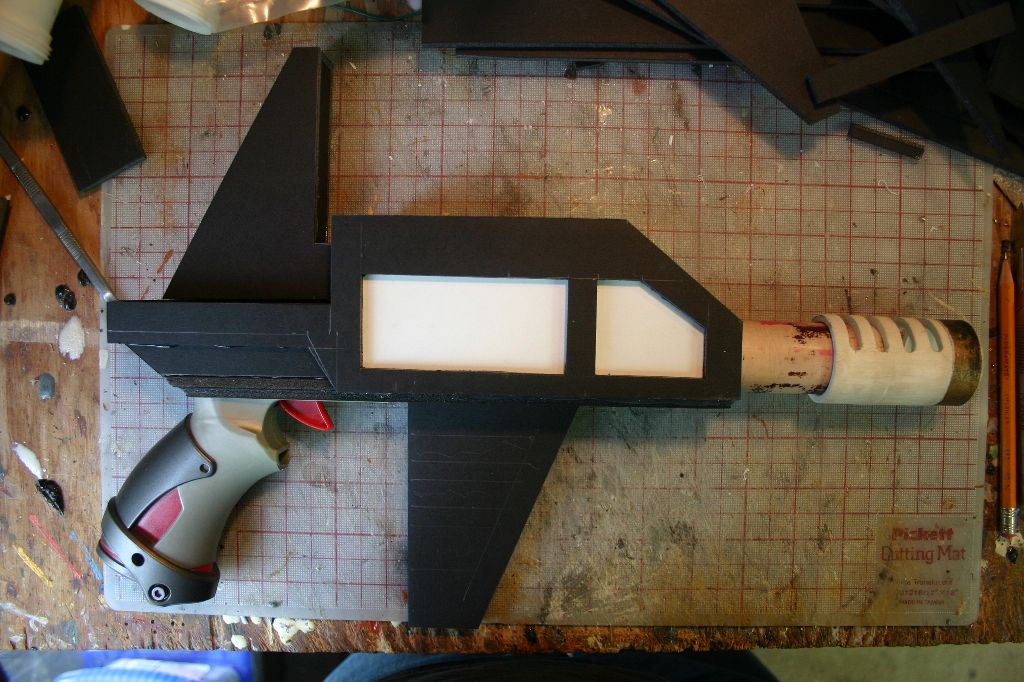
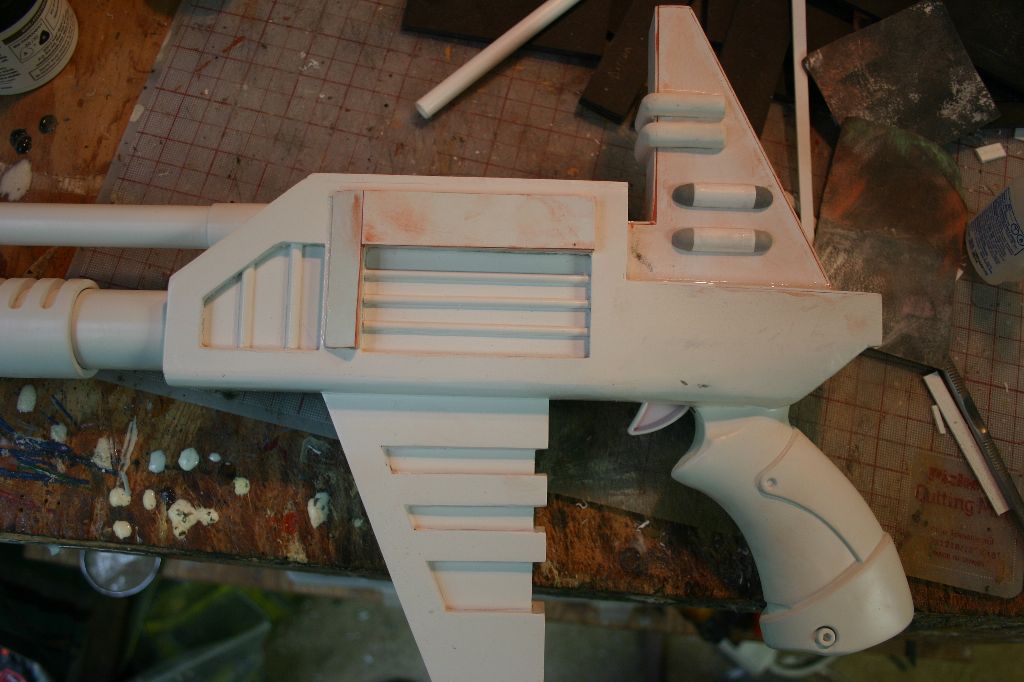
My main criteria for the scale was the size of the barrel. Unless you have a lathe you're generally stuck with either PVC or cardboard when you need a tube. The standard diameters available at the hardware store gave me my overall width of the gun. I wound up using 1 inch PVC pipe as I could use a coupler for the larger ribbed section on the barrel. Knowing the width of the body I could then hunt down a toy gun to use for the grip. I found a cheap knock-off nerf gun at a thrift store with a decent shape and thin profile that I cut down.

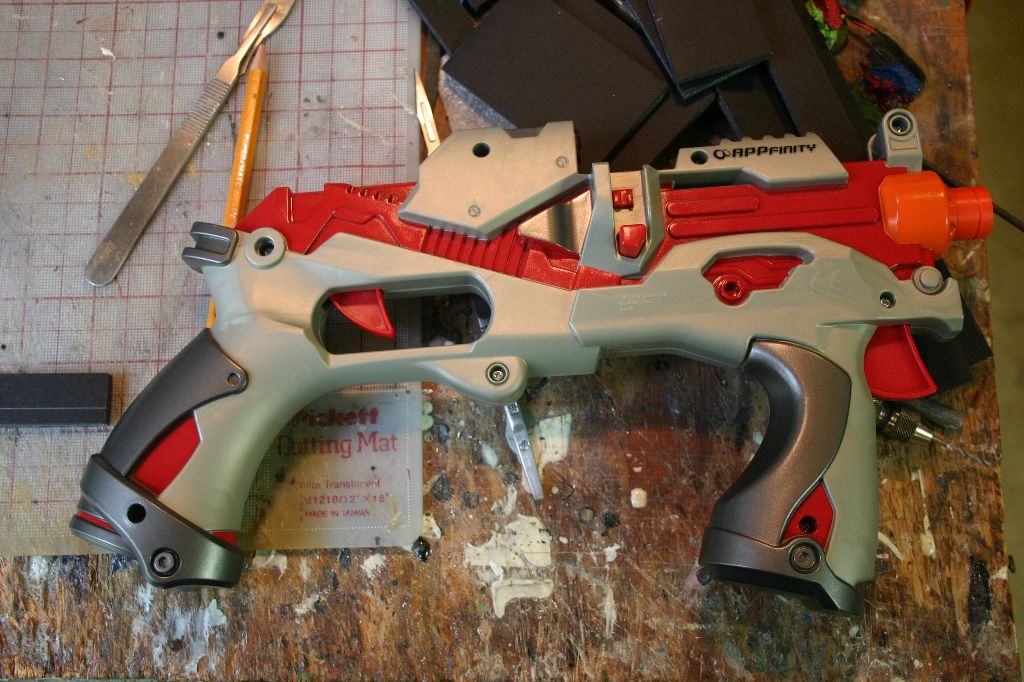
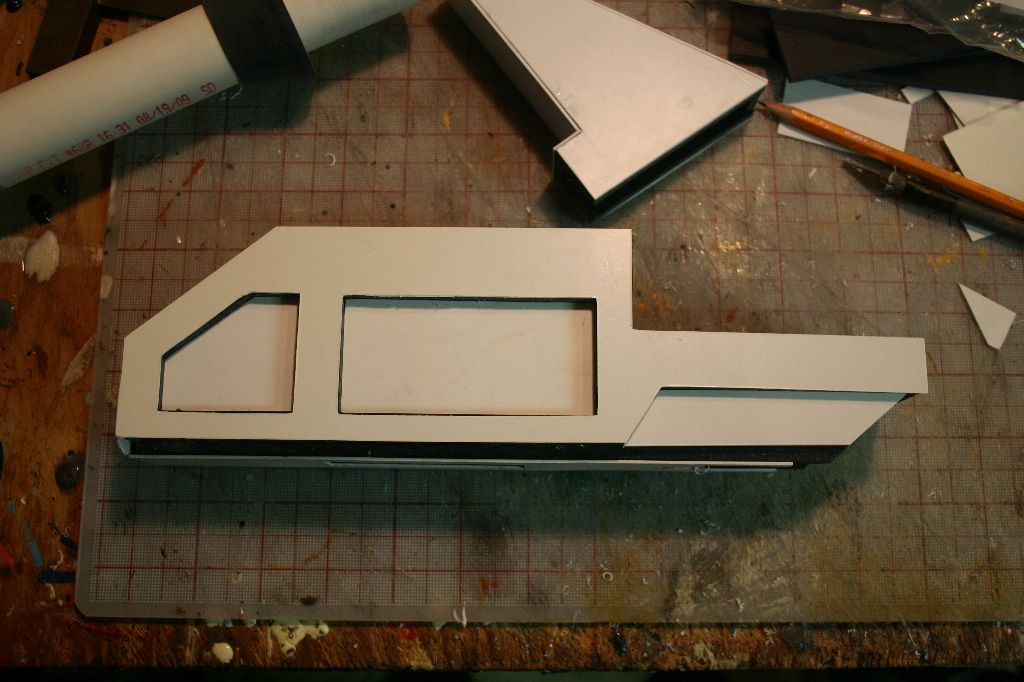
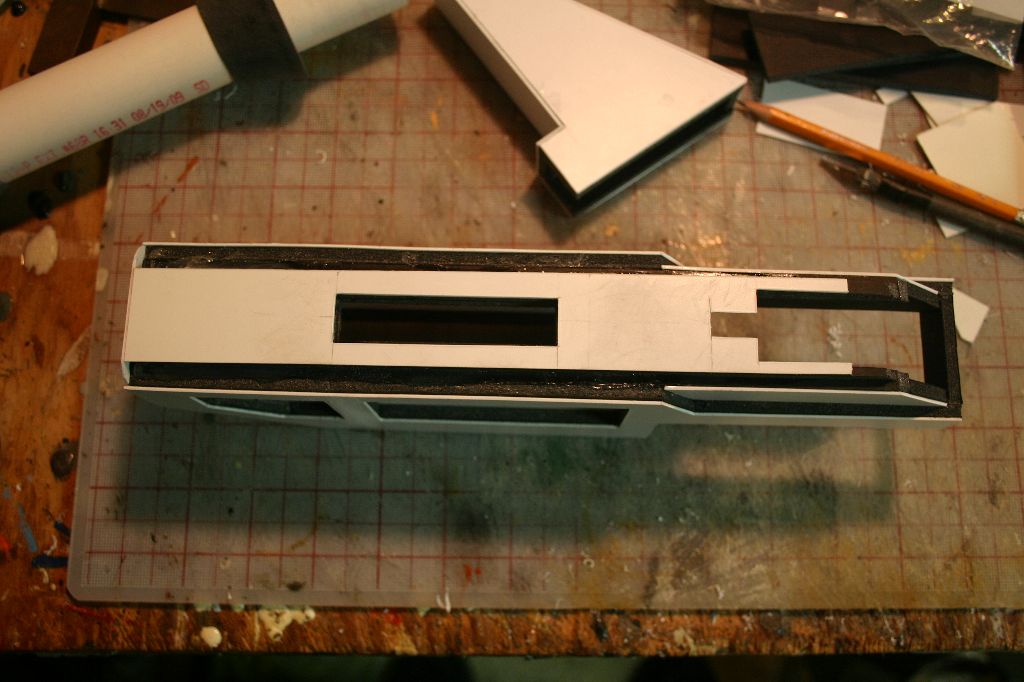
The body of the gun I cut out of black foamcore and hot glued together. The grip and barrel PVC were glued in with Gorilla Glue.

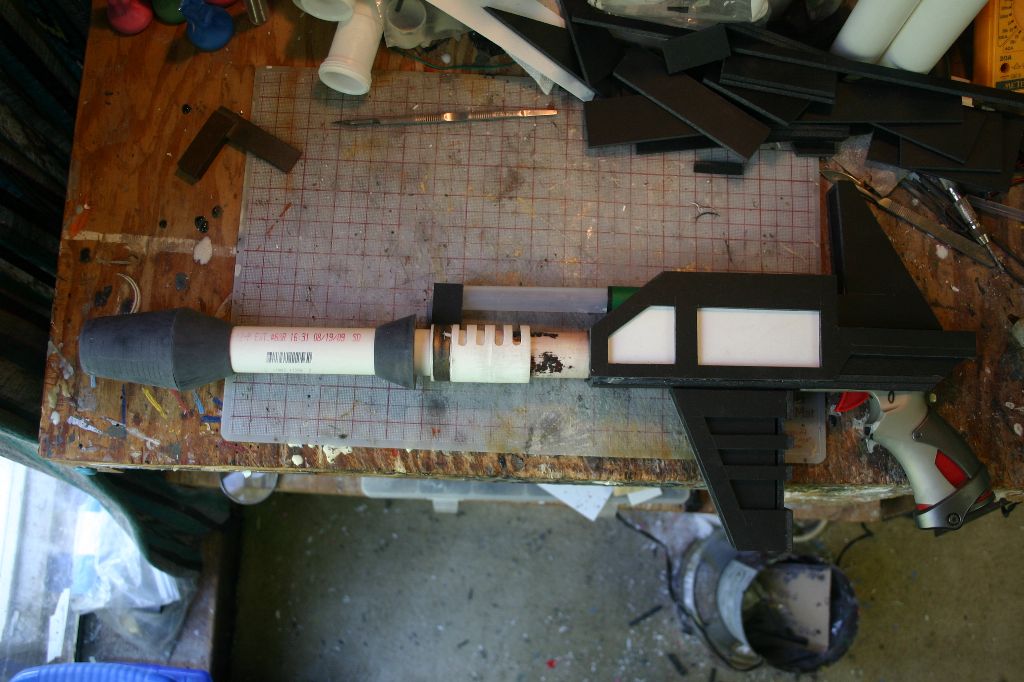
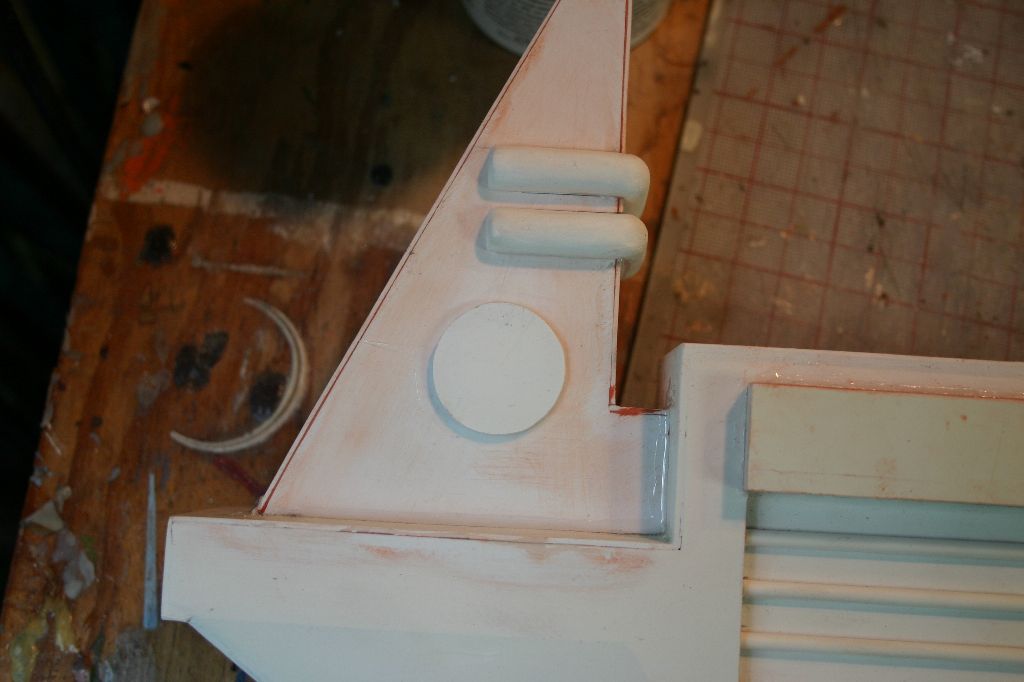
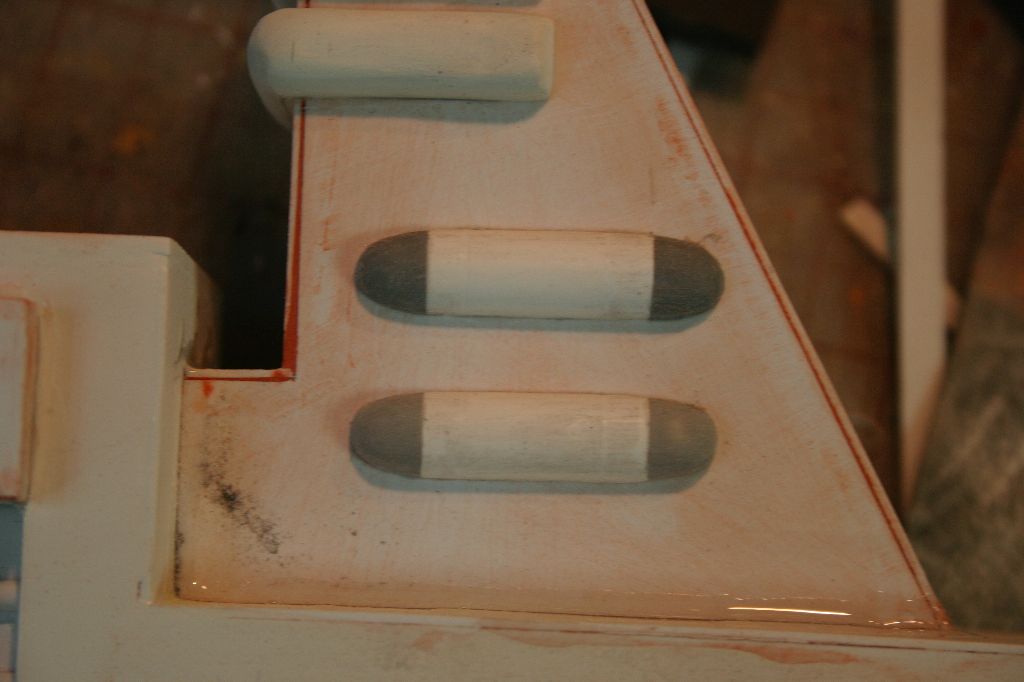
The cones on the forward barrel gave me some trouble at first. I wanted something that was strong but quick to make. I wound up making the front cone by pouring resin into a small mixing cup around some 1 inch PVC. The two smaller cones were made by pouring resin into the upper half of a plastic Dr. Pepper bottle also around some 1" PVC.

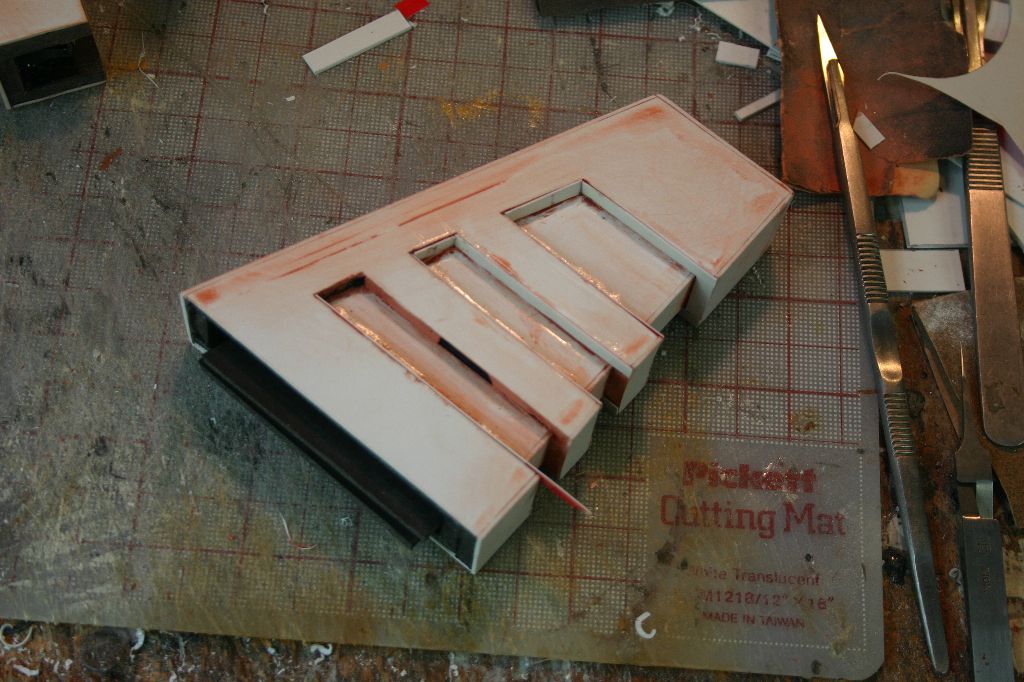
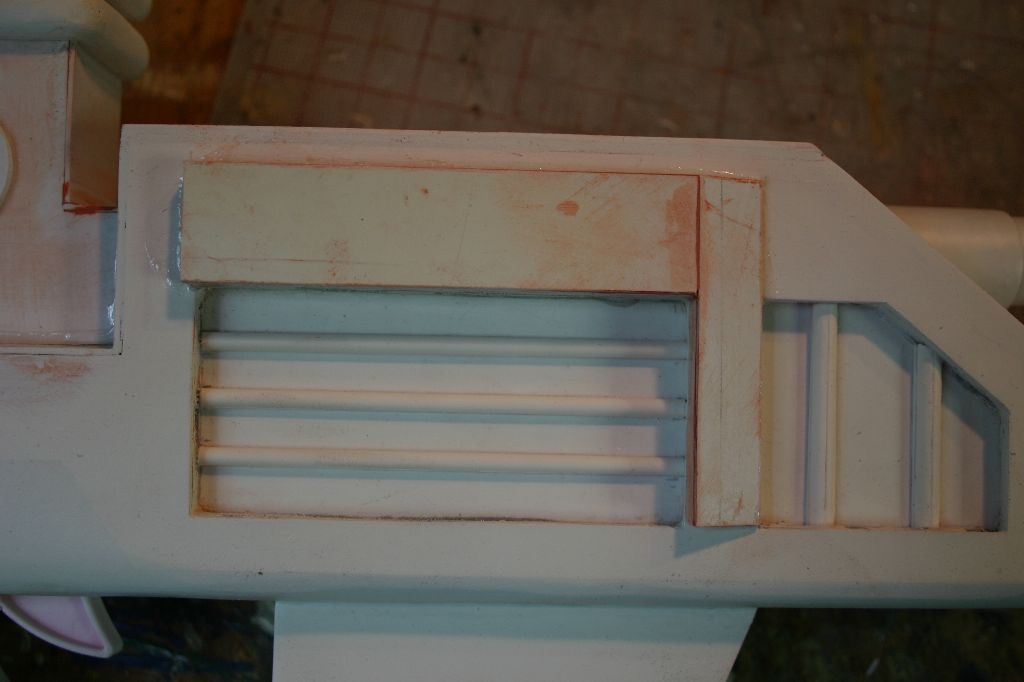
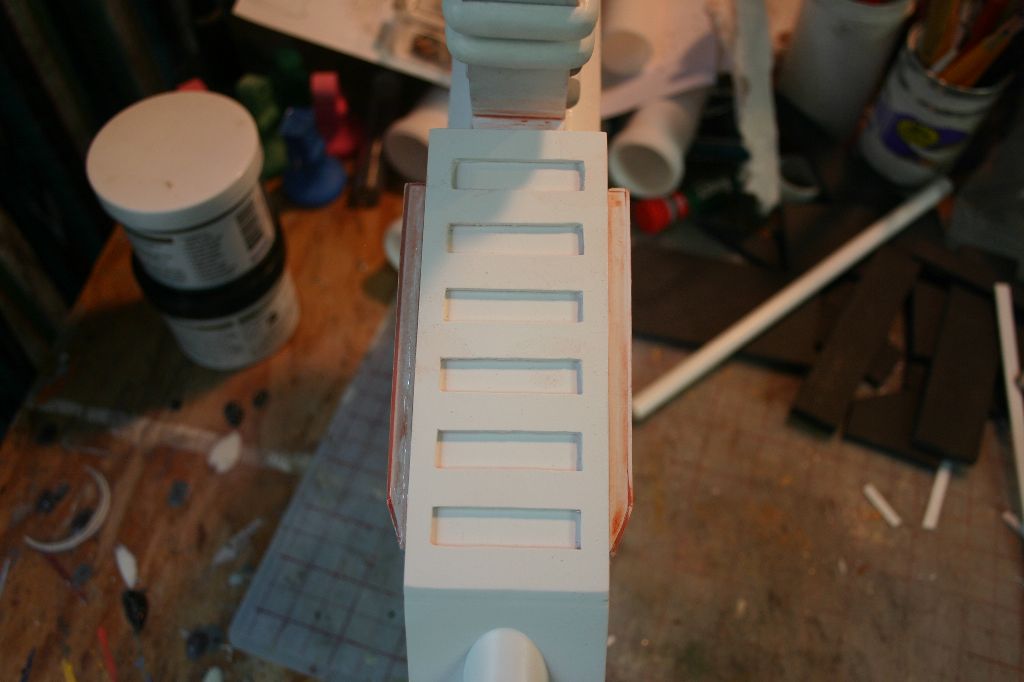
I clad the foamcore parts with .04" styrene. I then used Apoxie Sculpt 2-part putty to sculpt the bottom edge of the gun and fill in some of the grip.
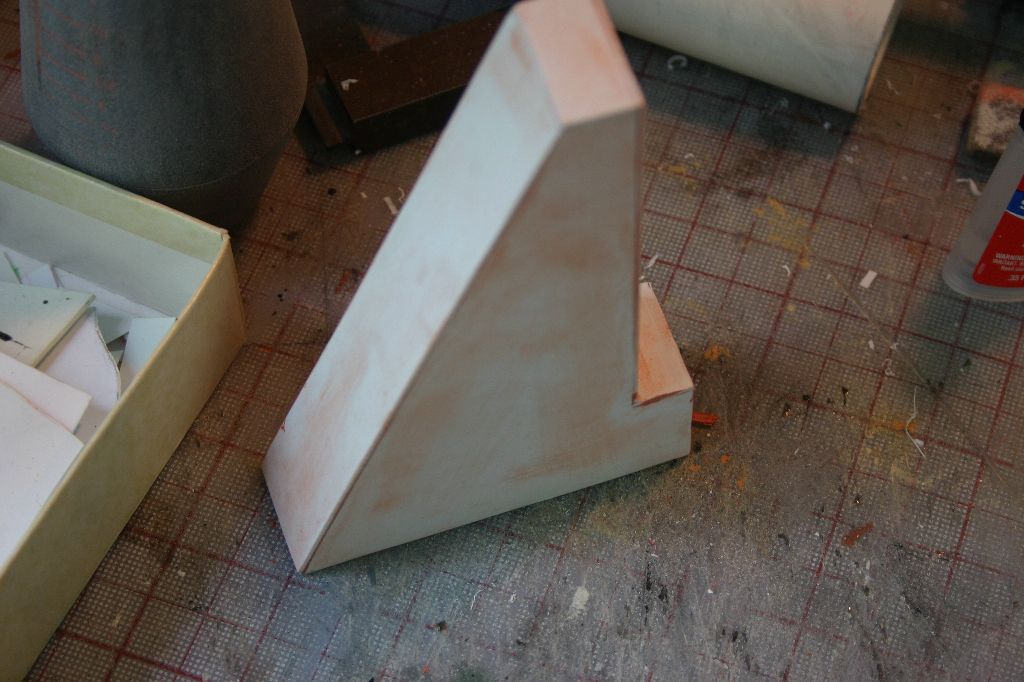
Some foamcore and styrene to make the front upright, some plastic tubes from my junk bin for the upper tube and some more styrene for the details pieces finished out the build.


To paint I started with a few coats of flat white. I then waited for a day with low humidity (a rare event in Pennsylvania) to paint the final coat of shiny chrome. I've only had intermittent success with spray metallics but I lucked out this time and it came out smooth and shiny.

Tweet
